
Yep - another baking post! For two reasons: 1) I'm pregnant and have a very strong sweet tooth these days. 2) It's the height of Bake Off season so everyone in England is baking more, naturally! I also had to share the recipe below because it's one of the tastiest batch of cupcakes I've made (equal to my Jaffa Cake ones I'd say) - with lots of positive feedback from L and close friends.
DIFFICULTY RATING: MEDIUM
The recipe is straightforward, but as you have to make a praline and ensure the sugar doesn't burn, I've labelled it medium.
RECIPE FROM MY OLD FAITHFUL: THE HUMMINGBIRD BAKERY, HOME SWEET HOME
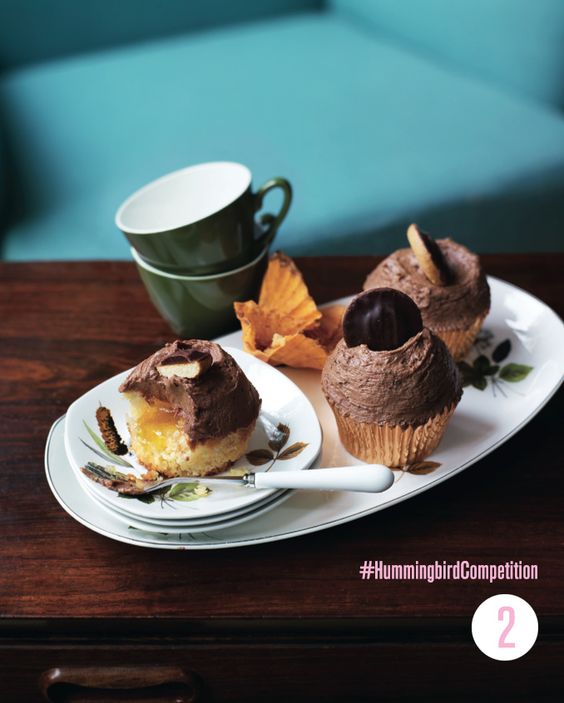
ORIGINAL PIN
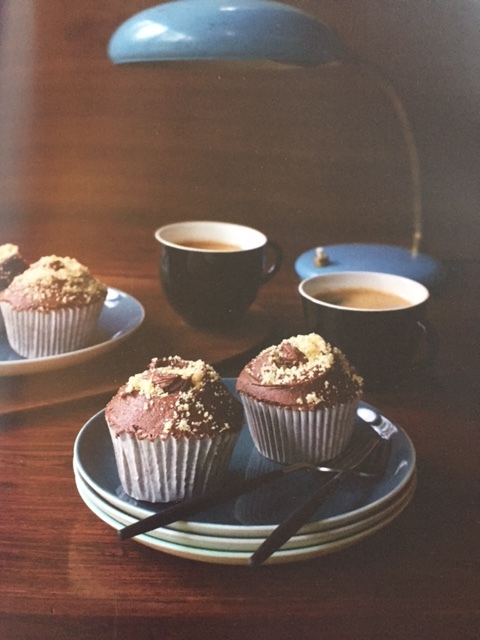
This isn't actually a pin from Pinterest, it's a photo from my book! I couldn't locate it online - however baking generally is a Pinterest-inspired project. So many sugary treats are sprinkled across my Pinterest news feed that I immediately want to get baking. You can probably tell from my Food board consisting mostly of cakes.
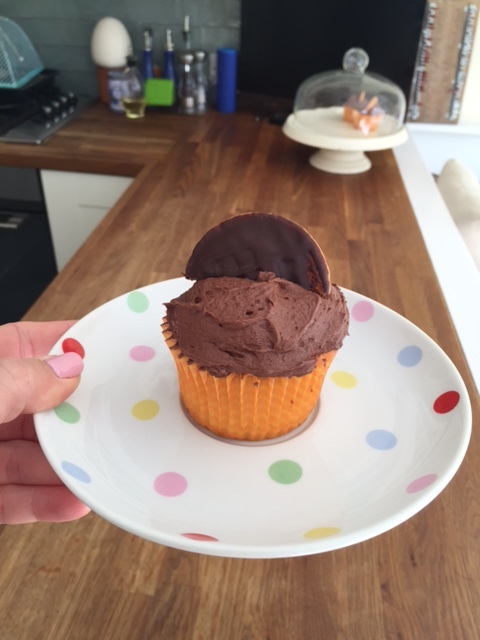
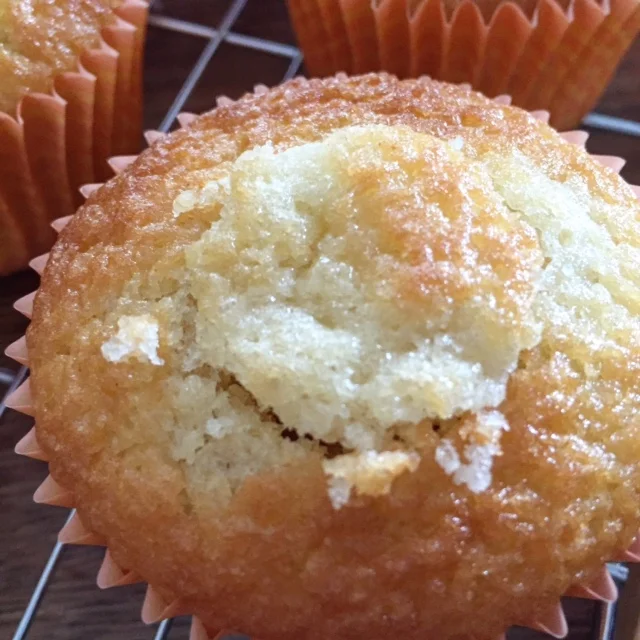
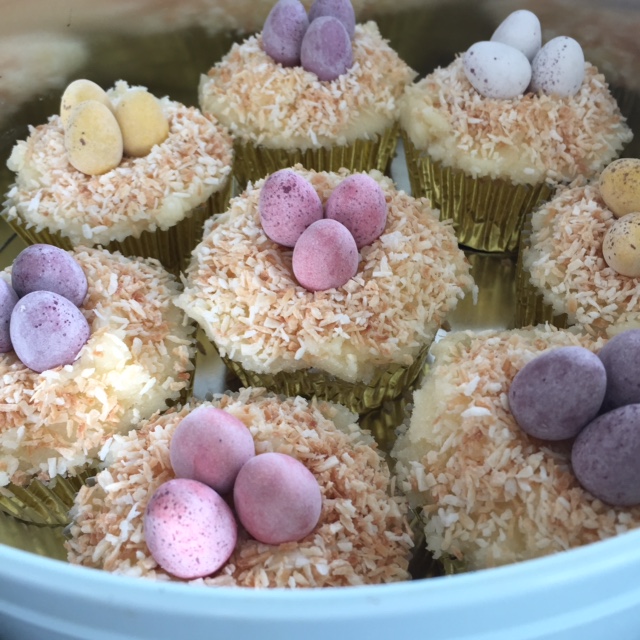
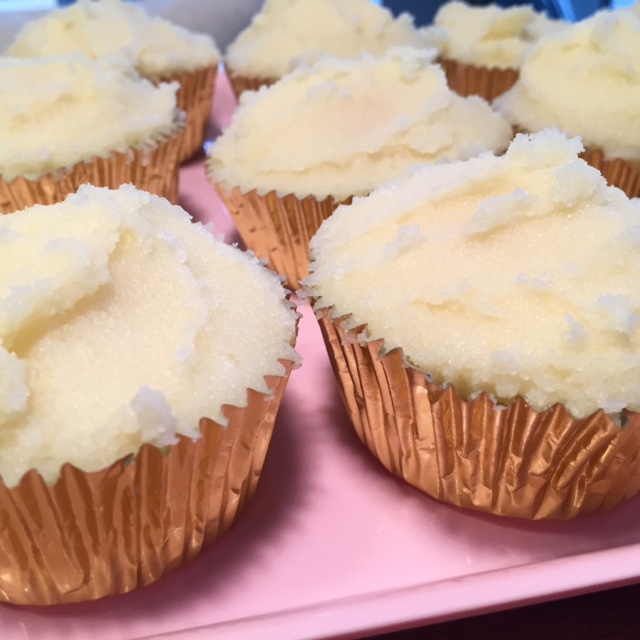
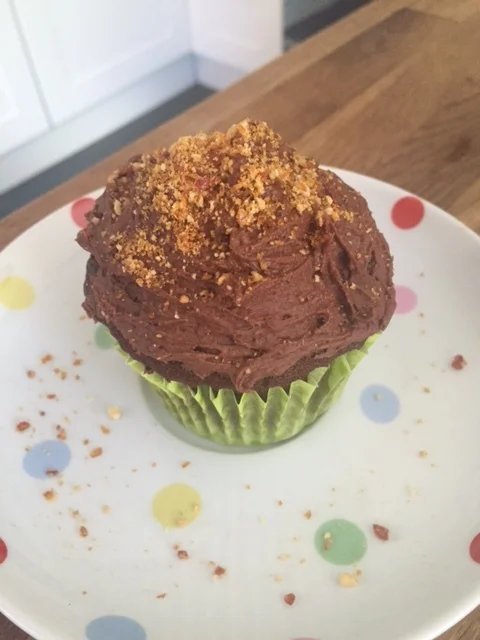
MY ATTEMPT
RECIPE

1. Preheat the oven to 170°C and line the muffin tins with paper muffin cases to make the number you require.
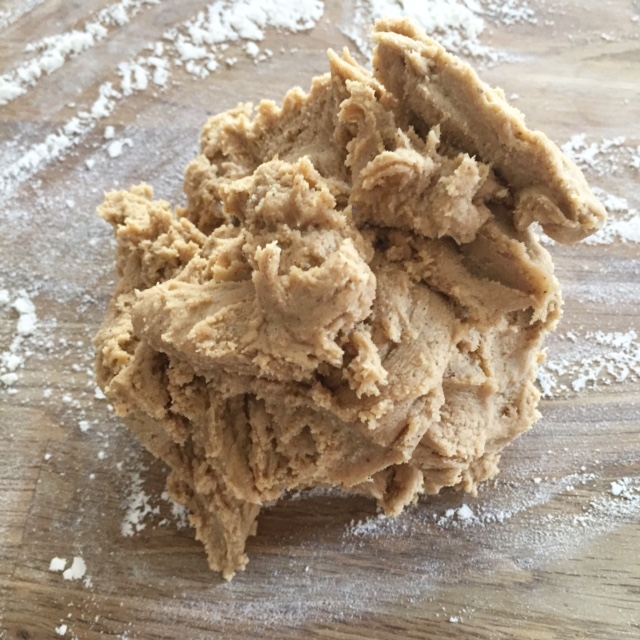
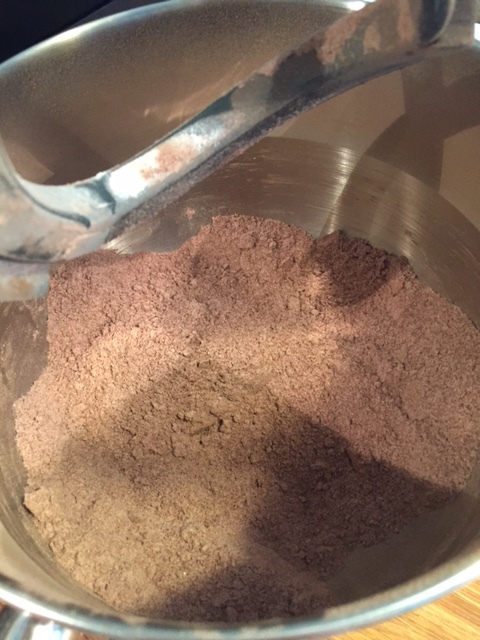
2. First make the sponge. In a freestanding electric mixer with the paddle attachment or using a hand-held electric whisk, mix the butter, flour, sugar, cocoa powder, baking powder and salt together until they form a crumb-like consistency.
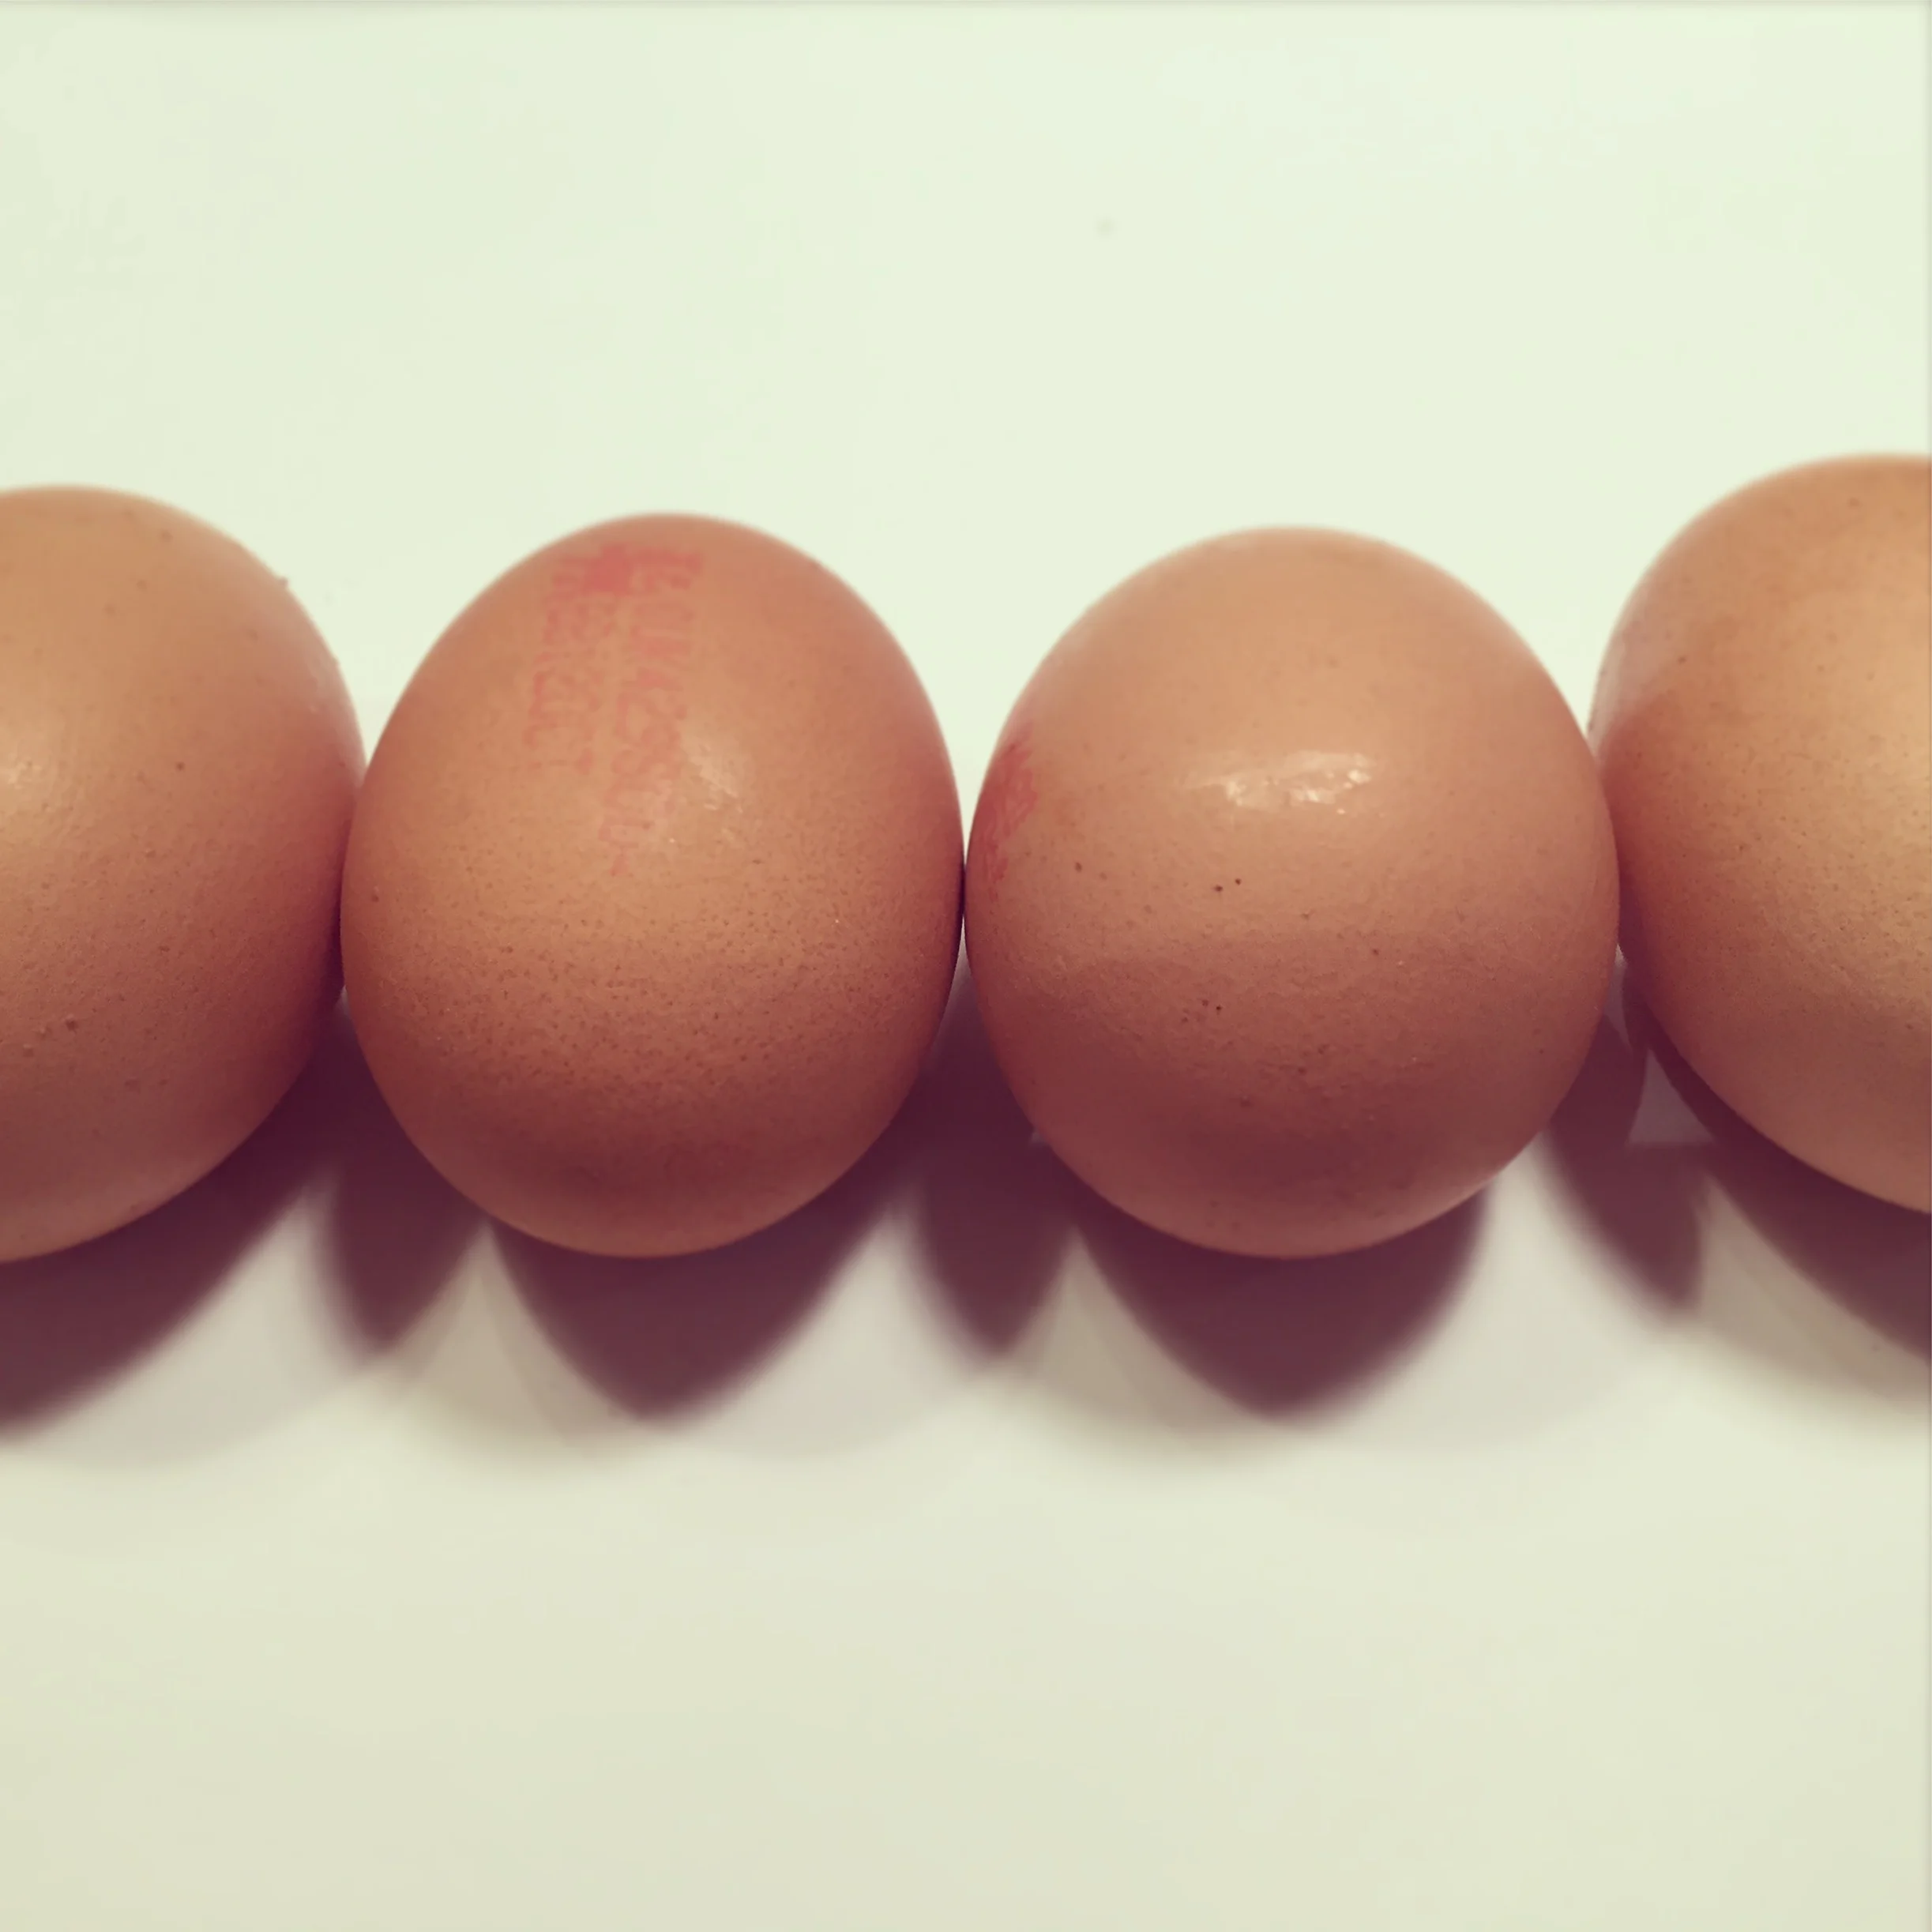
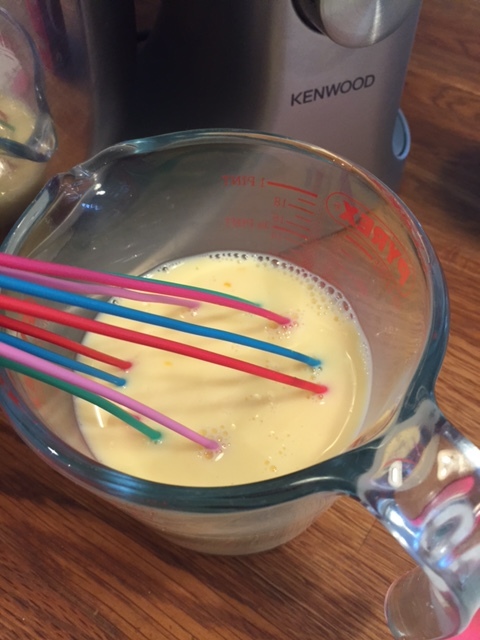
3. In a jug, mix together the milk and eggs by hand.
4. With the mixer or whisk on a slow speed, gradually pour half of the liquid into the crumb mixture and mix thoroughly until combined. Raise the speed to medium and mix until the batter is smooth and thick, with no lumps. Scrape down the sides of the bowl from time to time. Once all lumps are gone, turn the speed back down and gradually pour in the remaining liquid, continuing to mix until the batter is smooth and combined.

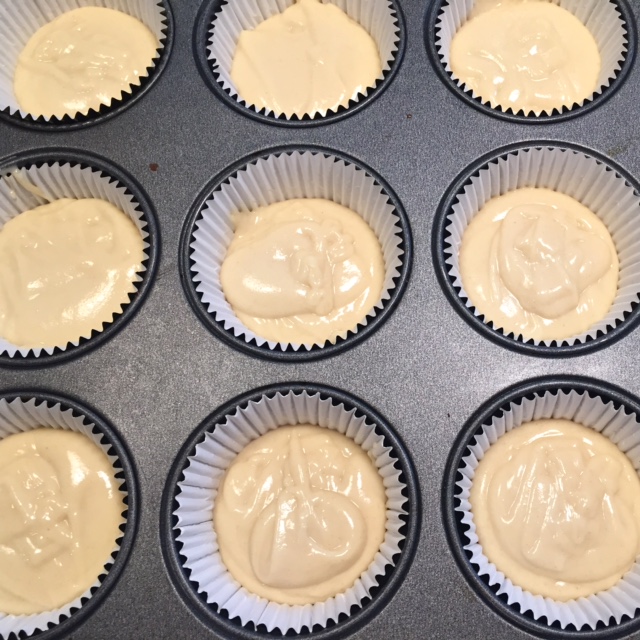
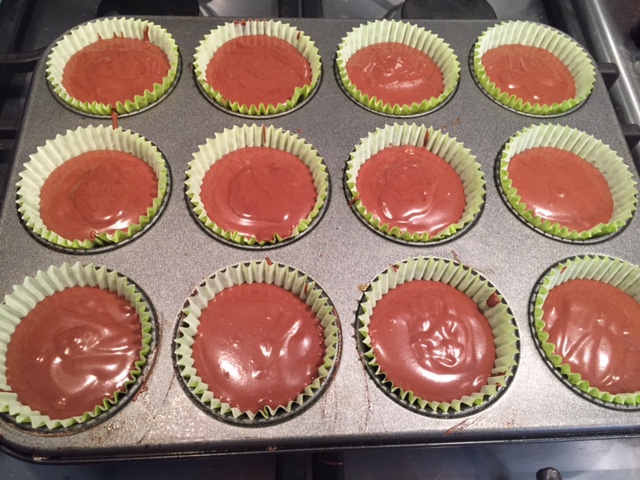
5. Spoon the batter into the prepared paper cases, filling them two-thirds full. Using a 50ml ice-cream scoop can make this process easier and will result in even cupcakes.
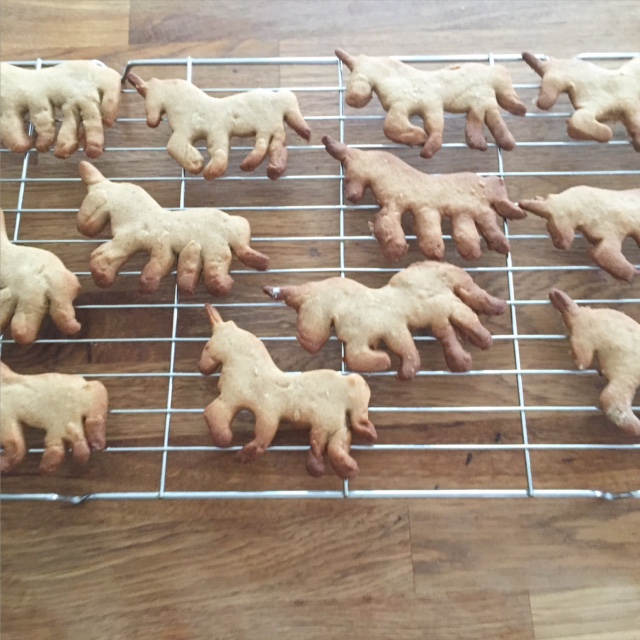
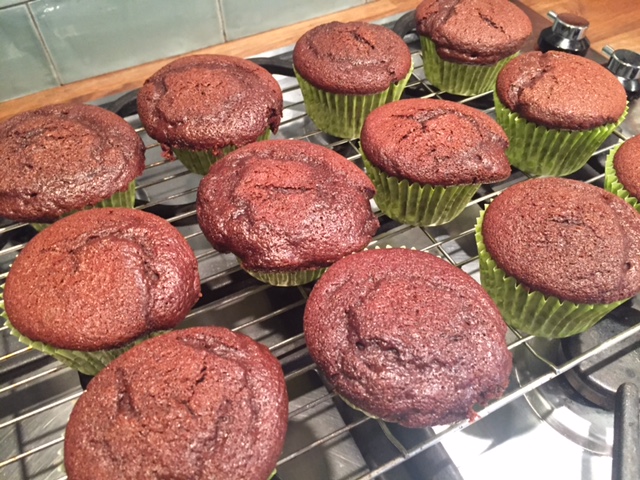
6. Bake for 20-25 minutes or until the sponge bounces back when lightly touched. Leave to cool slightly before removing from the tin and placing on a wire rack to cool completely before frosting.
7. Using the freestanding electric mixer with the paddle attachment or the hand-held electric whisk, gradually mix the icing sugar, cocoa powder and butter together on a low speed until combined and there are no large lumps of butter. Gradually add the milk while mixing on a slow speed. Increase the speed and beat the frosting until light and fluffy.

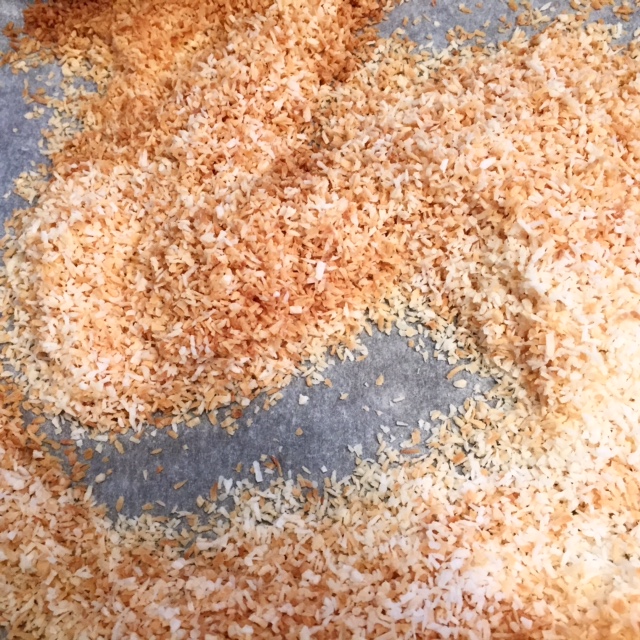
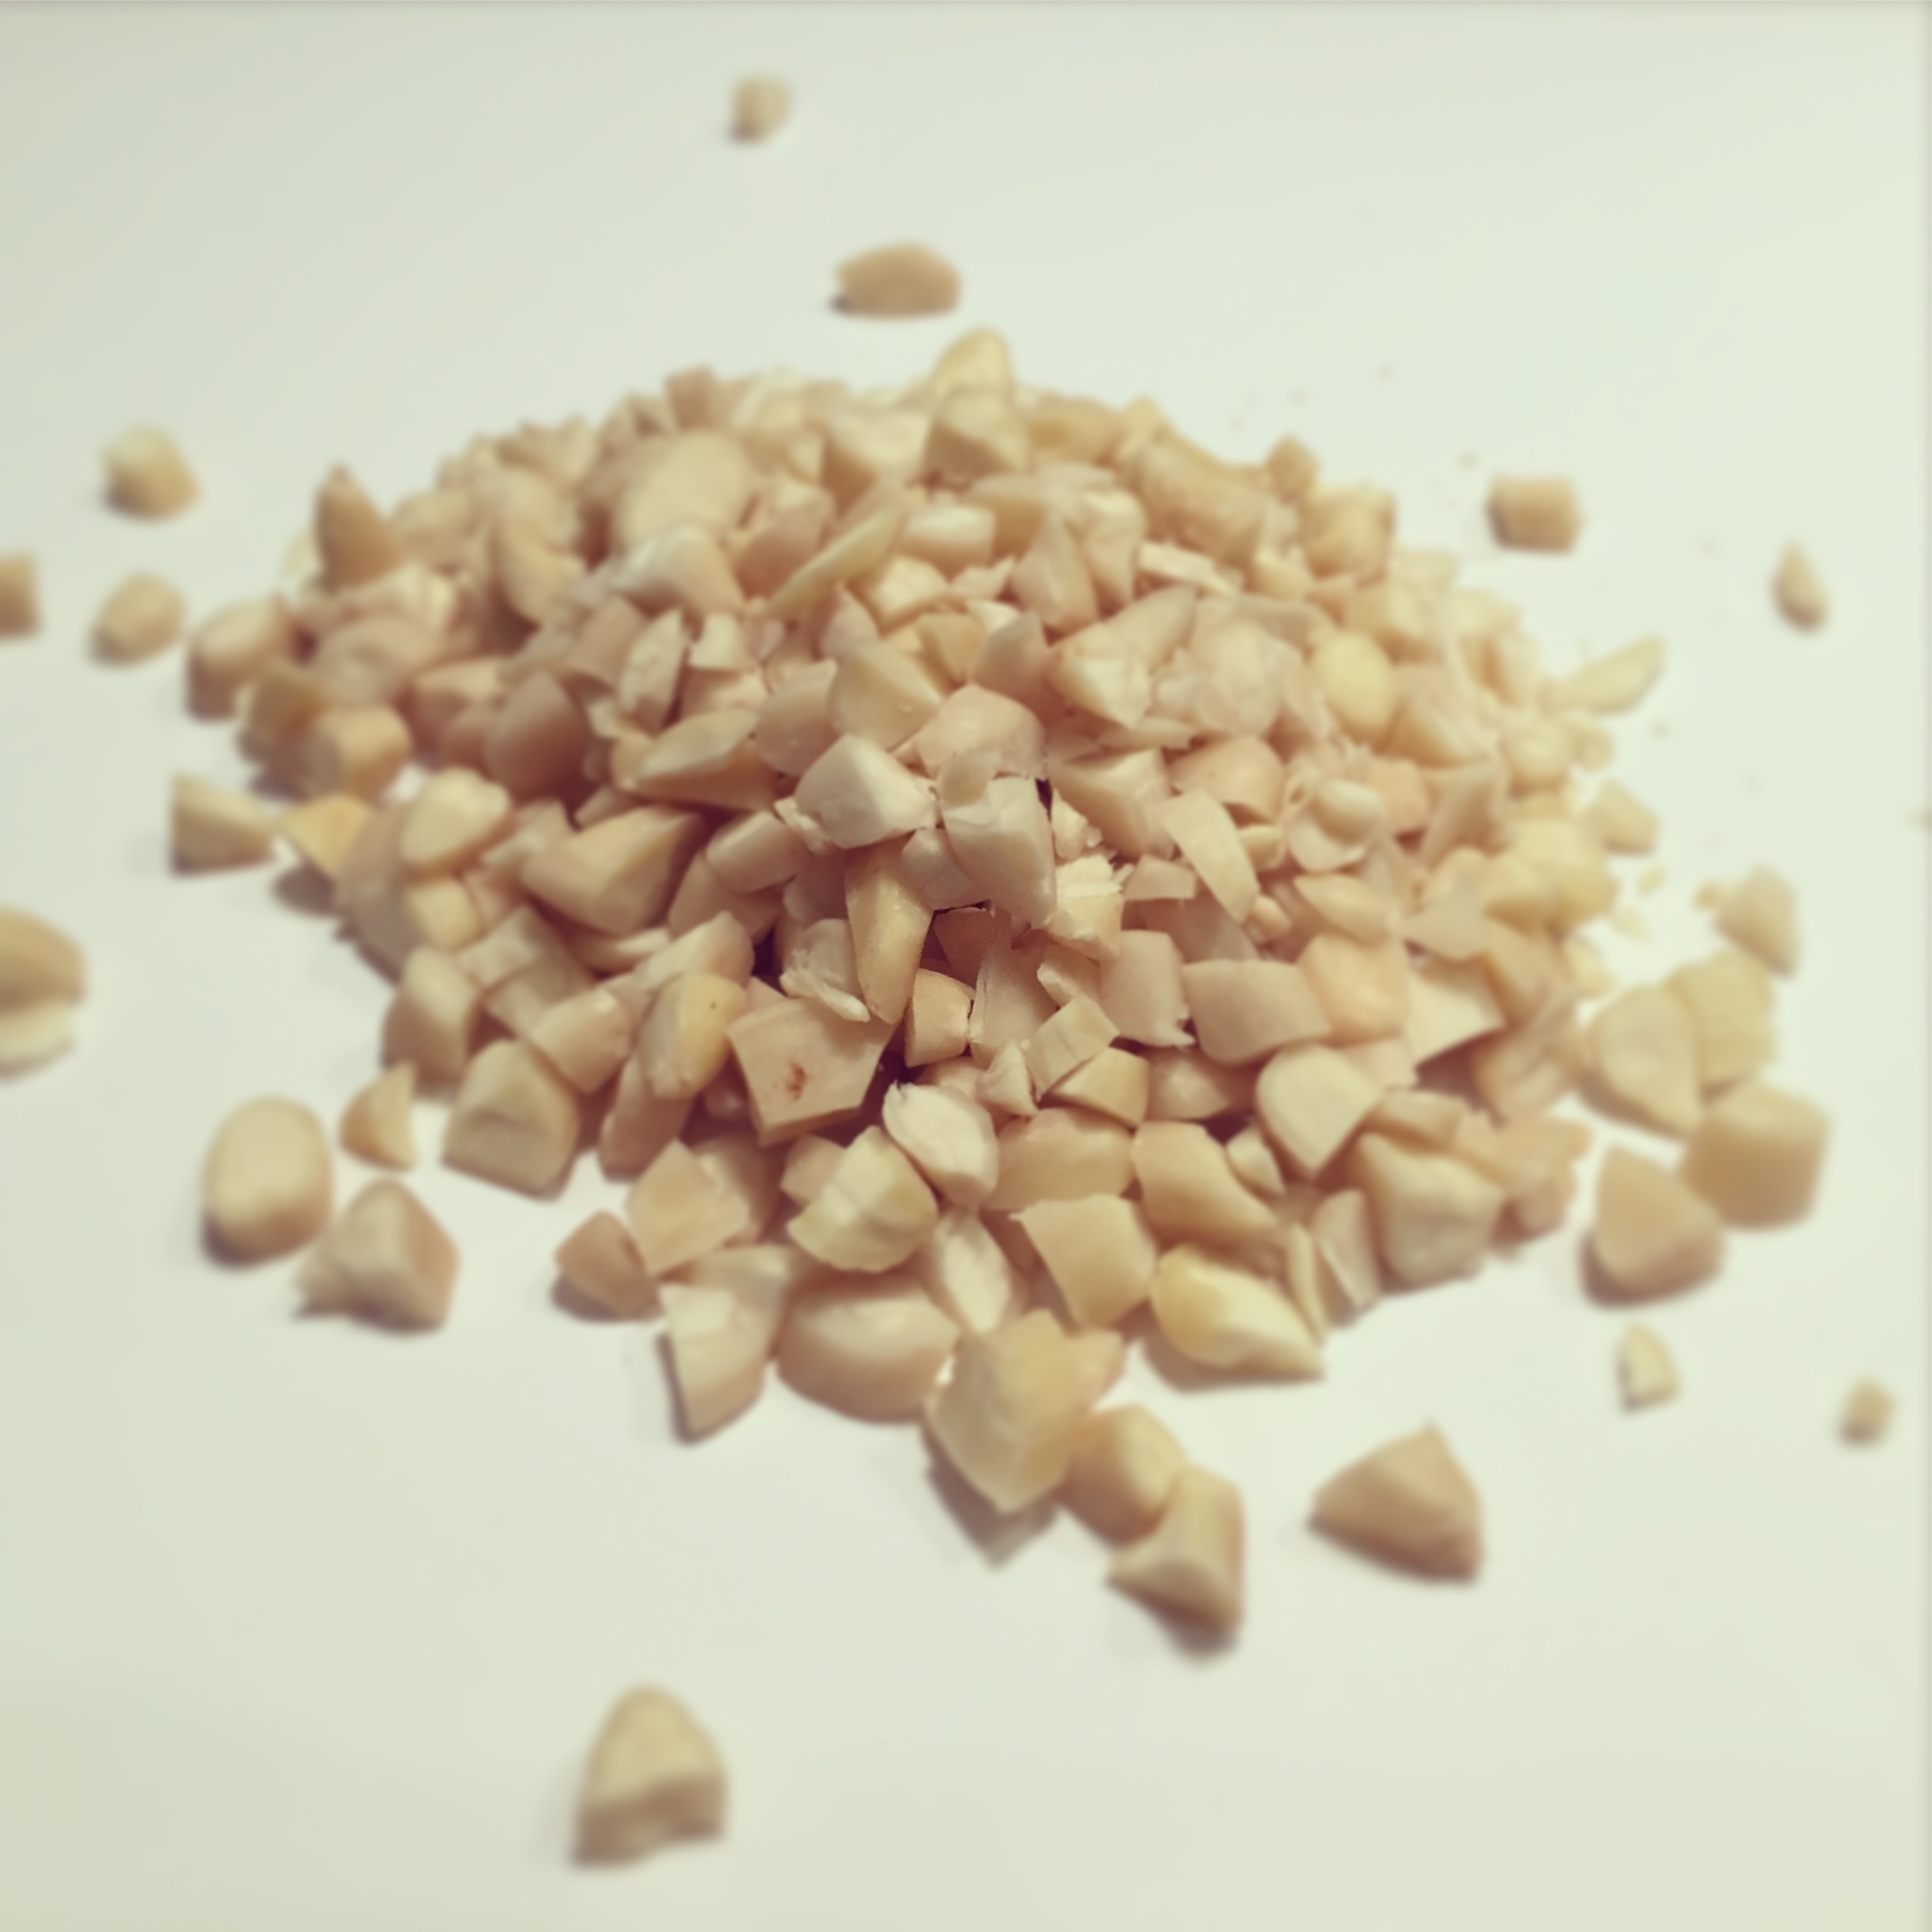
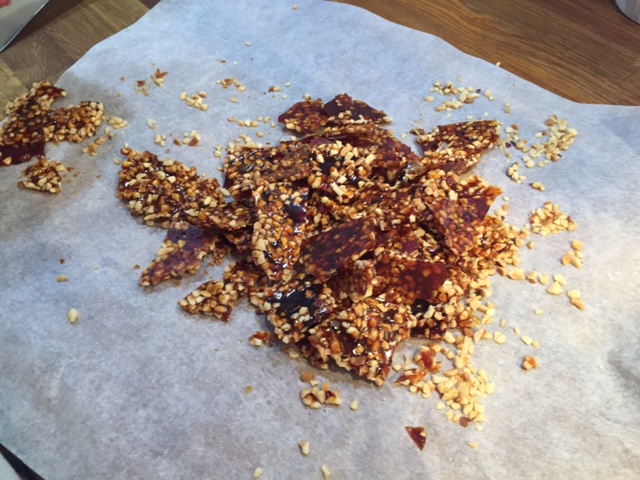
8. For the praline, line a baking tray with baking parchment and spread the chopped hazelnuts evenly in the tray. Place the sugar and water in a medium saucepan and bring to the boil. Allow the mixture to bubble for about 15 minutes until it forms a golden caramel. Do not stir while the mixture is boiling or the caramel will crystalise; just gently swirl the pan from time to time.
(Top Tip: Even though it says 15 mins above, mine started to go golden in about 5 mins and it turns very quickly, so keep an eye on it and go with your gut.)
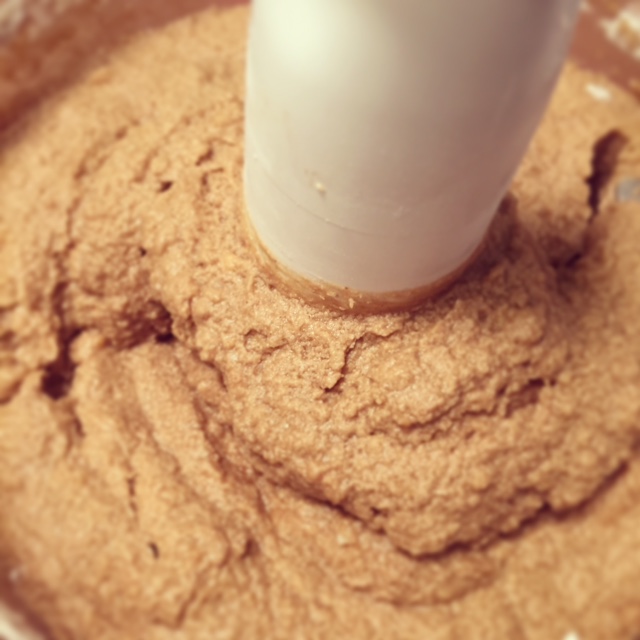
9. Once the caramel is ready, carefully pour it over the chopped nuts, making sure all the nuts are covered. Allow this to cool and set completely. Once cold and set, break up the praline into small chunks, then use a food processor to chop up the praline into fine pieces. (This praline needs to be stored in an airtight container if not using straight away.)


10. Once the cupcakes are cool, spoon generous amounts of the frosting onto each cupcake, then gently smooth over with a palette knife, making a swirl at the top if you wish. Sprinkle each cupcake with a generous amount of praline.
11. ENJOY!

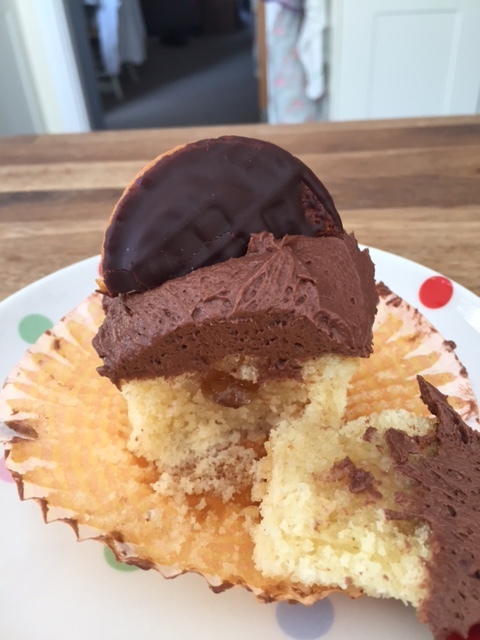
VERDICT
Seriously chocolatey. Seriously amazing.
If you prefer zesty to chocolatey, you might like these lemon cakes.
YOU MIGHT ALSO LIKE...