DIY Christmas Candles

As you can probably tell from my Instagram feed, I'm a huge fan of candles. Not only for their aroma but how they instantly transform a room into a cosy cave. They're the perfect way to add a pretty glow as the darker evenings arrive earlier and earlier.

I've never tried making my own candles before - but was really surprised at how easy they were to make and how many you get from just a few ingredients. As long as you prepare your ingredients beforehand, they only take an hour or so at the weekend (depending on how many you make). L gave me a hand making them, which helped speed things up.

ALL YOU NEED

  • Soya candle wax
  • Christmas spice fragrance oil (or any fragrance oil you like the aroma of - but ensure it's suitable for candle making)
  • Candle wicks
  • Candle jars with lids (I bought six from a local home store)
  • Labels / bakers twine / gift tags for decoration if gifting (completely up to you how you decorate them!)
  • Cooking thermometer

STEPS

1. Gather your ingredients - I found approximately 300/350g of wax made 1 x candle (N.B. this depends on the size of your jar)

2. Prepare 3g of Christmas spice oil ready to add to your melted wax. (Always best to follow the instructions on your oil in terms of how much to use. It also depends on how strong you want your candles to smell!)

diy-candles.JPG

3. In a bowl over boiling water, heat candle wax to 70°C.

4. Leave wax to cool slightly and add the spice oil.

5. Once wax has cooled to 60°C, dip the base end of a wick into the liquid and fix to the bottom of your candle jar to set. Make sure it's centred and the wick is straight. (I used a pair of tongs for this, which helped fix it in place.)

6. Pour the liquid into a jug to help pour into the candle jar.

7. Use pens to support the wick while the wax dries (approx. 2 hours but depends on size - leave as long as you can).

8. If they're not level when they dry, you can add some additional melted wax to the top to smooth it out. (I didn't need to do this - they dried pretty well).

9. Trim the wicks.

10. Add lids to retain the scent.

11. Decorate! I used a calligraphy set I got for Christmas last year to write my labels, then added some bakers twine to fix the gift tags.

Love festive fragrances? You might also like to try out these festive fruit ideas.

YOU MIGHT ALSO LIKE...

Homemade Lavender Bags

One of my autumn aims was to harvest more from our garden to enjoy during the frosty months. A recent experiment has been homemade lavender bags. Our lavender did particularly well this year - but it's only when we were in the garden did we get to enjoy the aroma. (Mog also enjoyed stalking the various bees who were busying themselves with the nectar.) So I decided to bag up its famous scent to enjoy at home beyond summer.

As you know I'm all about home ideas for busy people, so this Quick Trick is the fastest way I could think of to make them. Of course, I'd love to have the time to sew my own sachets but with work and Baby L on the way, time is precious! (Although I'd like to use some of my maternity leave to learn some sewing basics.)

All You Need

  • Dried lavender (we harvested ours at the end of August and let dry out for approx 3 weeks). If you don't have any in your garden you can easily buy some dried lavender online
  • Twine
  • Scissors
  • Burlap bags
  • Fabric paint - any colour you prefer!
  • Thin paint brush
  • Polyester filling

Steps

  1. If picking lavender from the garden, harvest mid-to-late August (online research told me to prune back lavender by two thirds. This will give the plant time to produce new shoots at its base, which will grow and harden up before winter arrives.)
     
  2. Tie your lavender in bunches with twine and hang somewhere dry - I used our summer house. 
Assistant Mog.

Assistant Mog.

3. While your lavender is drying, use these three (or so) weeks to paint a pretty design onto your burlap bags. I went for a simple hand-drawn lavender design, and threw in a star and heart for some variety. Ensure they're completely dry before filling.

4. Remove the dried lavender flowers by hand and store in a tupperware to retain the scent as much as possible.

5. This is the fun part! Simply fill the bottom of your burlap bag with your dried lavender, then add a layer of polyester filling to bulk it out, then add some more lavender and top with a final layer of polyester filling. - So two layers of each. Make sure the polyester is the top layer as it'll prevent the lavender from escaping from the top.

6. Tie your lavender bags up tightly. If you order the bags I did (link in the list above), they come with string. Rather than a bow I'd recommend a double knot to ensure nothing escapes.

And there you have it! 

Top Tips

  • You can pop them in your wardrobe or sock drawer to keep clothes smelling fresh and floral - or you can attach them to gifts as an extra treat for your recipient:
  • Put a piece of paper inside your burlap bags before painting otherwise the paint could leak through to the other side. Remove paper before filling the bags.

Have you used lavender in crafts or recipes? I'd love to hear about them below or over on Twitter.

YOU MIGHT ALSO LIKE...

My Top 10

Quick Tricks is one of my favourite sections of Maison Bailey as they are the epitome of what it's all about: home ideas for busy people. I only share the tricks I really love and use time and time again in the hope that you find them just as useful too.

Excluding the ones I've already shared with you e.g. paint pot trick, spice labels, getting ready zones, etc, I thought I'd do a quick fire round up of my top 10 new tricks I've been using the most in recent months:

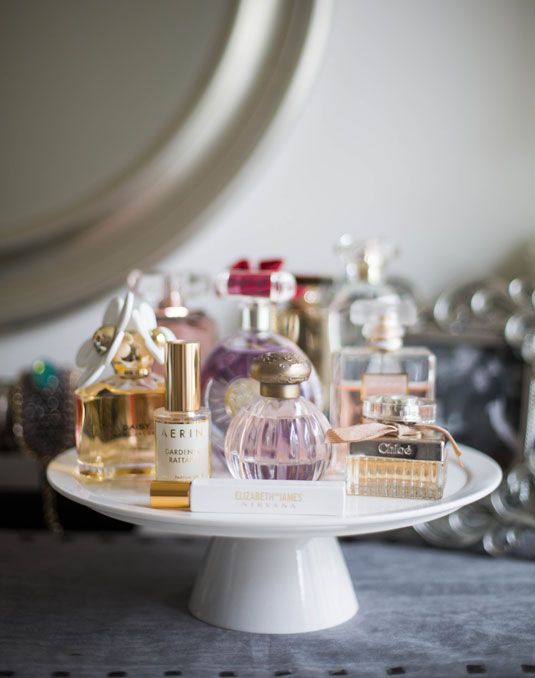
1. perfume dish

Keeps all your scents together, plus it looks pretty.

2. Bulldog clip cable organiser

Not the prettiest of solutions but it's worth it for the extra time you save not faffing around hunting for cables behind furniture etc (especially with a bulging baby bump).

3. Pinboard

Place in your most walked-through part of the house. Perfect place for reminders.

4. Iron wall storage

Also the perfect place for bags for life. Grab one from IKEA for just £4.

5. Lipstick box storage

Next time you receive a cute gift box, use it to store your lipsticks in, whether in a drawer or on your dressing table. While you can get specialist lipstick storage products (like this) I find my lipsticks always topple over like dominoes in them - plus they're a huge dust collector.

6. Memory jar

A place to store special tickets, gift tags, notes etc. Why not display it in your living area as a regular reminder of happy times?

7. Card storage

I buy so many cards during the year - I love sending pretty things in the post, especially when people aren't expecting anything. I store them in a pretty gift box rather than shove them in a drawer to be forgotten.

8. Microchip cat feeder

When you have more than one cat, this makes life much easier. The feeder only opens for one specific cat based on reading its microchip. This is particularly useful if your cats eat different types of food e.g. adult vs senior. While we no longer have Elvis with us (miss him so much), we're still keeping Mog's feeder as it prevents next door's cats venturing inside when we have the french doors open on a hot day. Mog 'doesn't share food'.

9. Coffee table tray

Keeps things neat and helps avoid mug marks on your coffee table top.

10. Tealight basket

Located down the side of a sofa, including a lighter. Quick access for living room candles. Much easier than venturing to a kitchen cupboard. (Not recommended if you have kids!)

Do you have any Quick Tricks you use time and time again? I'd love to hear them! Let me know in the comments below or over on Twitter.

YOU MIGHT ALSO LIKE...

Fresh Mango Chutney

I love this Quick Trick because it's super fast and makes such a lovely addition to a curry. Rather than the jelly-like gloop that comes from the supermarket, simply follow the recipe below for something fresh to lift the heaviness of your curry. It also works great as a dip with mini poppadoms.

I can't claim ownership - this is:

Mama B's Mango Chutney

  • 1 fresh mango, diced
  • 1/2 a red onion, finely diced
  • Small bunch of coriander leaves, chopped
  • 1/2 fresh red chilli, finely chopped
  • Splash of lime juice (to your taste)
  • Dash of salt and pepper

Mix together and serve fresh!

The recipe above makes enough for 4 people to go with curry. I'd suggest doubling quantities if you're planning on making it more of a feature of your meal - whether it's a dinner party or chips and dips with the girls. I love eating mini poppadoms with this dip at our kitchen counter while L finishes cooking the curry. It's so fresh it really gets your taste buds going for the main meal.

Love cooking with spice? You'll love this other kitchen Quick Trick...

YOU MIGHT ALSO LIKE...

Getting Ready Zones

This is literally a quick trick as both solutions help L and I get out the front door quicker in the mornings-! It's all about zones: L has his, I have mine - designed specifically for what we need. We catch early morning commuter trains so speed is of the essence...

L'S GETTING READY ZONE:

Simply fix an IKEA RIBBA picture ledge to your wall, underneath a mirror, and you've got a place for all your daily essentials immediately to hand - moisturiser, deodorant, aftershave, etc:

It's the perfect space-saving storage solution for anyone who's short on time in the mornings. It's particularly perfect for L as he only has a few daily essentials.

MY GETTING READY ZONE:

I use an IKEA HEMNES chest of 5 drawers with a vanity mirror on top - as I prefer to stand, but also need storage for my products etc. I also get ready much quicker when standing (I tried a dressing table once and it just didn't work for me - I was far too comfortable, making me slower to get ready-!).

I updated the handles to give it less of an 'IKEA' feel:

ITEMS STORED INSIDE:

The top drawer is particularly handy for:

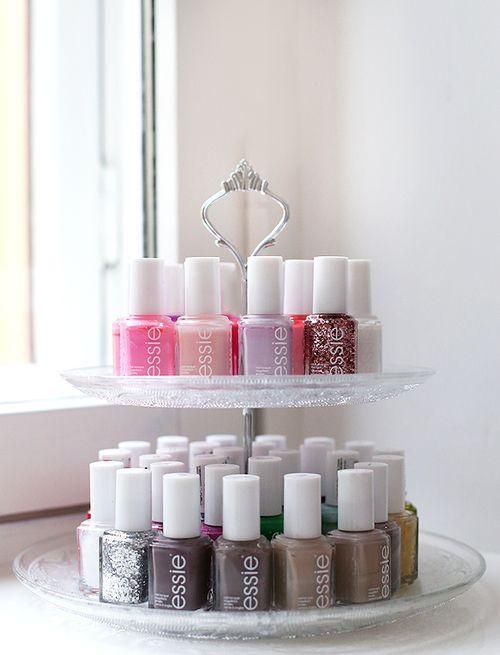
  • Nail polishes
  • Lipsticks / lip balms
  • Kirby grips / hairbands
Use shallow dishes and boxes to store items that need containing.

Use shallow dishes and boxes to store items that need containing.

The taller drawers can fit products in really easily:

  • Hairspray
  • Deodorant
  • Moisturiser
  • Make-up
  • Hairdryer
  • Straighteners
  • Make-up bags
  • Hair & make-up brushes

ITEMS ON DISPLAY:

  • Vanity mirror: magnified on one side to help with makeup application
  • Radio: early morning news & travel updates to keep me up-to-speed
  • Lamp: extra light during winter
  • Clock: helps me keep track of timings (much easier than constantly checking my phone)

If you can, try and position your mirror or chest of drawers on the same wall as your window so you're getting the best light as possible on your face. (Much easier when applying make-up / doing hair!)

For more storage ideas, take a look at my bedroom Pinterest board

YOU MIGHT ALSO LIKE...

Kitchen Storage Ideas

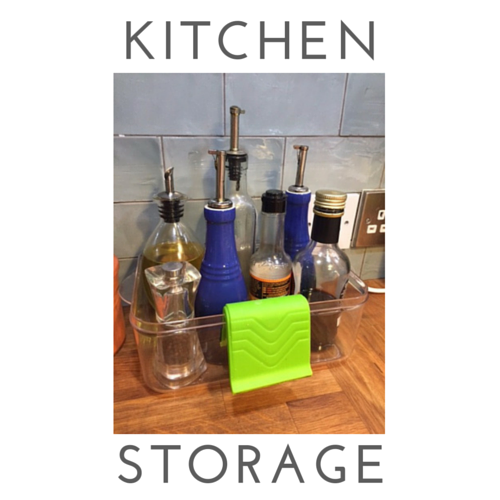
There's always so much you need to store in a kitchen: food, crockery, containers, utensils, appliances, cleaning products... tea towels! After a recent kitchen clear out, I decided to revisit my Pinterest kitchen board for some quirky reminders of just how clever kitchen designs can be to accommodate the modern house chef. Before I share my favourites, here's my personal, tried and tested not-so-cutting edge Quick Trick for kitchen storage:

Bear with me - while it's simple, it's SO effective and super quick. Simply buy a clear plastic box (keep the lid for a rainy day) and use it to put all your hob essentials in such as pepper, salt, oil, worcester sauce, silicone pan handle, etc. We purchased the one above from HomeSense. It'll not only keep everything neat and contained but they're all easily accessible. I found trays didn't work - I kept knocking the bottles over. This is a much better solution, which I also use in the fridge (lunch box from IKEA):

Containers also keep bottles etc from marking surfaces. Just make sure to give them a rinse out every couple of weeks.

MY TOP 5 DREAM KITCHEN STORAGE IDEAS:

1. PICTURE RAILS FOR COOKERY BOOKS:

Via

2. CRATE EXPECTATIONS: PERFECT FOR FRUIT & VEG

Via

3. KNIFE DRAWER: GREAT WORKsPACE SAVER

Via

4. PAN PERFECTION: NO DESCRIPTION NECESSARY!

Via

5. SPACE-SAVING SHELVES: GREAT FOR CROCKERY

Via

What are your favourite kitchen storage solutions? For more ideas, take a look at my Kitchen Pinterest board.

YOU MIGHT ALSO LIKE...

Paint Pot Trick

I hate it when paint pot lids are glued shut - a result of all the excess paint being wiped off your brush when painting. But - not any longer. All you need is one simple item: an elastic band! Simply fit it around the tin and wipe off all excess paint onto the band rather than the edge of the tin. Your tin is spared! - Thank you Pinterest for this top tip!

You can also balance your brush on the band if you need to:

TOP TIPS

  • Try to use a thick(ish) elastic band - a thin one runs a higher risk of snapping and paint could splash everywhere!
  • Be very careful when removing the elastic band. Use both hands and ensure both the top and bottom is removed together to avoid paint splashing everywhere (again!).

Love a Quick Trick? Try this potting on tip in your garden...

YOU MIGHT ALSO LIKE...

Potting On

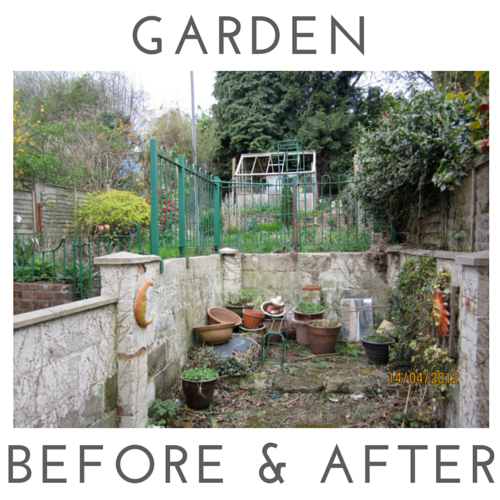
L and I have been on a gardening mission recently, as it's one of the final parts of our renovation that needs some final refinement. As you'll see in our before and after, our garden needed a lot of work. We finally filled the gap at the back with a greenhouse, where we've been growing lots of different vegetables and flowers from seed ready to go into our allotment. (VERY excited about this.)

With this mission in mind, I've been watching Monty Don's Big Dreams Small Spaces to pick up some tips. The series is perfect as Don deals with people similar to L and I - amateurs who love gardening, but don't really know that much. This Quick Trick is courtesy of Monty Don, which we've used over and over again as we pot on our plants into bigger pots or into the ground.

Simply:
1. Dig a hole
2. Put your plant pot into it
3. Fill around the pot with soil
4. Remove the plant pot
5. Remove the plant from the pot
6. Pop the plant in the hole.

You now have the perfect sized space to pot on your plant. This way, you avoid squeezing the roots into something too small or moving soil back into a space that's too big. It's so quick, simple and does the trick. It's like making a sandcastle, but inverted-!

Pop your plant pot into a hole and fill soil around it so there are no gaps.

Pop your plant pot into a hole and fill soil around it so there are no gaps.

Remove the pot.

Remove the pot.

Your plant should slot nicely into the soil. Firm down gently.

Your plant should slot nicely into the soil. Firm down gently.

Make sure to water in your plants once potted on (try doing this early morning or after sunset otherwise the sunshine and heat will cause the water to evaporate before the plant can absorb it).

Make sure to water in your plants once potted on (try doing this early morning or after sunset otherwise the sunshine and heat will cause the water to evaporate before the plant can absorb it).

For more behind-the-scenes snaps of the Maison Bailey greenhouse & allotment, follow on Twitter here.

YOU MIGHT ALSO LIKE...

Desk Storage

home-office-storage.JPG

Tealight jars

- Make the perfect desk storage for those bits and bobs that can never quite find a place: 

  • USBs
  • Erasers
  • Paper clips
  • Ink cartridges
  • Drawing pins
  • Pencil sharpeners
  • Post-It Index Tabs
  • Mini staplers / staples

I don't use these items all the time, so these jars sit on my home office shelf within easy reaching distance. They also have the option to be hung - so if you're stuck for space you can add hooks underneath your shelf (like this) and hang them!

Spice Jars

IKEA spice jars also offer similar storage, however they're better for smaller items as they have a narrow top and come with a lid:

Desk-spiration

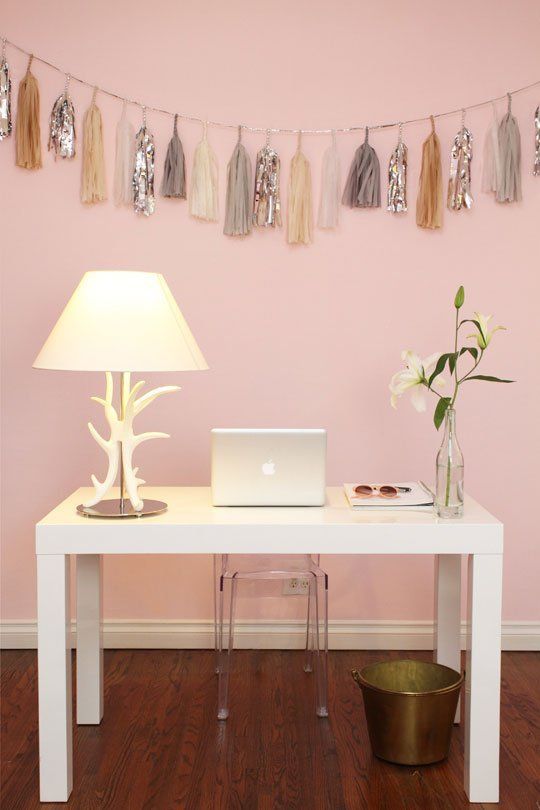
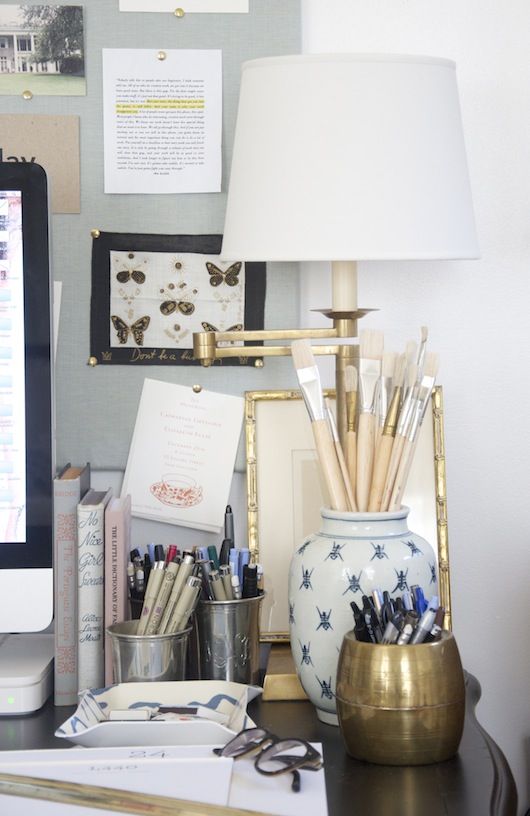
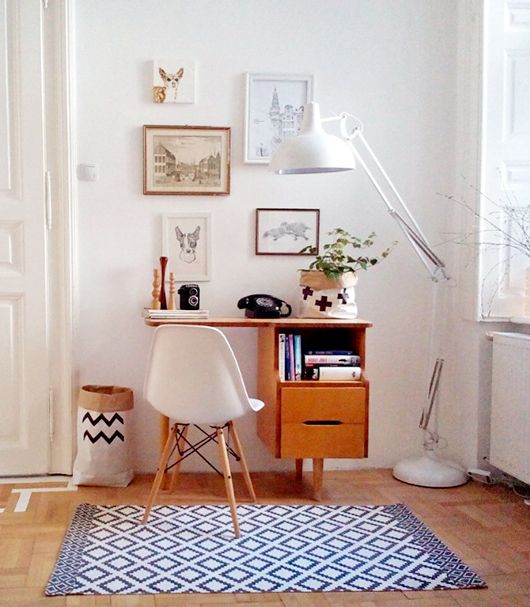
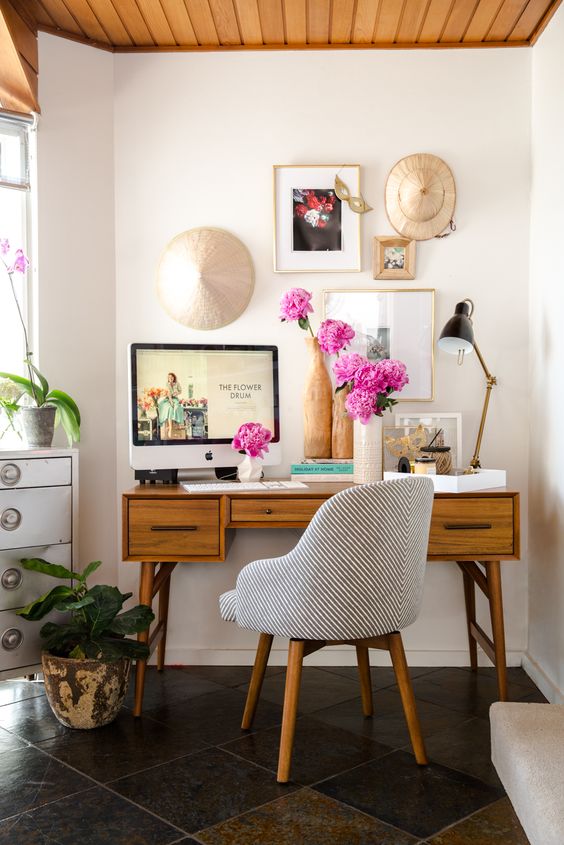
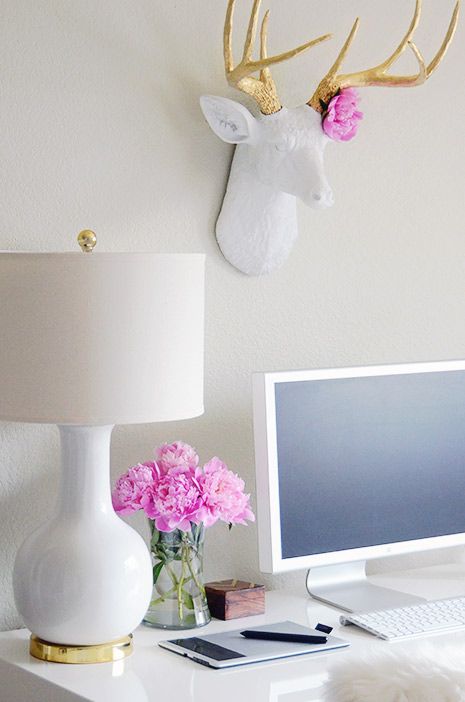
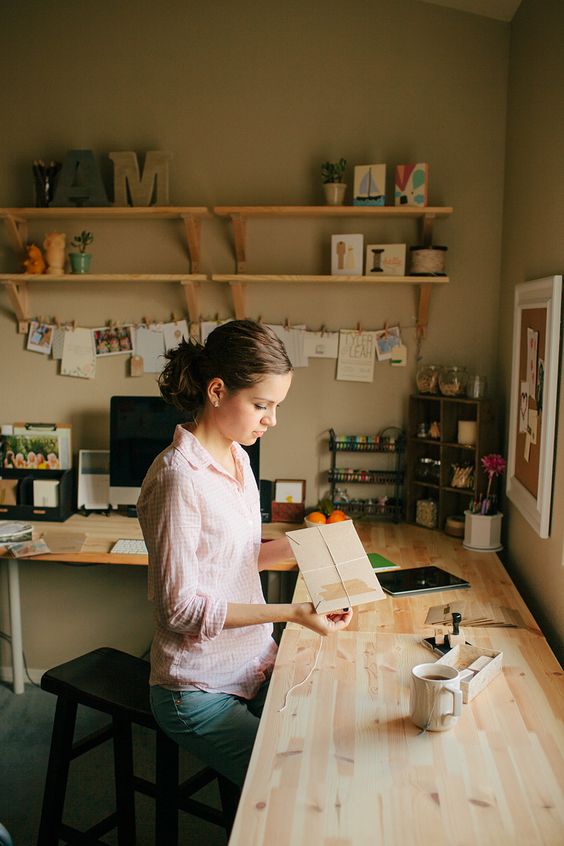
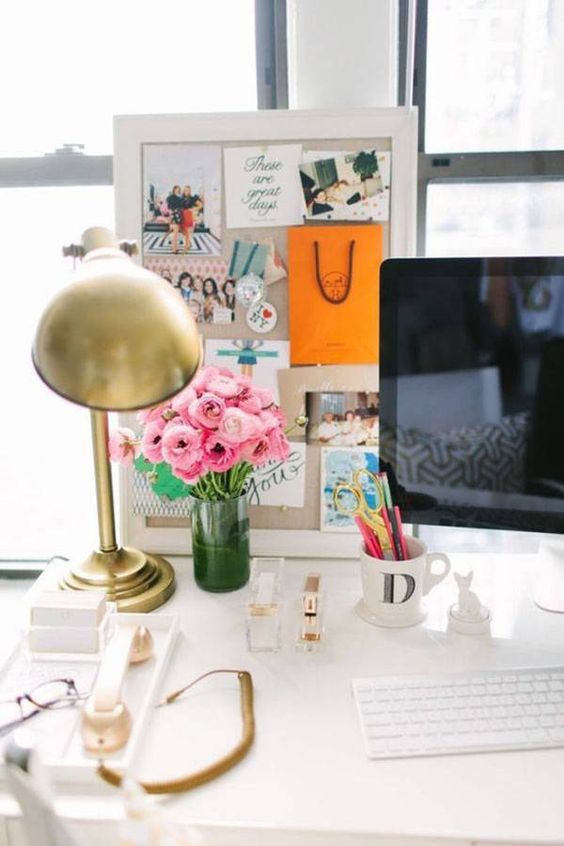
Desks have seriously upped their game in recent years. What used to be basic work stations are now beautiful additions to your home, which you can customise around your style and work motivations. Here are some of my favourite from the aspirational world of Pinterest (select image for source):

For another savvy storage idea for your home office, take a look here.

YOU MigHT ALSO LIKE...

Easy Art

What you hang in your house is a big reflection of who you are and what you like. Whether it's a picture you bought on holiday, a vintage map of your hometown or a special photo capturing a happy day. But sometimes there are certain designs and colours you'd love in your home, which you don't have on hand ready to hang, or can afford! 

Step up: CARDS!

This is one of my favourite Quick Tricks because it saves a lot of money, especially if you get frames from IKEA. There are so many cards out there featuring beautiful designs and colours, why not give it a go?

A few of our favourite things: London, Paris and (for L) cycling (Paperchase cards, IKEA frames).

A few of our favourite things: London, Paris and (for L) cycling (Paperchase cards, IKEA frames).

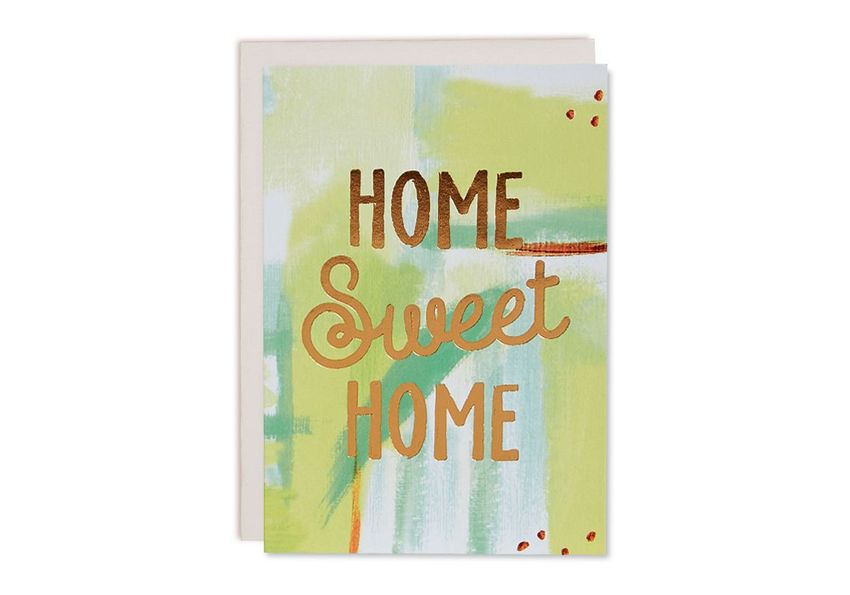
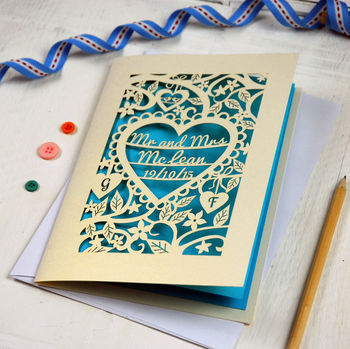
Why put wedding cards in storage when you can display them and remember your happy day, every day?

Why put wedding cards in storage when you can display them and remember your happy day, every day?

Wise words for our kitchen.

Wise words for our kitchen.

A scene from one of my favourite stories (glumptious - great word).

A scene from one of my favourite stories (glumptious - great word).

Inspirational card art for when you need it.

Inspirational card art for when you need it.

In-joke: We framed this card I bought L a few years ago as he accidentally did this once (he singed his eyelashes when trying to light the BBQ...!).

In-joke: We framed this card I bought L a few years ago as he accidentally did this once (he singed his eyelashes when trying to light the BBQ...!).

MY FAVOURITE CARD SHOPS

  • Oliver Bonas (especially birthday, wedding and new home).
  • Paperchase (such a big variety - artistic, modern, comedy).
  • Department stores always have big ranges but I really love the cards in Fenwick.
  • Not on the High Street (especially when you're looking for something in particular or personalised).

CARD-SPIRATION:

Take a look at the Maison Bailey gallery wall over on Instagram.

YOU MIGHT ALSO LIKE...

Cake Stand Storage

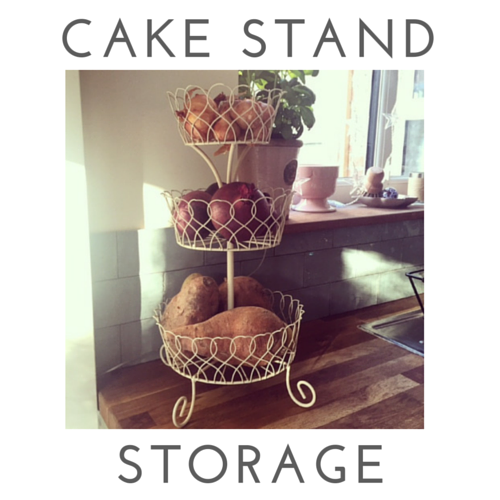
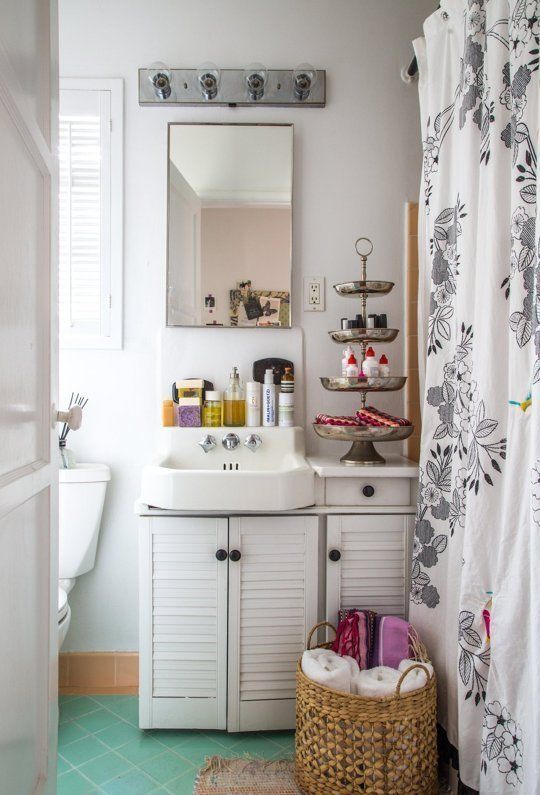
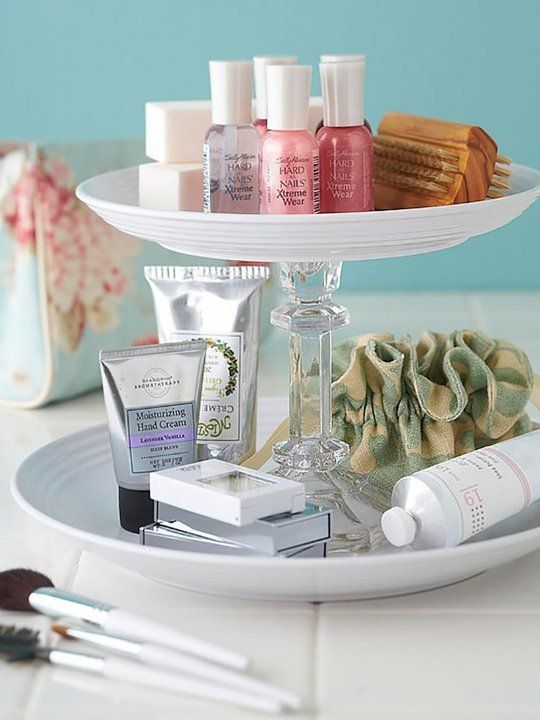
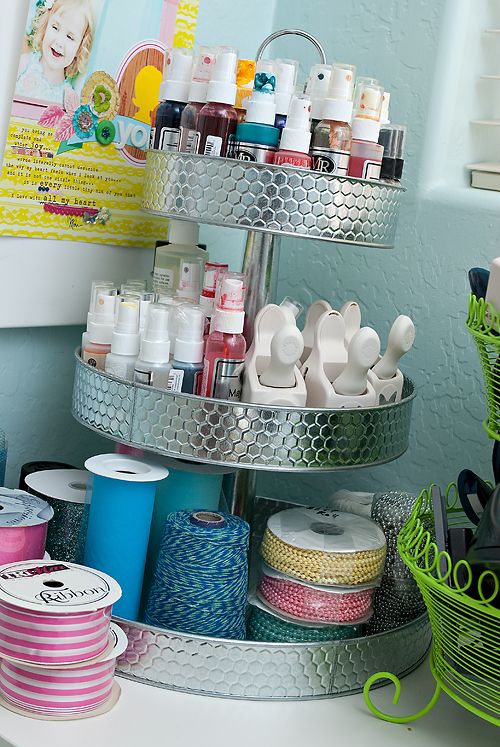
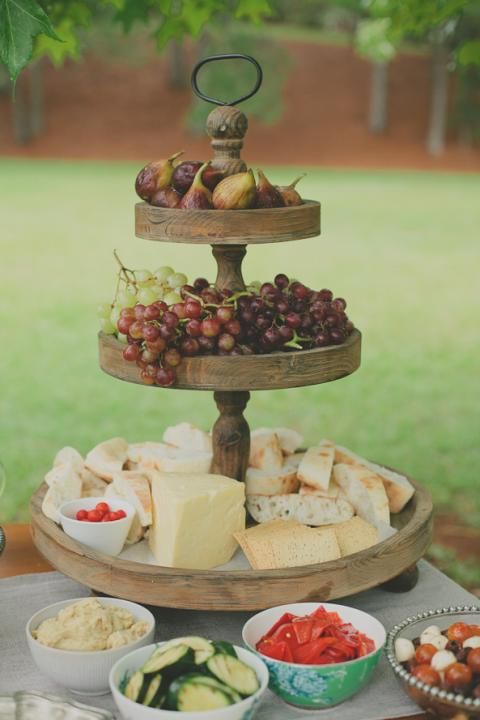
This quick trick is really simple and helps avoid food wastage: Simply display your vegetables in a wire cake stand (this one's from Homebase) and you'll be able to quickly spot what needs using first when meal planning. This is a particularly handy trick for small kitchens, as the three tiers offer stacks of storage without taking up too much precious surface space:

You can also use this idea for fruit (although avoid bananas, apples, kiwi fruit, figs, pears and tomatoes as they release ethylene, which can speed up the ripening process of other fruit).

MORE CAKE STAND IDEAS...

Homemakers are wising up to the multiuse functionality of cake stands, whether you want to store your treasures or display daily essentials for quick access. Here's some of my favourites:

For another smart kitchen storage idea, why not try this?

YOU MIGHT ALSO LIKE...


Crate Tables

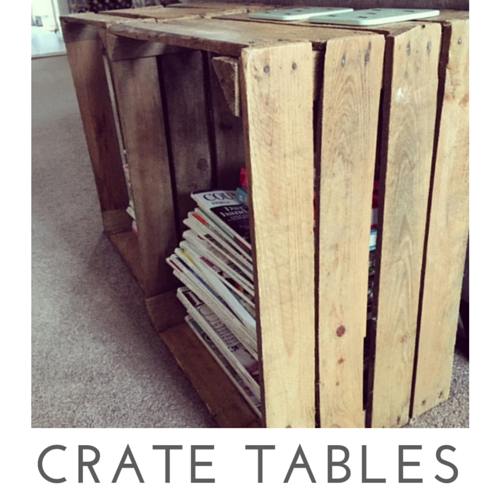
This quick trick is a simple solution to living room storage. Simply buy a couple of apple crates off eBay and you've got yourself a pair of rustic side tables to pop drinks on and store sofa essentials inside. Magazines, books, remote controls, reading glasses, blankets - they offer bags of room. 

We kept ours rustic however you can paint them to match a room scheme (wheels are a great addition for coffee tables), or paint the inside a bright shade to jazz it up.

(Elvis was determined to be part of this particular photoshoot...):

TOP TIP

Coasters will ensure your drinks don't topple (it'll avoid wine glass bases falling in between the wooden slats).

Why not try this handy living room storage idea too.

YOU MIGHT ALSO LIKE...

Fajita Spice Mix

I LOVE Mexican Food

  • It's quick to make (perfect weekday meal)
  • Big variety: tacos, enchiladas, nachos, fajitas...
  • A lot of it is self-assembly so you can get yours just right (I love soured cream - L doesn't) 
  • It's spicy! (We love food with a kick).

Our favourite dish has to be chicken fajitas with homemade guacamole - so much better than the gloopy shop-bought stuff. With this in mind, we decided to try out this homemade fajita spice mix recipe to see how it compared to the supermarket sachets, which can cost around 80p-£1 each. We multiplied the recipe ingredients by 10 to make a big batch. Not only does this Quick Trick taste better, but it costs less, is easier to store (we keep ours in an air-tight Kilner jar) and it lets you add as much or as little as you want. 

Don't forget to add a spice label to your Kilner jar.

Don't forget to add a spice label to your Kilner jar.

We tend to use one flat tablespoon per person.

We tend to use one flat tablespoon per person.

Pop the spice mix on the chicken once it's sealed in the pan.

Pop the spice mix on the chicken once it's sealed in the pan.

Happy days!

Happy days!

MY FAJITA ESSENTIALS

  1. Homemade guacamole (avocado, lime juice, red onion, coriander stalks, fresh chilli, cherry tomatoes and salt/pepper)
  2. Salsa (Discovery is tasty and lasts well)
  3. Jalapenos (we put a few of these small jars into one big Kilner jar in the fridge)
  4. Grated cheese
  5. Soured cream

Top tips

  • Roll a chicken breast in approximately 1 tablespoon of this spice mix before grilling. It makes the perfect addition to a healthy lunchtime salad
  • It may be called 'fajita spice mix' but you can add it to anything to give it a Mexican twist.

Love spicy food too? Try out this spice label Quick Trick.

Craft Storage

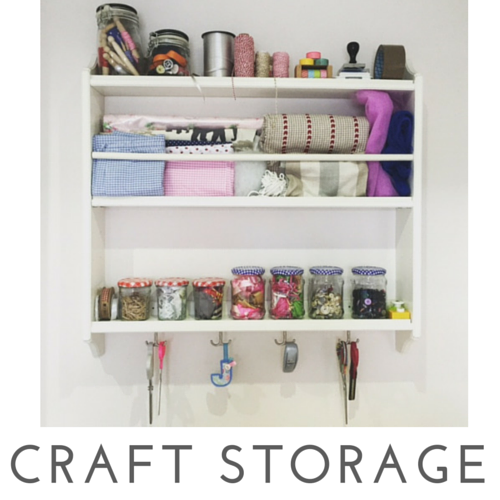
I love IKEA hacks as they're a creative way to challenge a product's intended use. The ones I've seen online are true genius. You can also alter items to fit your taste / home style better (like this idea).

This quick trick is one of my favourite hacks: turning an IKEA STENSTORP plate shelf (new version can be found here) into the ultimate craft storage. Ours is fitted onto a wall in our home office and stores fabric, wrapping accessories and jars of buttons and ribbons. It's the perfect storage solution as it reminds you what you have, everything is easily accessible and essential surface space is kept clear.

DISCOVER MORE IKEA HACKS:

Follow Maison Bailey on Pinterest for more home office ideas on-the-go.

Furniture Handles

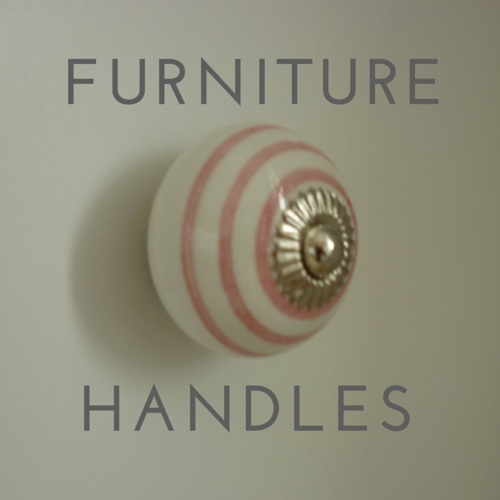
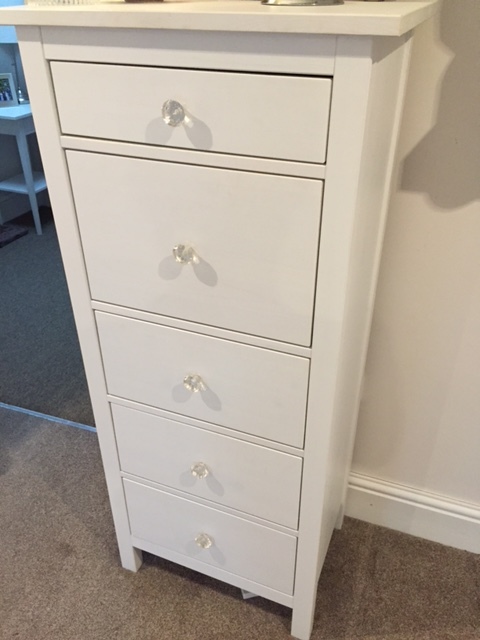
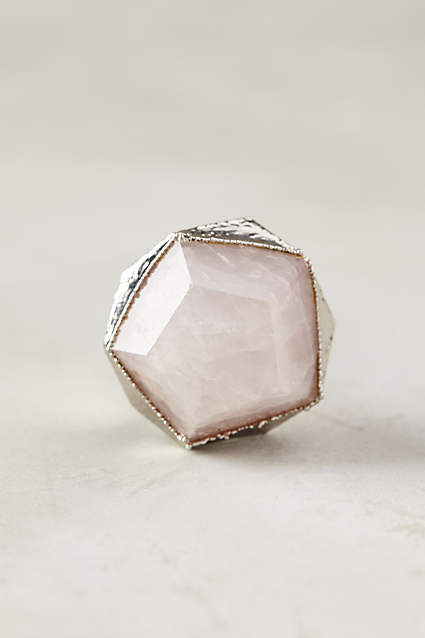
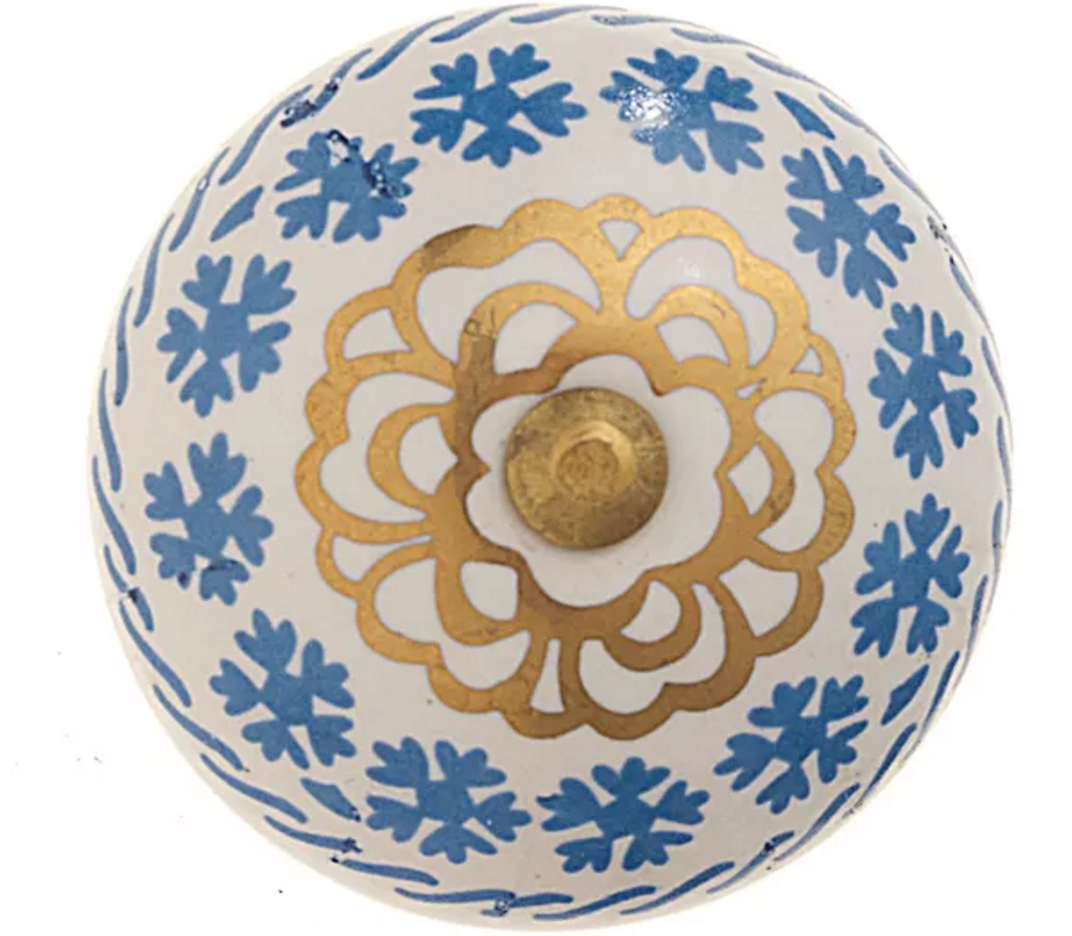
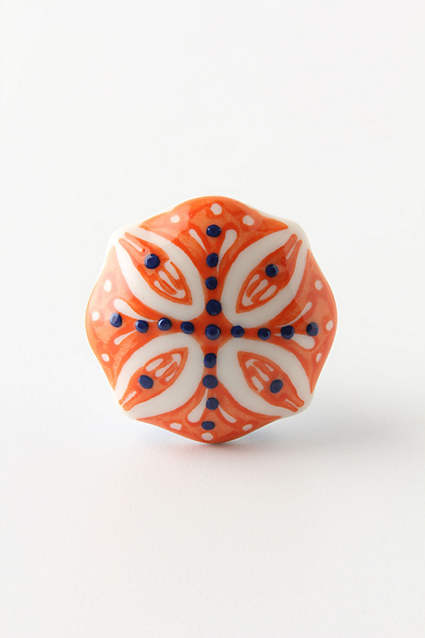
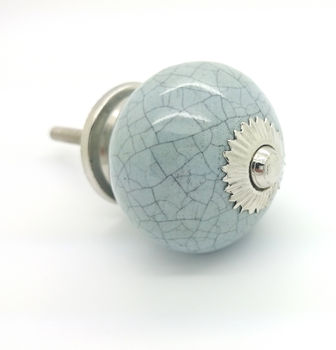
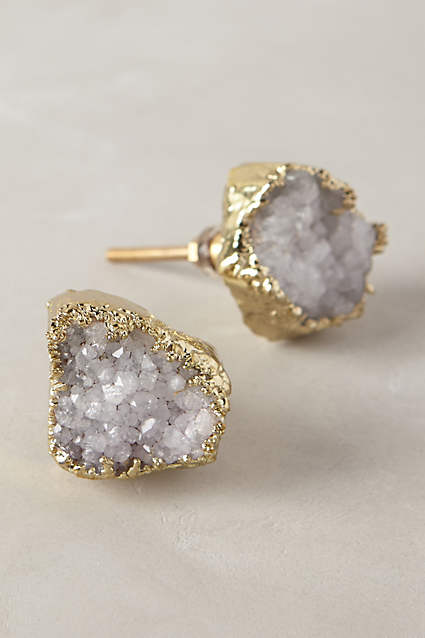
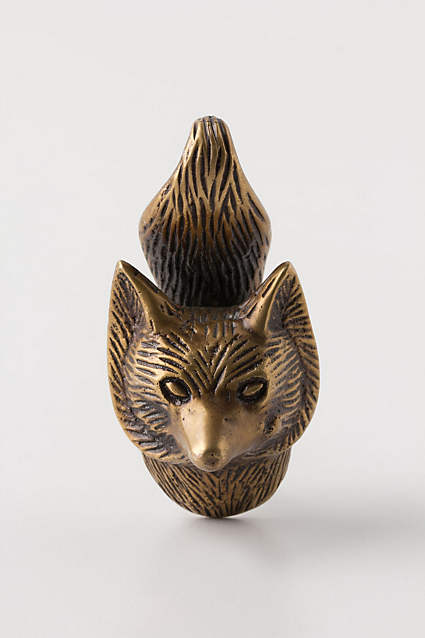
This is one of my favourite quick tricks as it's an affordable way to completely transform your furniture. Simply swap furniture handles with ones of your choosing! I did this with my IKEA HEMNES chest of 3 drawers, 5 drawerswardrobe and bedside tables:

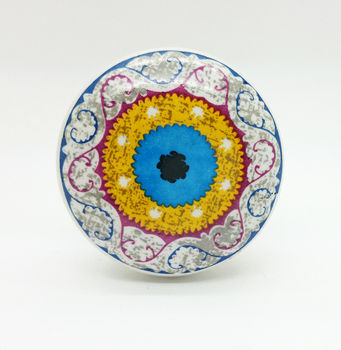
Porcelain swirls:

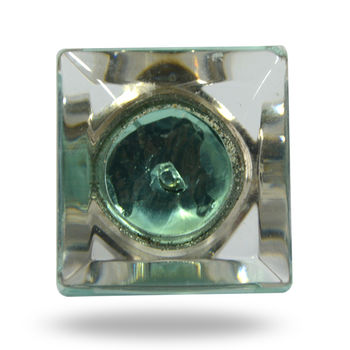
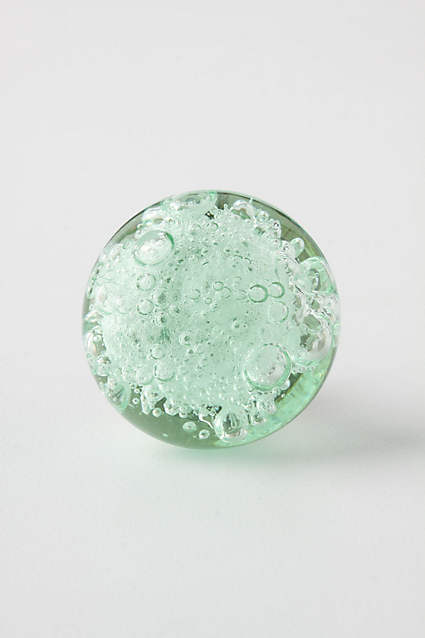
Crystal Faceted Glass Diamond:

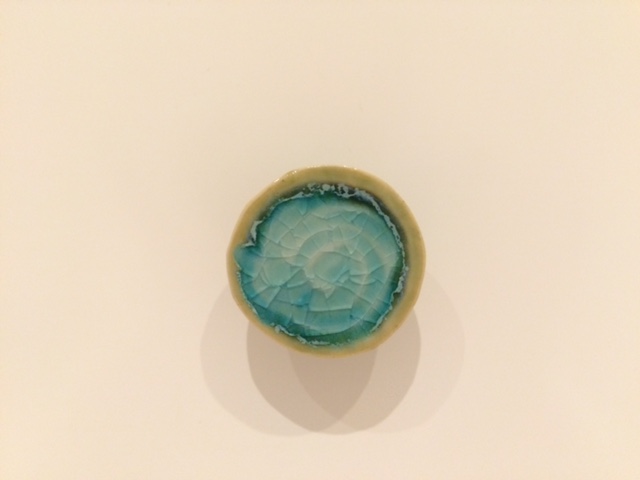
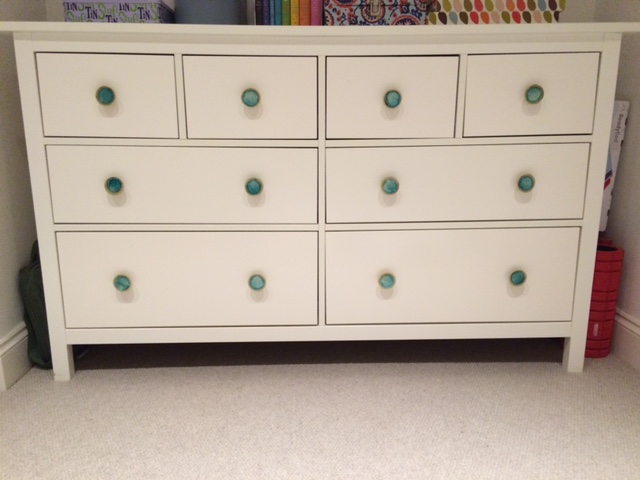
Sister S also used this trick to update her HEMNES chest of 8 drawers with these Anthropologie handles:

TOP TIP

Pushka Knobs on eBay is our go-to brand for handles as they're really affordable and offer a huge choice. Pink swirls were only £2.95, and crystal faceted were £4.00. Bargain!

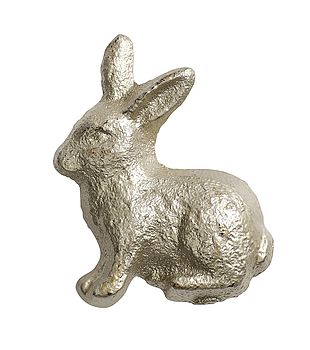
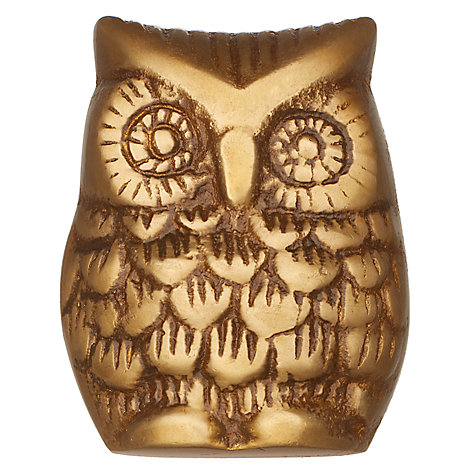
Other versions I'm loving right now:

The Best Part

If you fancy a change, you don't need to buy new furniture - simply swap the handles! From sparkly gems to quirky brass - it's amazing how much impact handles can have on a room.

I would recommend keeping handles similar per room - whether from the same range, a similar colour or material - otherwise it could look a bit busy.

More decor inspiration can be found on my Bedroom Pinterest board.

Key Hooks

This simple IKEA hack will make your homelife so much easier. No more lost keys or misplaced grab-and-go essentials. Simply fix hooks underneath an IKEA MOSSLANDA picture ledge (only £4.50), fix it to a wall and voilá!

Its depth is shallow enough not to worry about bumping into it as you dash by, plus its hallway location offers L the perfect spot to place his daily necessities: watch, wallet, travel card and change for coffee, ensuring nothing is forgotten pre-exit. While most of my essentials stay in my handbag, I like to keep a to-do list and a pen here as it reminds me of plans, projects, bills and birthdays as I walk by.

key-hooks.JPG

TOP TIP:

Ensure the shelf doesn't look out of place by adding a picture or mirror above it. We have a wedding venue print my sister S gave us, as we have our mirror nearer to our front door where there's better light.

Safety shout-out: Avoid placing keys and precious items right next to doors and windows as they can be spotted and grabbed by the wrong people looking for opportunities! We keep ours much further back into our hallway.

Like this IKEA hack? Find out another way to use an IKEA rail to store garden shoes.

Necklace Storage

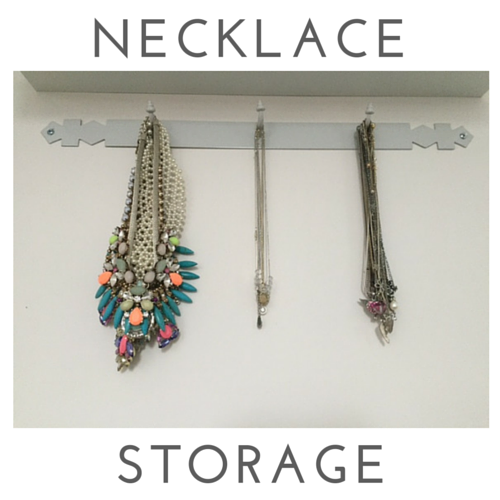
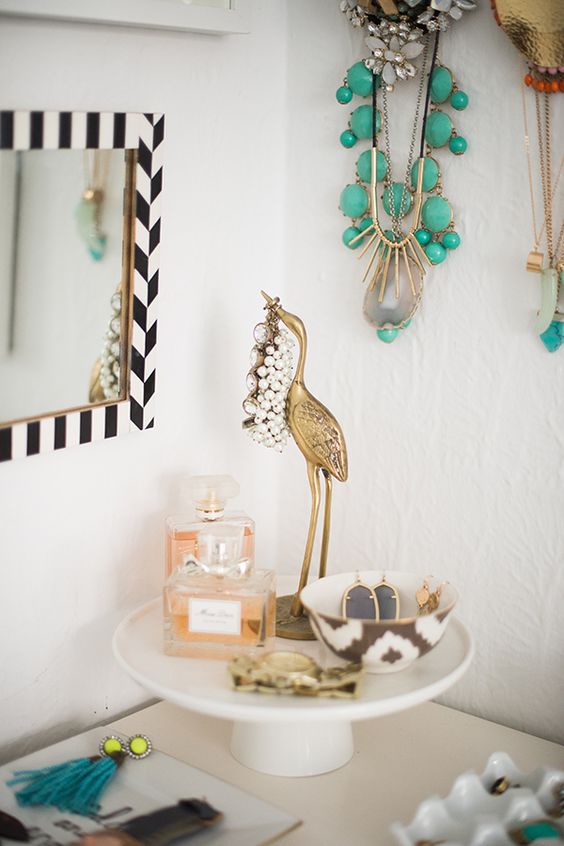
Free-standing hooks have become the new jewellery box in recent years - they not only display your favourite necklaces so you remember what you have, but they're great for grab-and-go mornings. There are lots of stylish takes on the trend, from shabby chic to modern copper.

While I love these pretty solutions, I still find they take up essential getting ready space and are partial to a topple or two. To avoid this but retain the concept, I purchased a wall hook in the Cox & Cox sale and fixed it to my bedroom wall. Space is saved, tangles are avoided - plus it makes a pretty wall feature out of your necklaces:

TOP TIP:

Divide your necklaces onto three hooks:

1. Statements (space for bulky jewels)

2. Regulars (go-to favourites that work with most outfits)

3. Others (when you fancy a change)

For more jewellery storage ideas, take a look at my Bedroom board on Pinterest.

Spice Labels

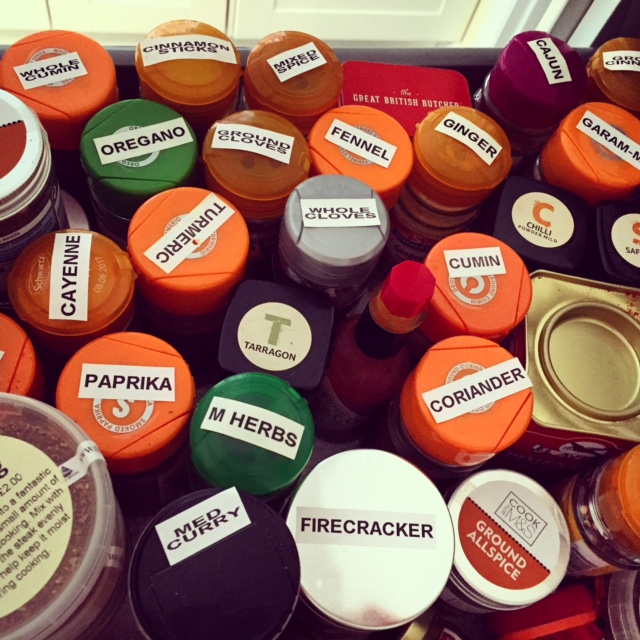
This quick trick is for those who store their spices in a drawer or a low cupboard, meaning you only get a bird's-eye view of your spice jars. Most brands label their lids in very small text, which makes it difficult to tell your cayenne from your cumin.

Simply purchase one of these (the perfect gift for organisers) and voilà: one seriously sorted spice stash:

spice-labels
spice-organisation

(A culinary high five to M&S and Tesco for being contrary to the norm.)

I think a person's spice collection says as much about them as a handbag or man-drawer would. What are your go-to spices?

Garden Shoe Storage

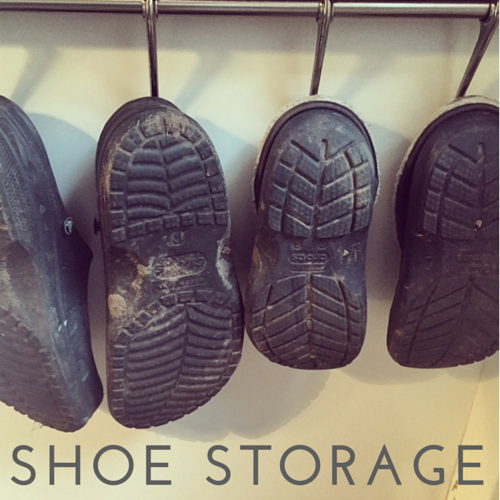
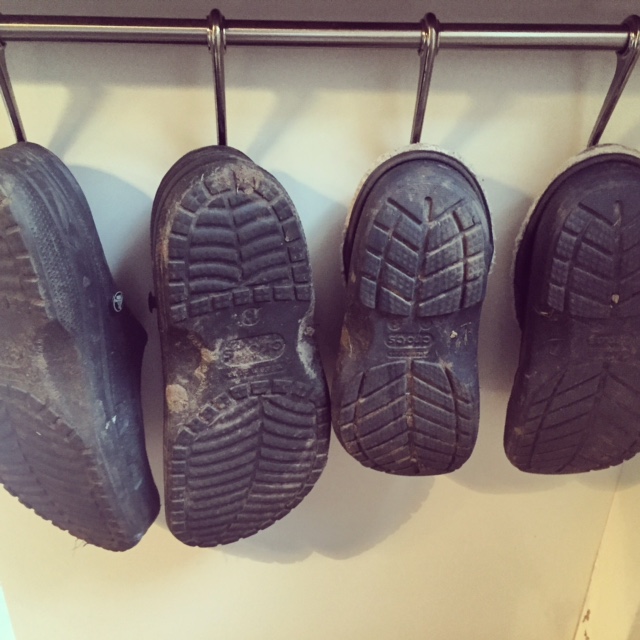
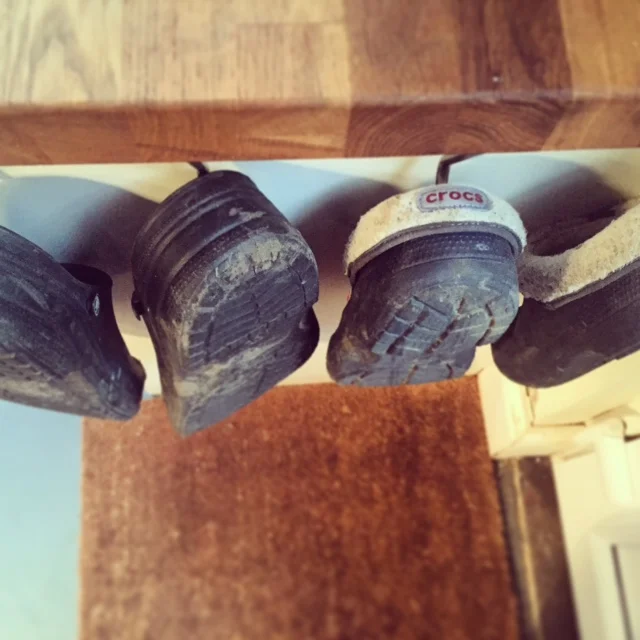
This quick trick will ensure your back door floor area is kept clear and that your garden shoes are easy to grab and go. Simply use an IKEA FINTORP rail and hooks (£10 in total), fit it to the side of a cabinet near to your back door and hang your shoes on it!

outdoor-shoe-storage
shoe-storage
storage-for-outdoor-shoes
shoe-hooks

Cheap, quick and useful.

For more kitchen ideas, take a look at my kitchen Pinterest board.

Control Your Remotes

I'm a firm believer in simple tricks that make a BIG difference to HomeLife.

We've spent a number of evenings desperately hunting for our remote controls when all we want to do after a busy day is flop and zonk in front of our favourite show (currently: me - Bake Off. L - The Strain.)

Quick Trick: Simply store all your remotes in a basket. It's that simple. We went for wicker to add a relaxed, rustic feel to our living room, stored close-to-hand underneath our coffee table. 

remote-control-storage
wicker-basket-storage

Different size baskets are a nice variation, giving a home to other living room essentials such as cables, blankets and spare tealights.