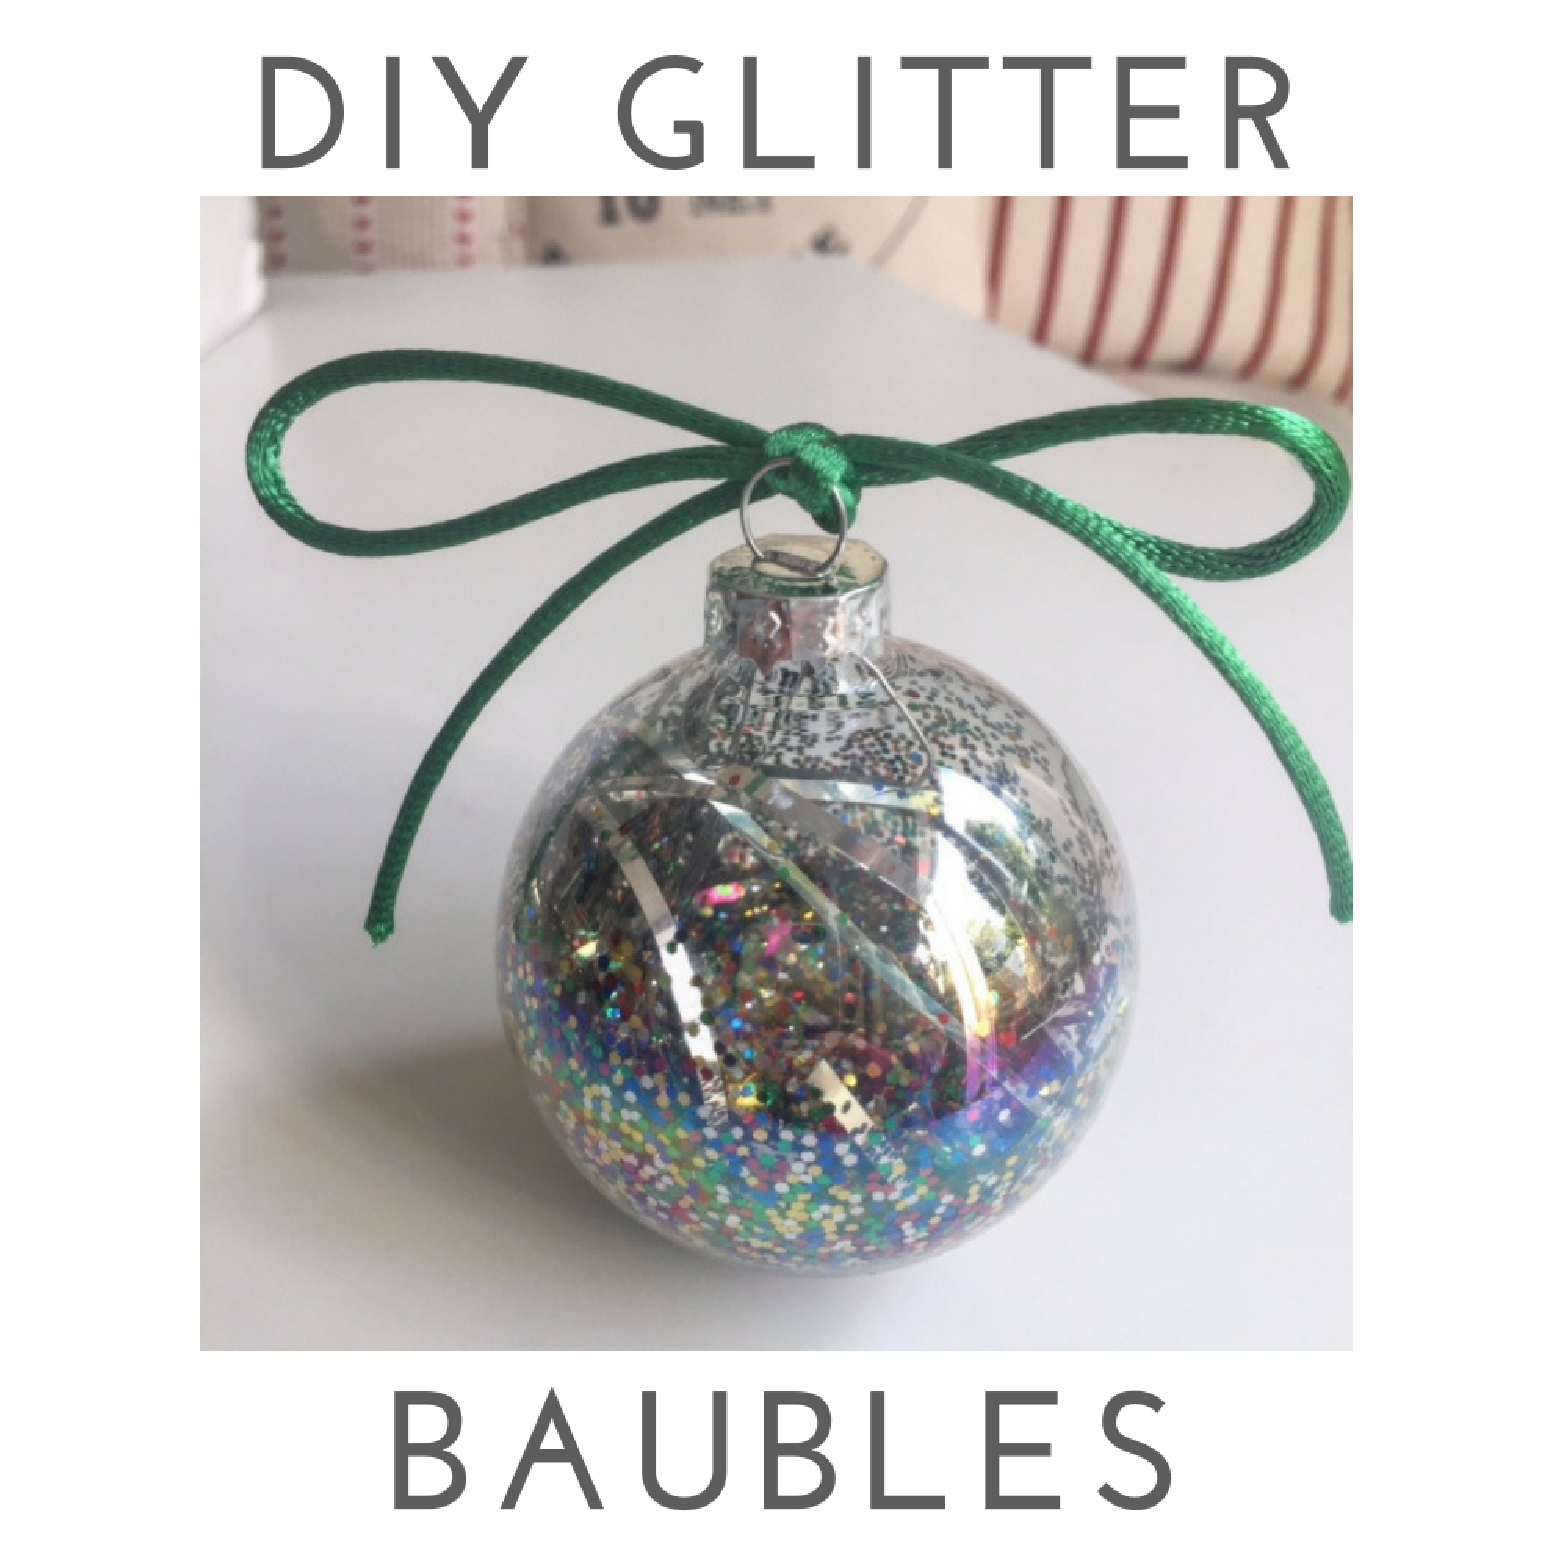
As you can probably tell from my Instagram feed, I'm a huge fan of candles. Not only for their aroma but how they instantly transform a room into a cosy cave. They're the perfect way to add a pretty glow as the darker evenings arrive earlier and earlier.
I've never tried making my own candles before - but was really surprised at how easy they were to make and how many you get from just a few ingredients. As long as you prepare your ingredients beforehand, they only take an hour or so at the weekend (depending on how many you make). L gave me a hand making them, which helped speed things up.
ALL YOU NEED
- Soya candle wax
- Christmas spice fragrance oil (or any fragrance oil you like the aroma of - but ensure it's suitable for candle making)
- Candle wicks
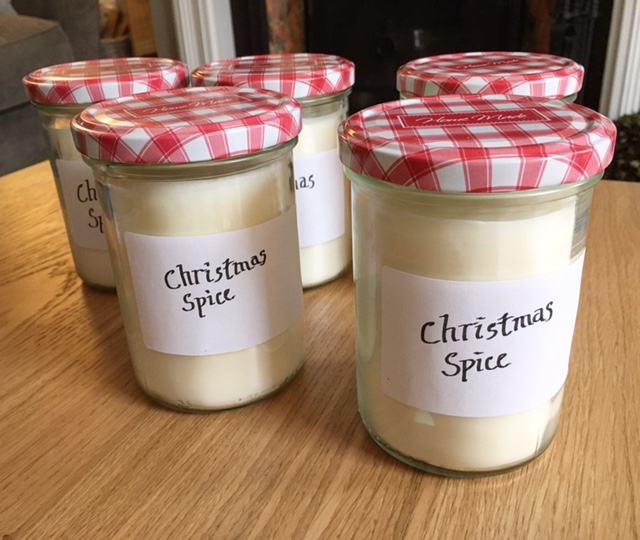
- Candle jars with lids (I bought six from a local home store)
- Labels / bakers twine / gift tags for decoration if gifting (completely up to you how you decorate them!)
- Cooking thermometer
STEPS
1. Gather your ingredients - I found approximately 300/350g of wax made 1 x candle (N.B. this depends on the size of your jar)

2. Prepare 3g of Christmas spice oil ready to add to your melted wax. (Always best to follow the instructions on your oil in terms of how much to use. It also depends on how strong you want your candles to smell!)

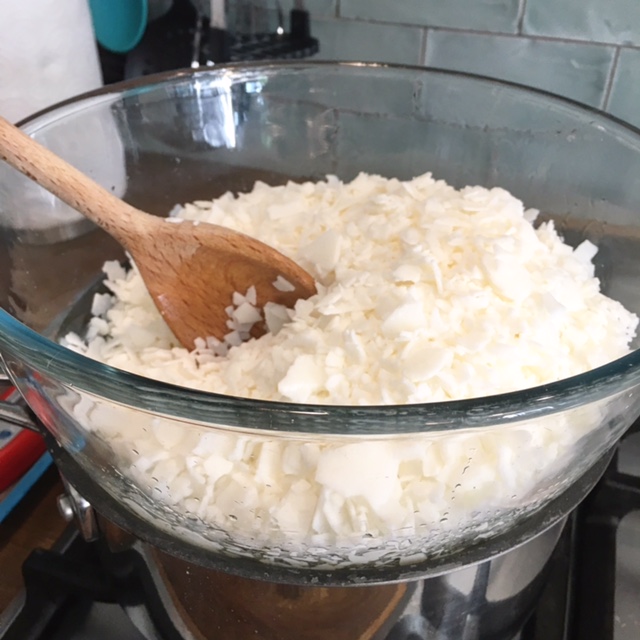
3. In a bowl over boiling water, heat candle wax to 70°C.
4. Leave wax to cool slightly and add the spice oil.
5. Once wax has cooled to 60°C, dip the base end of a wick into the liquid and fix to the bottom of your candle jar to set. Make sure it's centred and the wick is straight. (I used a pair of tongs for this, which helped fix it in place.)

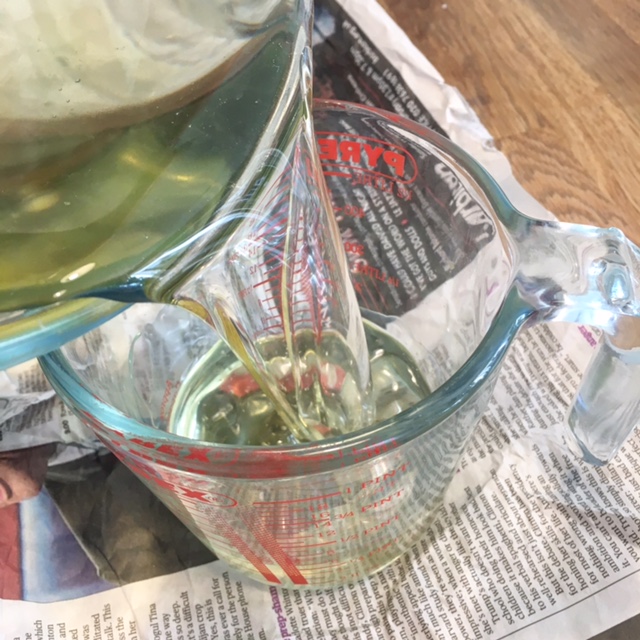
6. Pour the liquid into a jug to help pour into the candle jar.
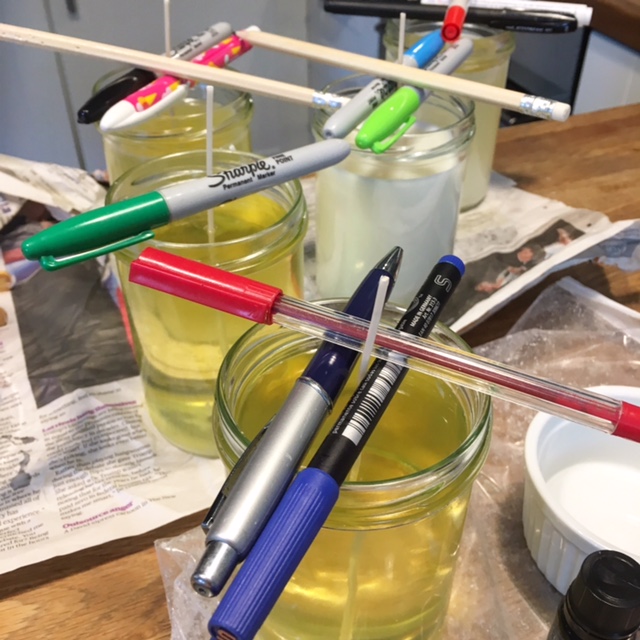
7. Use pens to support the wick while the wax dries (approx. 2 hours but depends on size - leave as long as you can).
8. If they're not level when they dry, you can add some additional melted wax to the top to smooth it out. (I didn't need to do this - they dried pretty well).
9. Trim the wicks.


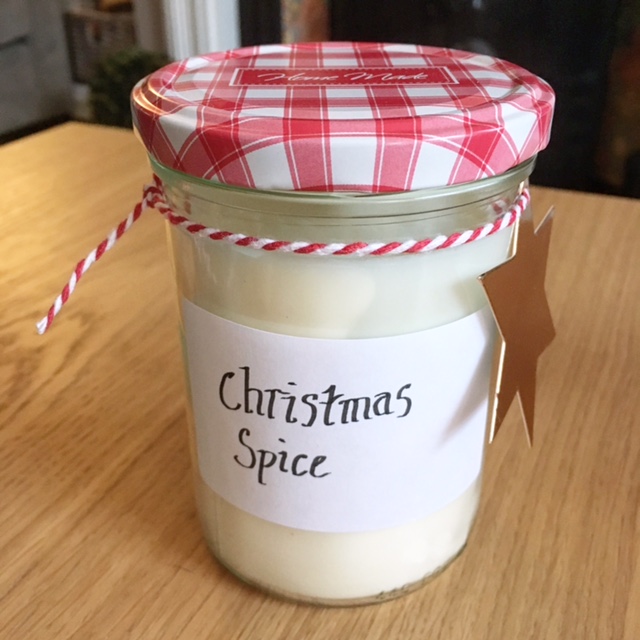
10. Add lids to retain the scent.

11. Decorate! I used a calligraphy set I got for Christmas last year to write my labels, then added some bakers twine to fix the gift tags.


Love festive fragrances? You might also like to try out these festive fruit ideas.