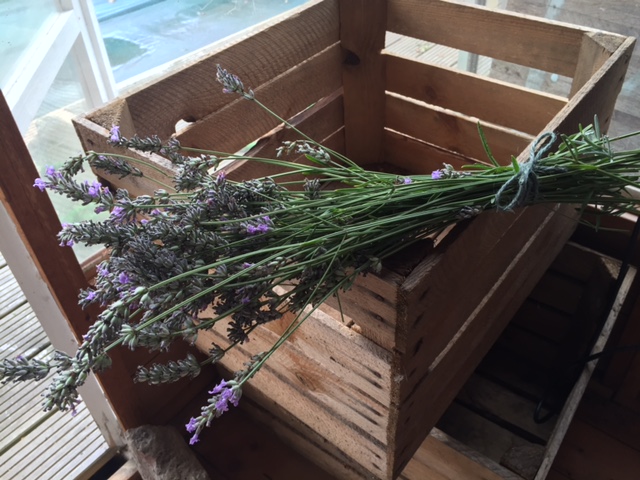
One of my autumn aims was to harvest more from our garden to enjoy during the frosty months. A recent experiment has been homemade lavender bags. Our lavender did particularly well this year - but it's only when we were in the garden did we get to enjoy the aroma. (Mog also enjoyed stalking the various bees who were busying themselves with the nectar.) So I decided to bag up its famous scent to enjoy at home beyond summer.
As you know I'm all about home ideas for busy people, so this Quick Trick is the fastest way I could think of to make them. Of course, I'd love to have the time to sew my own sachets but with work and Baby L on the way, time is precious! (Although I'd like to use some of my maternity leave to learn some sewing basics.)
All You Need
- Dried lavender (we harvested ours at the end of August and let dry out for approx 3 weeks). If you don't have any in your garden you can easily buy some dried lavender online
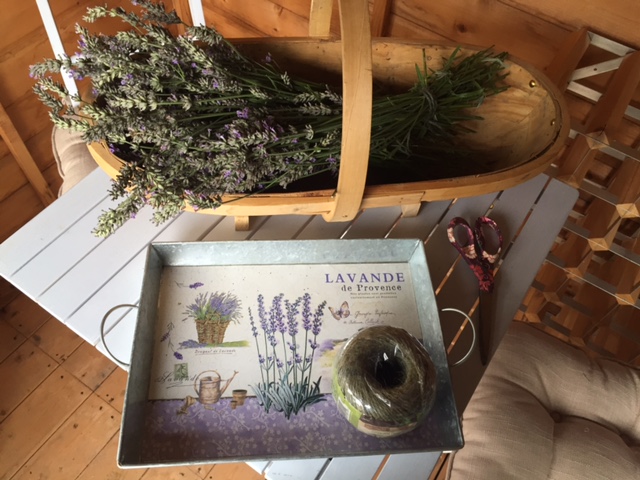
- Twine
- Scissors
- Burlap bags
- Fabric paint - any colour you prefer!
- Thin paint brush
- Polyester filling
Steps

- If picking lavender from the garden, harvest mid-to-late August (online research told me to prune back lavender by two thirds. This will give the plant time to produce new shoots at its base, which will grow and harden up before winter arrives.)
- Tie your lavender in bunches with twine and hang somewhere dry - I used our summer house.

Assistant Mog.

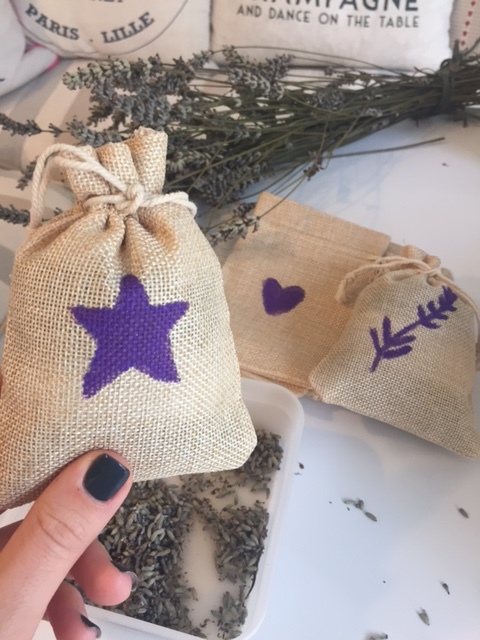
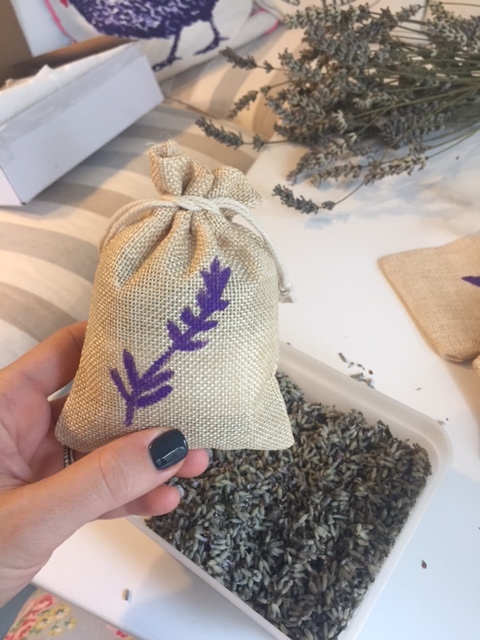
3. While your lavender is drying, use these three (or so) weeks to paint a pretty design onto your burlap bags. I went for a simple hand-drawn lavender design, and threw in a star and heart for some variety. Ensure they're completely dry before filling.


4. Remove the dried lavender flowers by hand and store in a tupperware to retain the scent as much as possible.

5. This is the fun part! Simply fill the bottom of your burlap bag with your dried lavender, then add a layer of polyester filling to bulk it out, then add some more lavender and top with a final layer of polyester filling. - So two layers of each. Make sure the polyester is the top layer as it'll prevent the lavender from escaping from the top.


6. Tie your lavender bags up tightly. If you order the bags I did (link in the list above), they come with string. Rather than a bow I'd recommend a double knot to ensure nothing escapes.
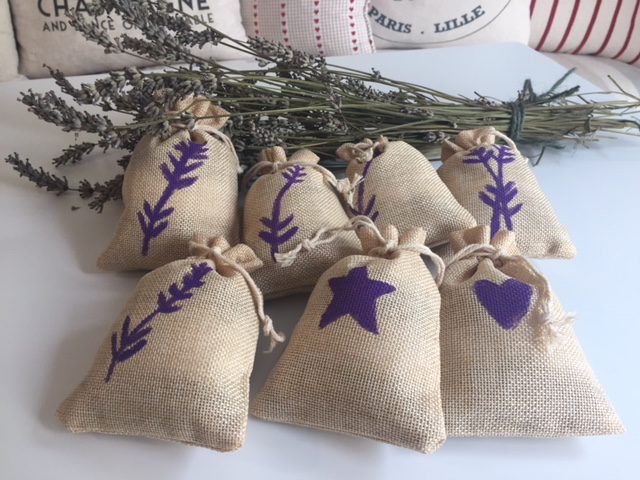
And there you have it!
Top Tips
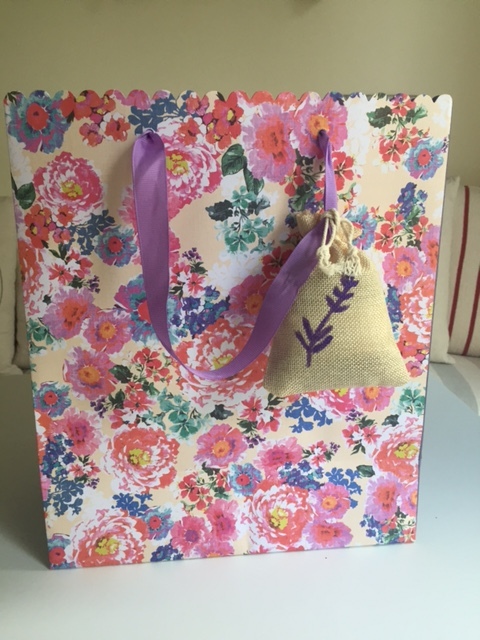
- You can pop them in your wardrobe or sock drawer to keep clothes smelling fresh and floral - or you can attach them to gifts as an extra treat for your recipient:
- Put a piece of paper inside your burlap bags before painting otherwise the paint could leak through to the other side. Remove paper before filling the bags.
Have you used lavender in crafts or recipes? I'd love to hear about them below or over on Twitter.
YOU MIGHT ALSO LIKE...