storage

Wrapping Paper Storage

DIFFICULTY RATING: EASY

I love discovering smart decor hacks on Pinterest. I really admire anyone who can take a product and find another use for it (and in some cases, a better use for it!).

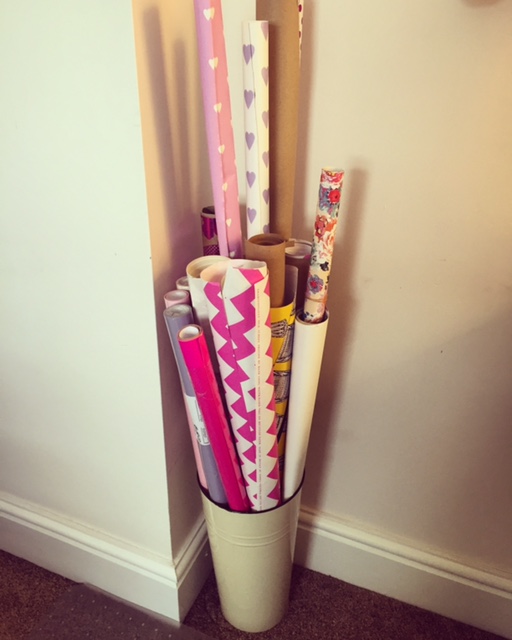
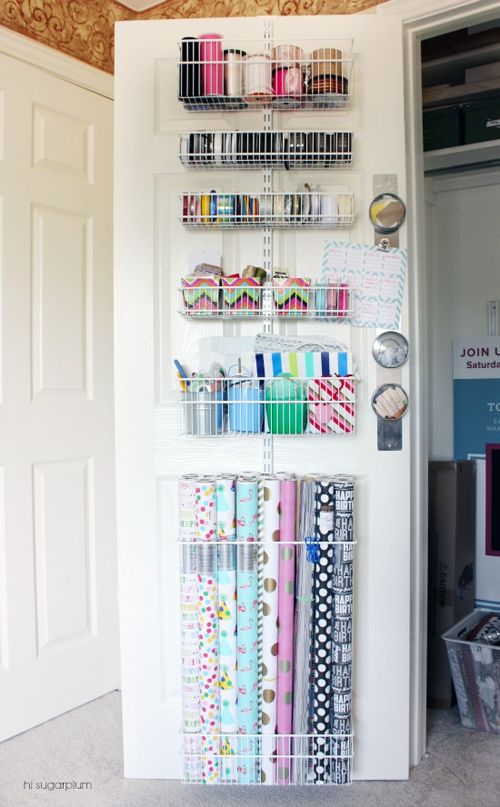
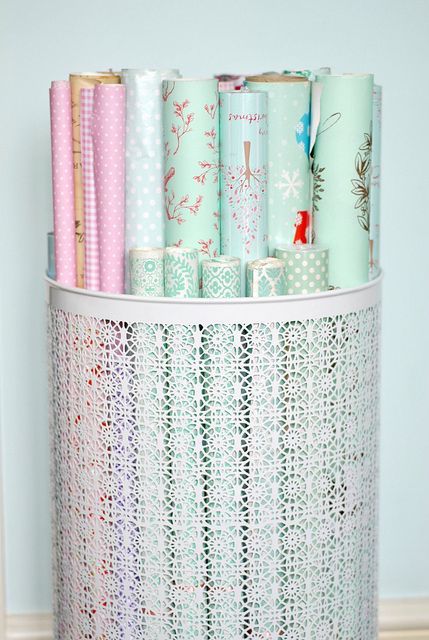
Wrapping paper storage is one of the product hacks that has really taken off in recent years. Once relegated to a dark desk drawer, rolls are now having their moment in the spotlight - with homeowners organising and displaying them in ways that make them more accessible, while adding pops of colour to a room.

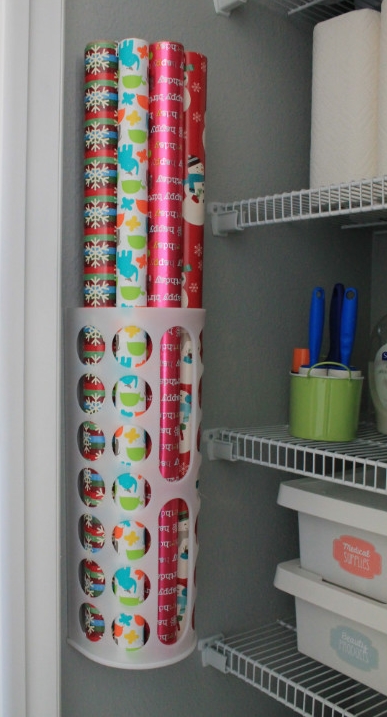
I decided to use a cream enamel 'long tom' flower pot as my storage solution (I bought mine from a local garden centre but you can find a version here), as there was a perfect corner for it in my home office:

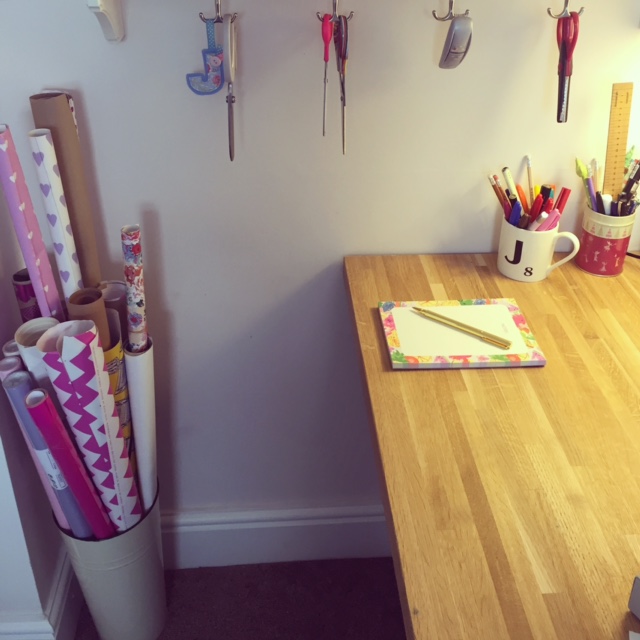
WRAPPING STATION ESSENTIALS:

  • Wrapping paper
  • Ribbons / string / raffia
  • Gift tags
  • Scissors
  • Sellotape / Scotch tape (I love this)
  • Elastic bands (to stop rolls unravelling)
  • Flat surface, clear of clutter
  • Jiffy bags / packaging tape if posting
  • Gift box of cards (mixture of occasions / blank)
  • Gift bags of varying sizes (for those awkward-shaped gifts)
  • If you have a spare wall, I'd definitely recommend investing in this.

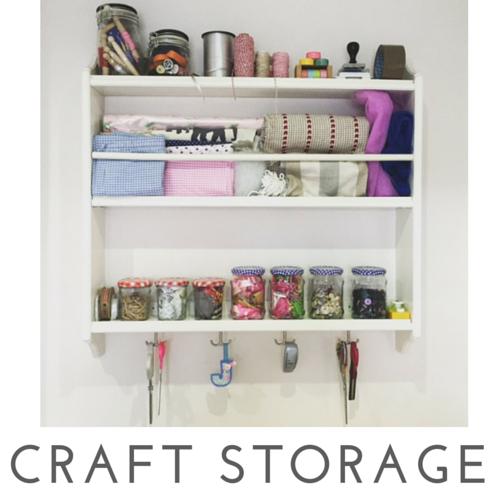
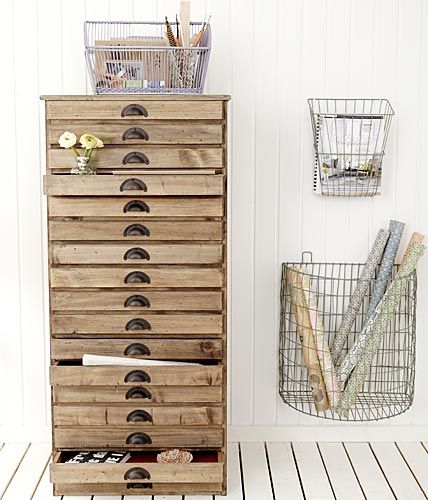
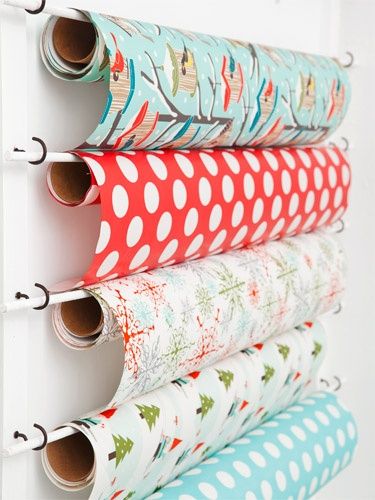
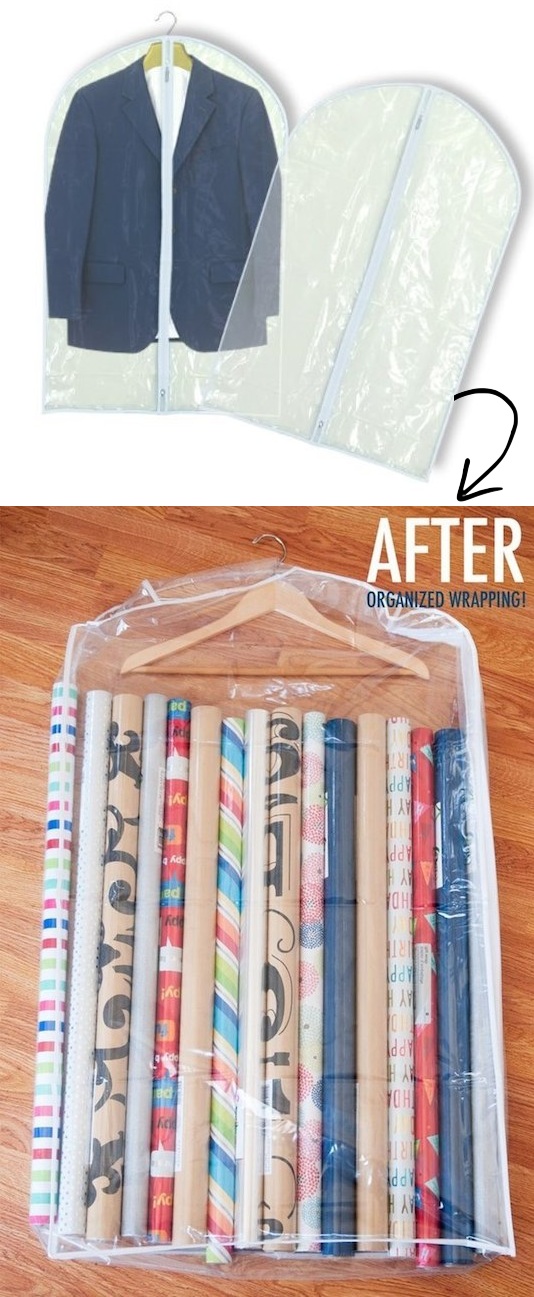
MORE WRAPPING PAPER STORAGE IDEAS:

For more home office ideas, take a look at my Pinterest board.

YOU MIGHT ALSO LIKE...

Plant Pot Makeover

decoupaged-plant-pots.JPG

DIFFICULTY RATING: MEDIUM

Flower pot makeovers have been everywhere on Pinterest in recent months. From painting to decoupage, a quick craft can turn plain terracotta pots into fun additions to your home. Bright and bold or chic and subtle - simply choose the paint or napkin you love the most and get crafting.

This pin from Place of My Taste particularly inspired me as I love the choice of napkin:

The plan during this Pinterest project was to decoupage all six flower pots, which began with painting them to give a base colour. However I loved the painted ones so much, I decided to opt for half and half. Here's how I got on:

WHAT YOU NEED:

  • Terracotta pots (I went for six of varying sizes)
  • Chalk paint
  • Paint brush
  • PVA glue
  • Scissors
  • Napkins (couple of design options)
  • FrogTape (you can use masking tape but I find FrogTape better for keeping paint out)

Painted pots

If dirty, wash your pots and let them dry out fully. (I did this a few days beforehand.)

If dirty, wash your pots and let them dry out fully. (I did this a few days beforehand.)

Chalk paint your pots (no prep required). I used FrogTape on the areas I wanted to remain terracotta.

Chalk paint your pots (no prep required). I used FrogTape on the areas I wanted to remain terracotta.

Once dry, peel away FrogTape.

Once dry, peel away FrogTape.

I love this colour combination (I used Annie Sloan chalk paint in Louis Blue).

I love this colour combination (I used Annie Sloan chalk paint in Louis Blue).

Final result! I couldn't wash off all the outdoor markings from the terracotta but I think this keeps them looking authentic.

Final result! I couldn't wash off all the outdoor markings from the terracotta but I think this keeps them looking authentic.

On to the decoupage...

I then rounded up a selection of napkins ready to decoupage my remaining pots.

I then rounded up a selection of napkins ready to decoupage my remaining pots.

You can decoupage the whole napkin or cut out specific designs.

You can decoupage the whole napkin or cut out specific designs.

I decoupaged onto chalk painted pots as the lighter background worked better.

I decoupaged onto chalk painted pots as the lighter background worked better.

Alternatively you can use the whole napkin design (I still cut these into smaller squares to help with application).

Alternatively you can use the whole napkin design (I still cut these into smaller squares to help with application).

The final result!

The final result!

TOP TIPS

  • I've never decoupaged before so when looking up the technique, some crafters suggested adding glue to the pot first, others advised adding to the napkin beforehand. I chose the first option as I found when applying to the napkin first, it would stick to my fingers and tear-!
  • Don't do this slippery craft over hard flooring (especially if it's slate). I almost learned this lesson the hard way.
  • Grab a couple of napkin designs in case you don't like how the first one comes out. 
  • Chalk paint makes life easier. No prep - just paint.
  • My pink rose napkins are from Amazon, the fish and smaller flowers are from Cath Kidston (I always pick up a few packs when there's a sale on).
  • Keep them inside - outdoor weather will ruin them. On that note...

IDEAS FOR INDOOR USE:

  • Indoor plants (of course!)
  • Pen pot
  • Makeup brushes
  • Essential cables and chargers
  • Bar essentials e.g. bottle opener, champagne stopper, cocktail mixing spoon
  • If you have a table or shelf by your front door, use a smaller pot for grab-and-go essentials such as wallet, keys, sunglasses, gum, etc.

The verdict

The decoupage project was quite time consuming but I was happy with the end result. I'd recommend giving it a go if you have some spare time one weekend. What I really liked discovering from this project was how much I LOVE chalk paint. It's the ideal upcycling solution for people who are limited on time. I'm also keen to try this pot project, as it looks equally quick and effective.

For more Pinterest project ideas, take a look at my home decor boards here.

you might also like...

Kitchen Booth

DIFFICULTY RATING: MEDIUM

One of my favourite Pinterest finds during our refurb was the idea to add an L-shape kitchen booth to maximise seating space. We hired a carpenter to create the structure, with the seats lifting upwards to reveal extra storage (really useful for cat litter, kitchen roll, spare tins, cans, etc).

We handled the painting to save money, then hired a professional upholsterer to create the bespoke seating cushions (I would have loved to have made them myself but my skills aren't up to scratch just yet-!). I opted for neutral stripe fabric, adding colour with statement cushions.

PINTEREST BOOTH INSPIRATION:

The 'medium' rating for this project is down to the amount of stages involved. However if you organise a carpenter and upholsterer, the most time you'll personally spend will be on painting and selecting your fabric and cushions. While it's not the cheapest project, it is replacing a number of chairs so it's a similar investment. It also adds subtle storage, which chairs don't offer. We're planning to add a circular bistro table as it won't take up too much floor space (plus we have our dining room/table for larger events).

Fancy more kitchen inspiration? Find out how to get Meryl Streep's kitchen look from the movie, 'It's Complicated'.