dining room

Skylight Blinds

(AD)

We completed our kitchen extension a few days before Jake was born (almost 2 years ago now-!). Our diner side has very much been a room of requirement with the boys - I have some big plans for styling this room but every time I scroll through my Pinterest boards, I have to remind myself that we have two boys under 4. Now is not the time to invest in a nice rug (loving this French Connection one atm), sofa (oh the day I can tuck into Loaf’s pudding sofa), table or lamp.

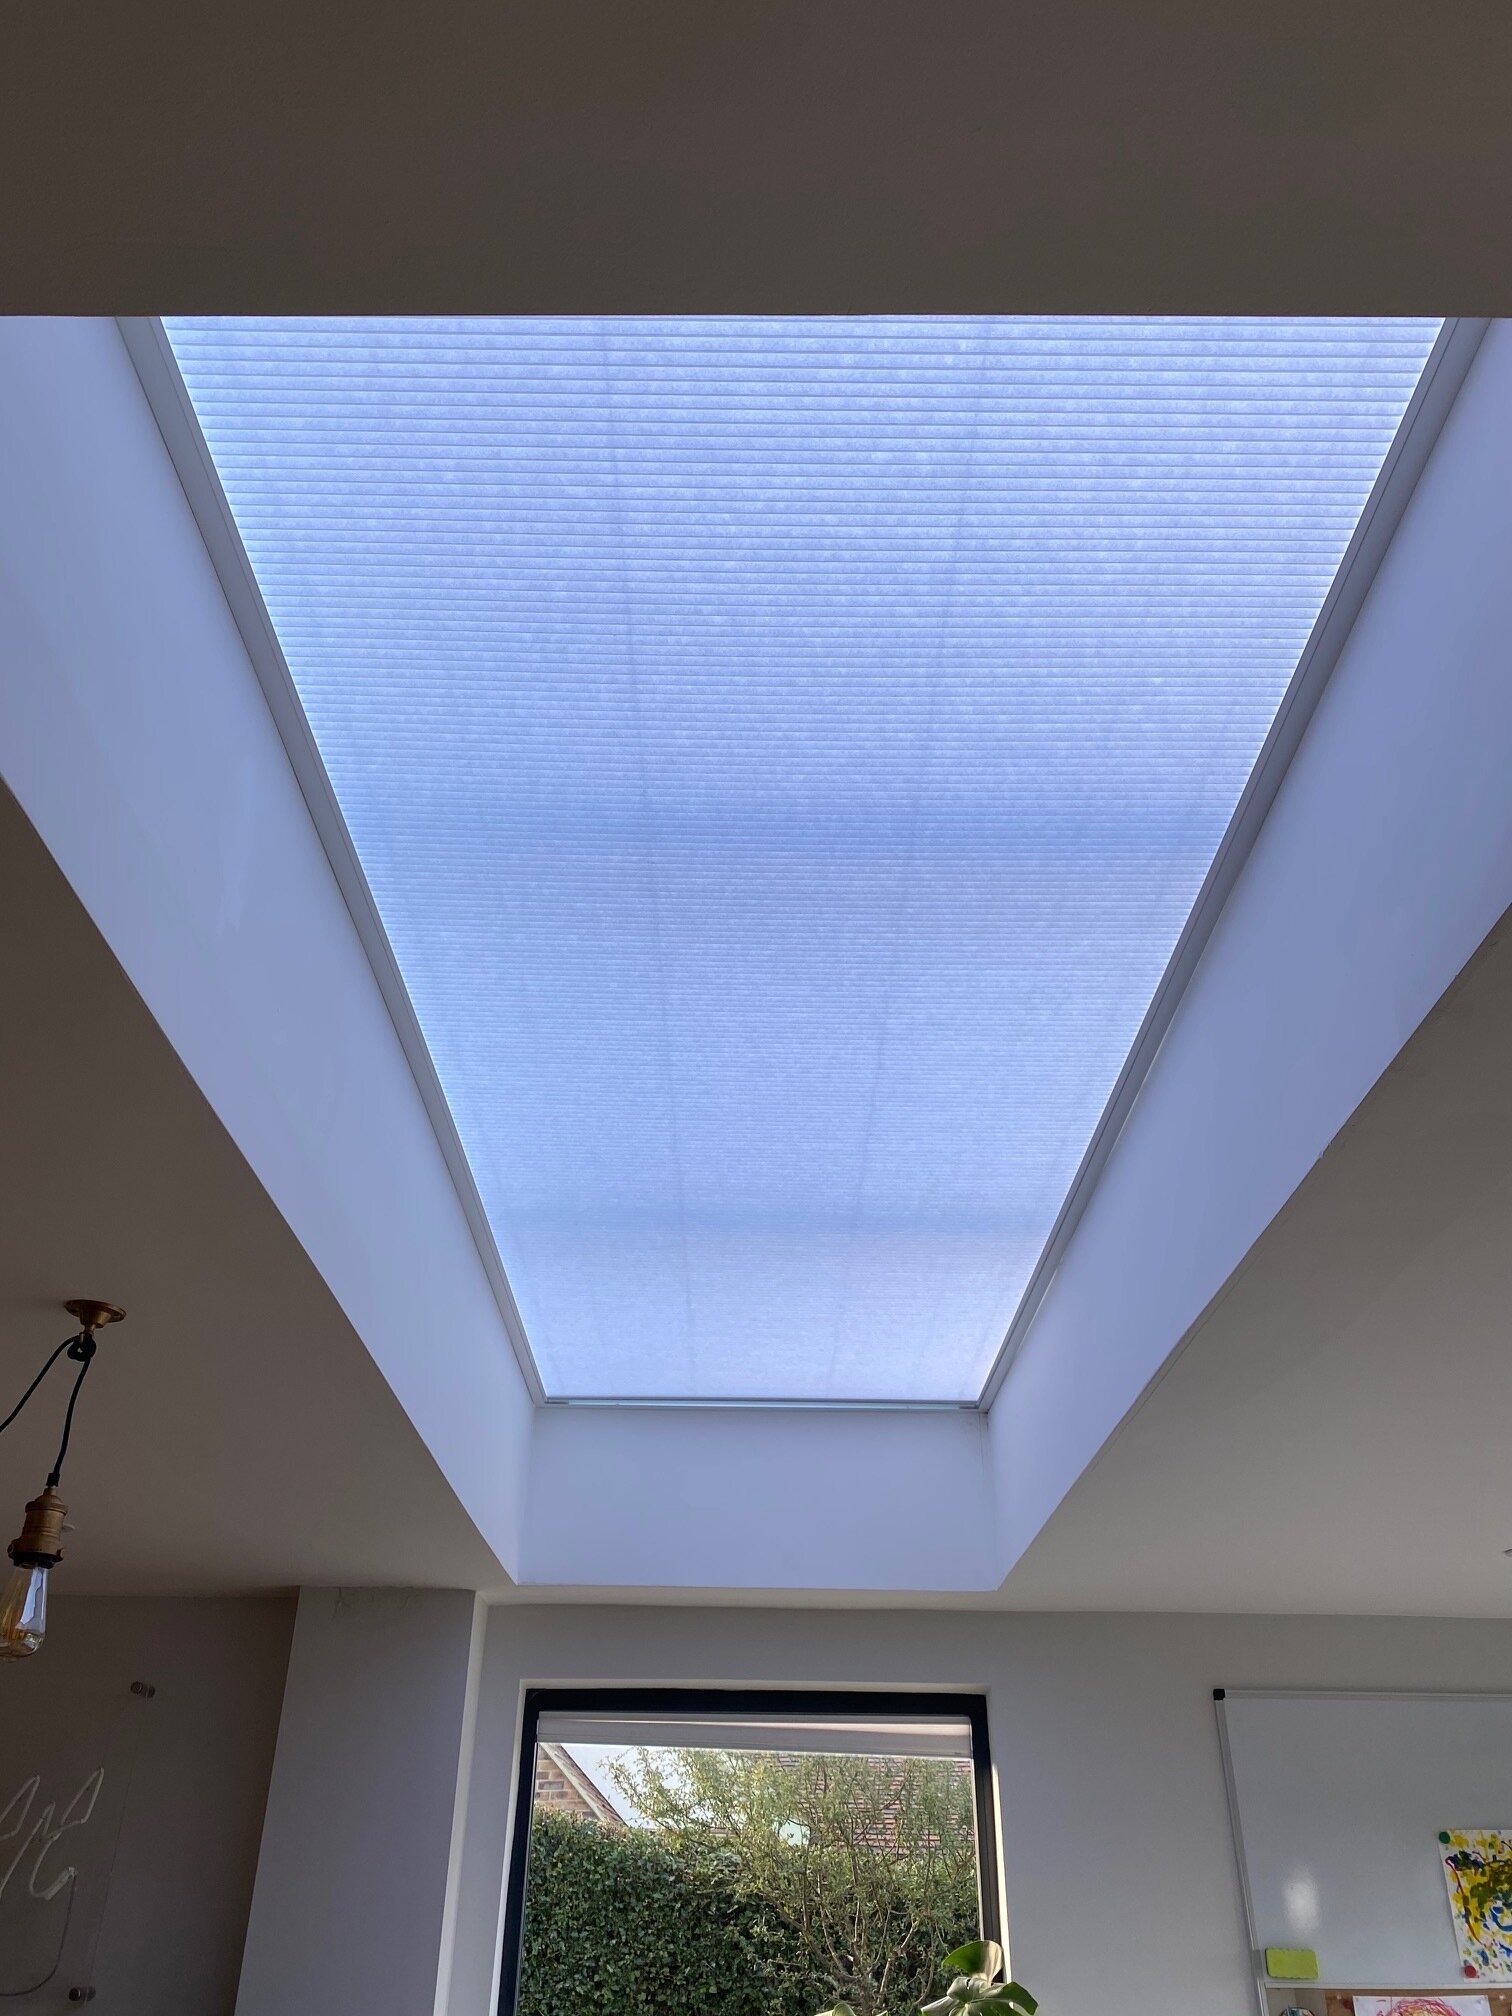
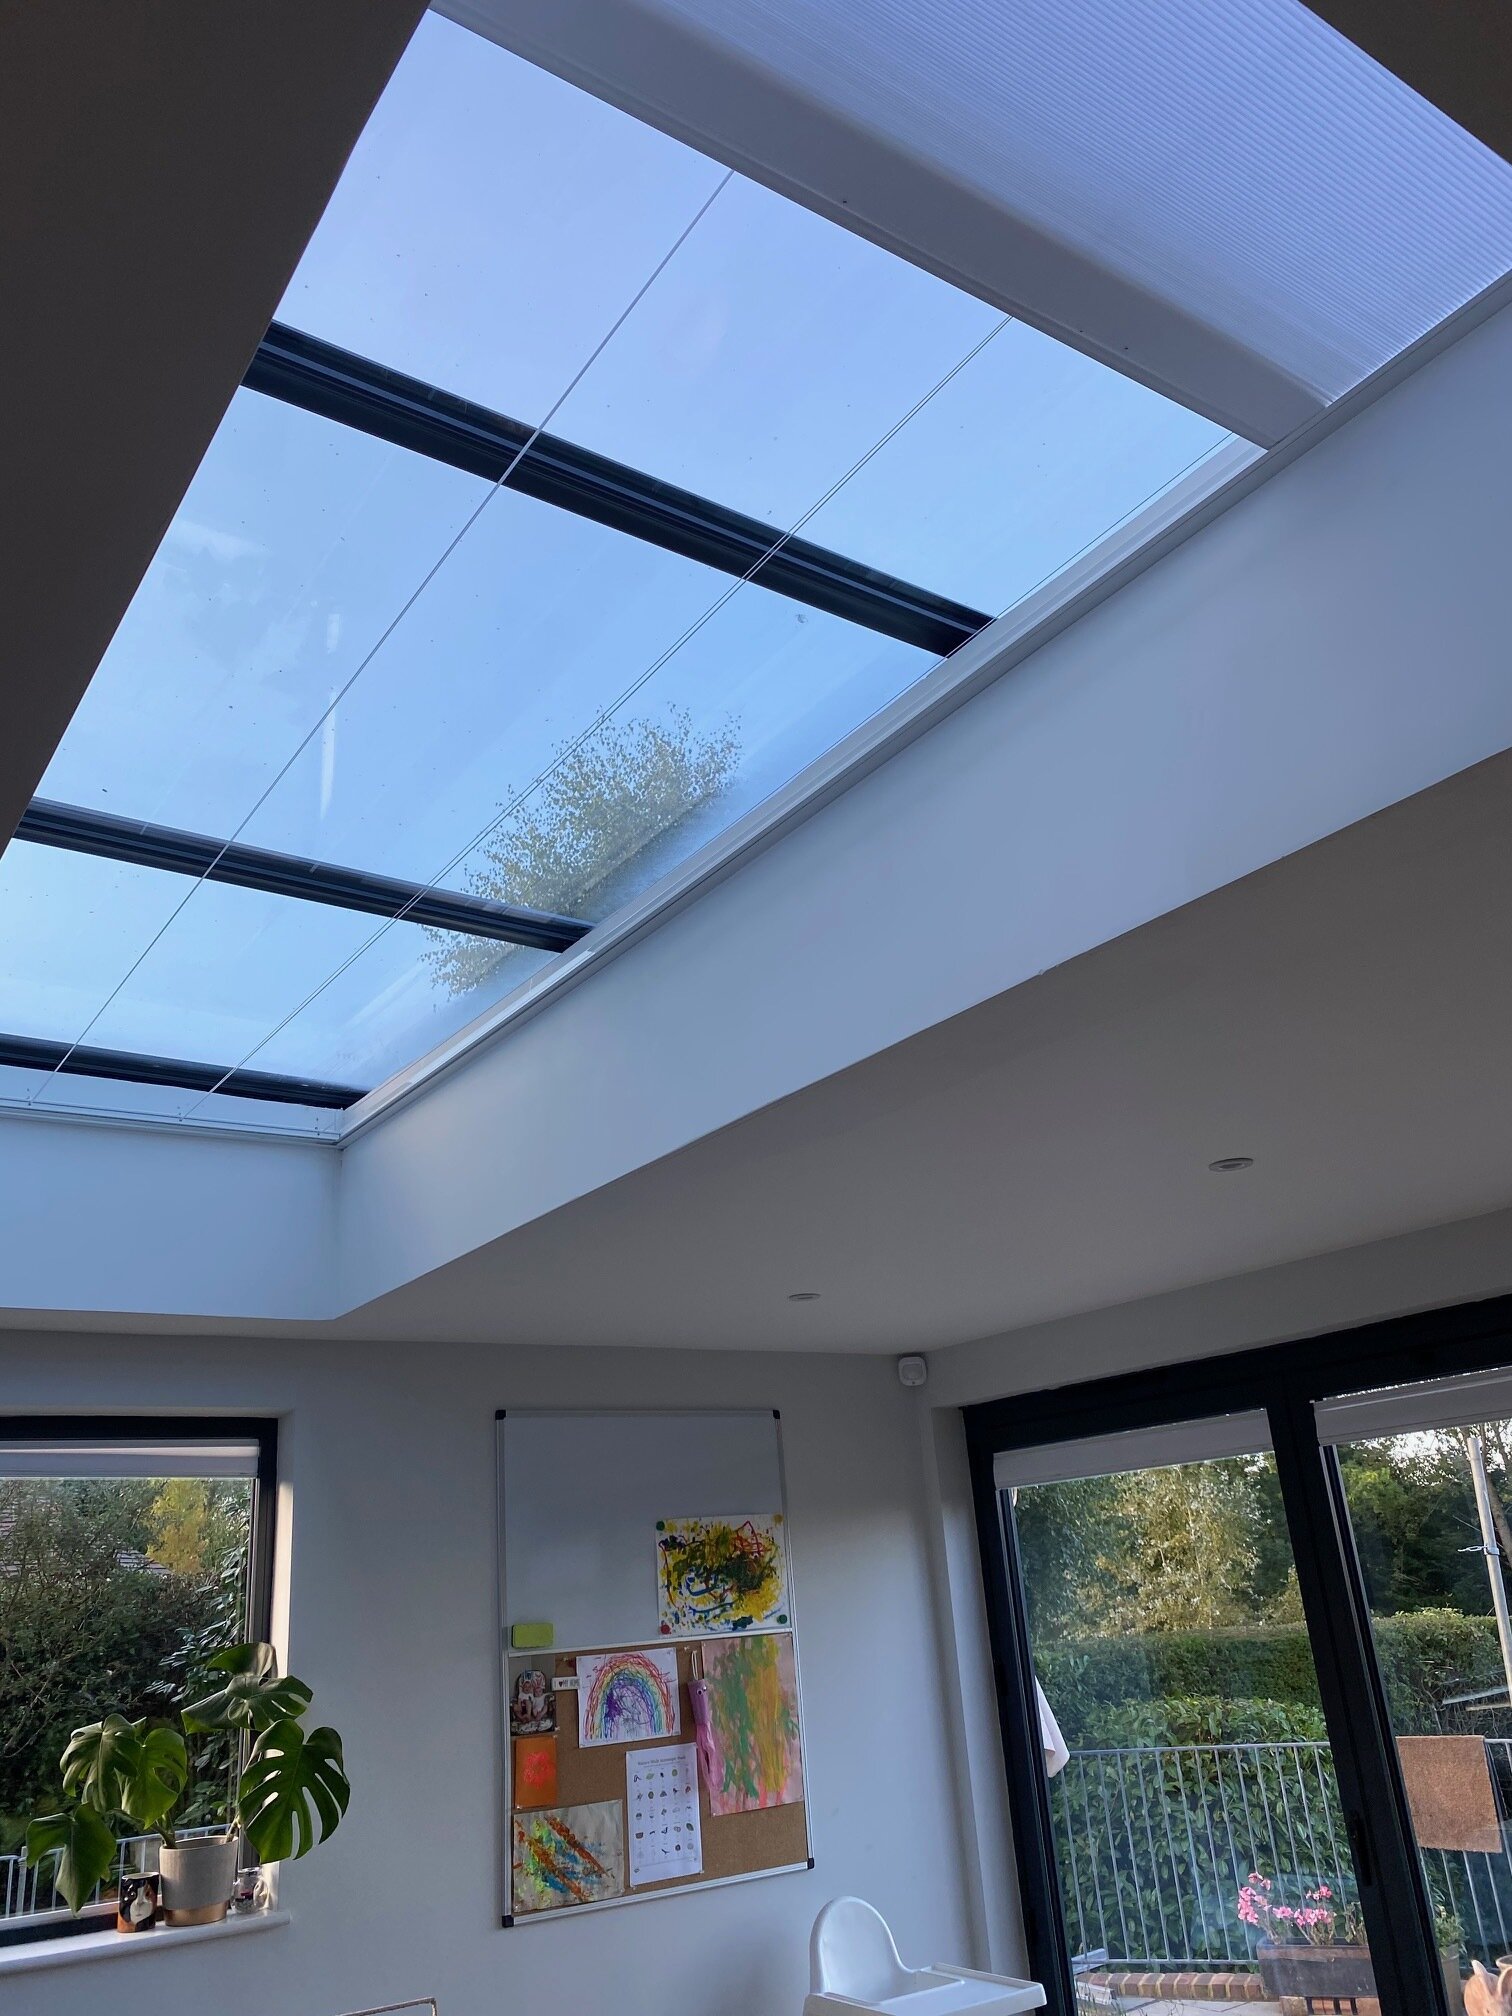
But what we have invested in this year is our skylight blind from Skylight Blinds Direct (@skylightblindsdirect). The room was becoming a bit of a hot box during the hotter days and especially during lockdown - we all got a bit hot and bothered-! We’re really happy with it as it’s been keeping us cool during summer and is set to keep the room warmer in winter. Our particular one was the LanternLITE™ The Honeycomb Overhead Blind - The DIY Orangery Roof Blind - Thermal Blinds (full details here).
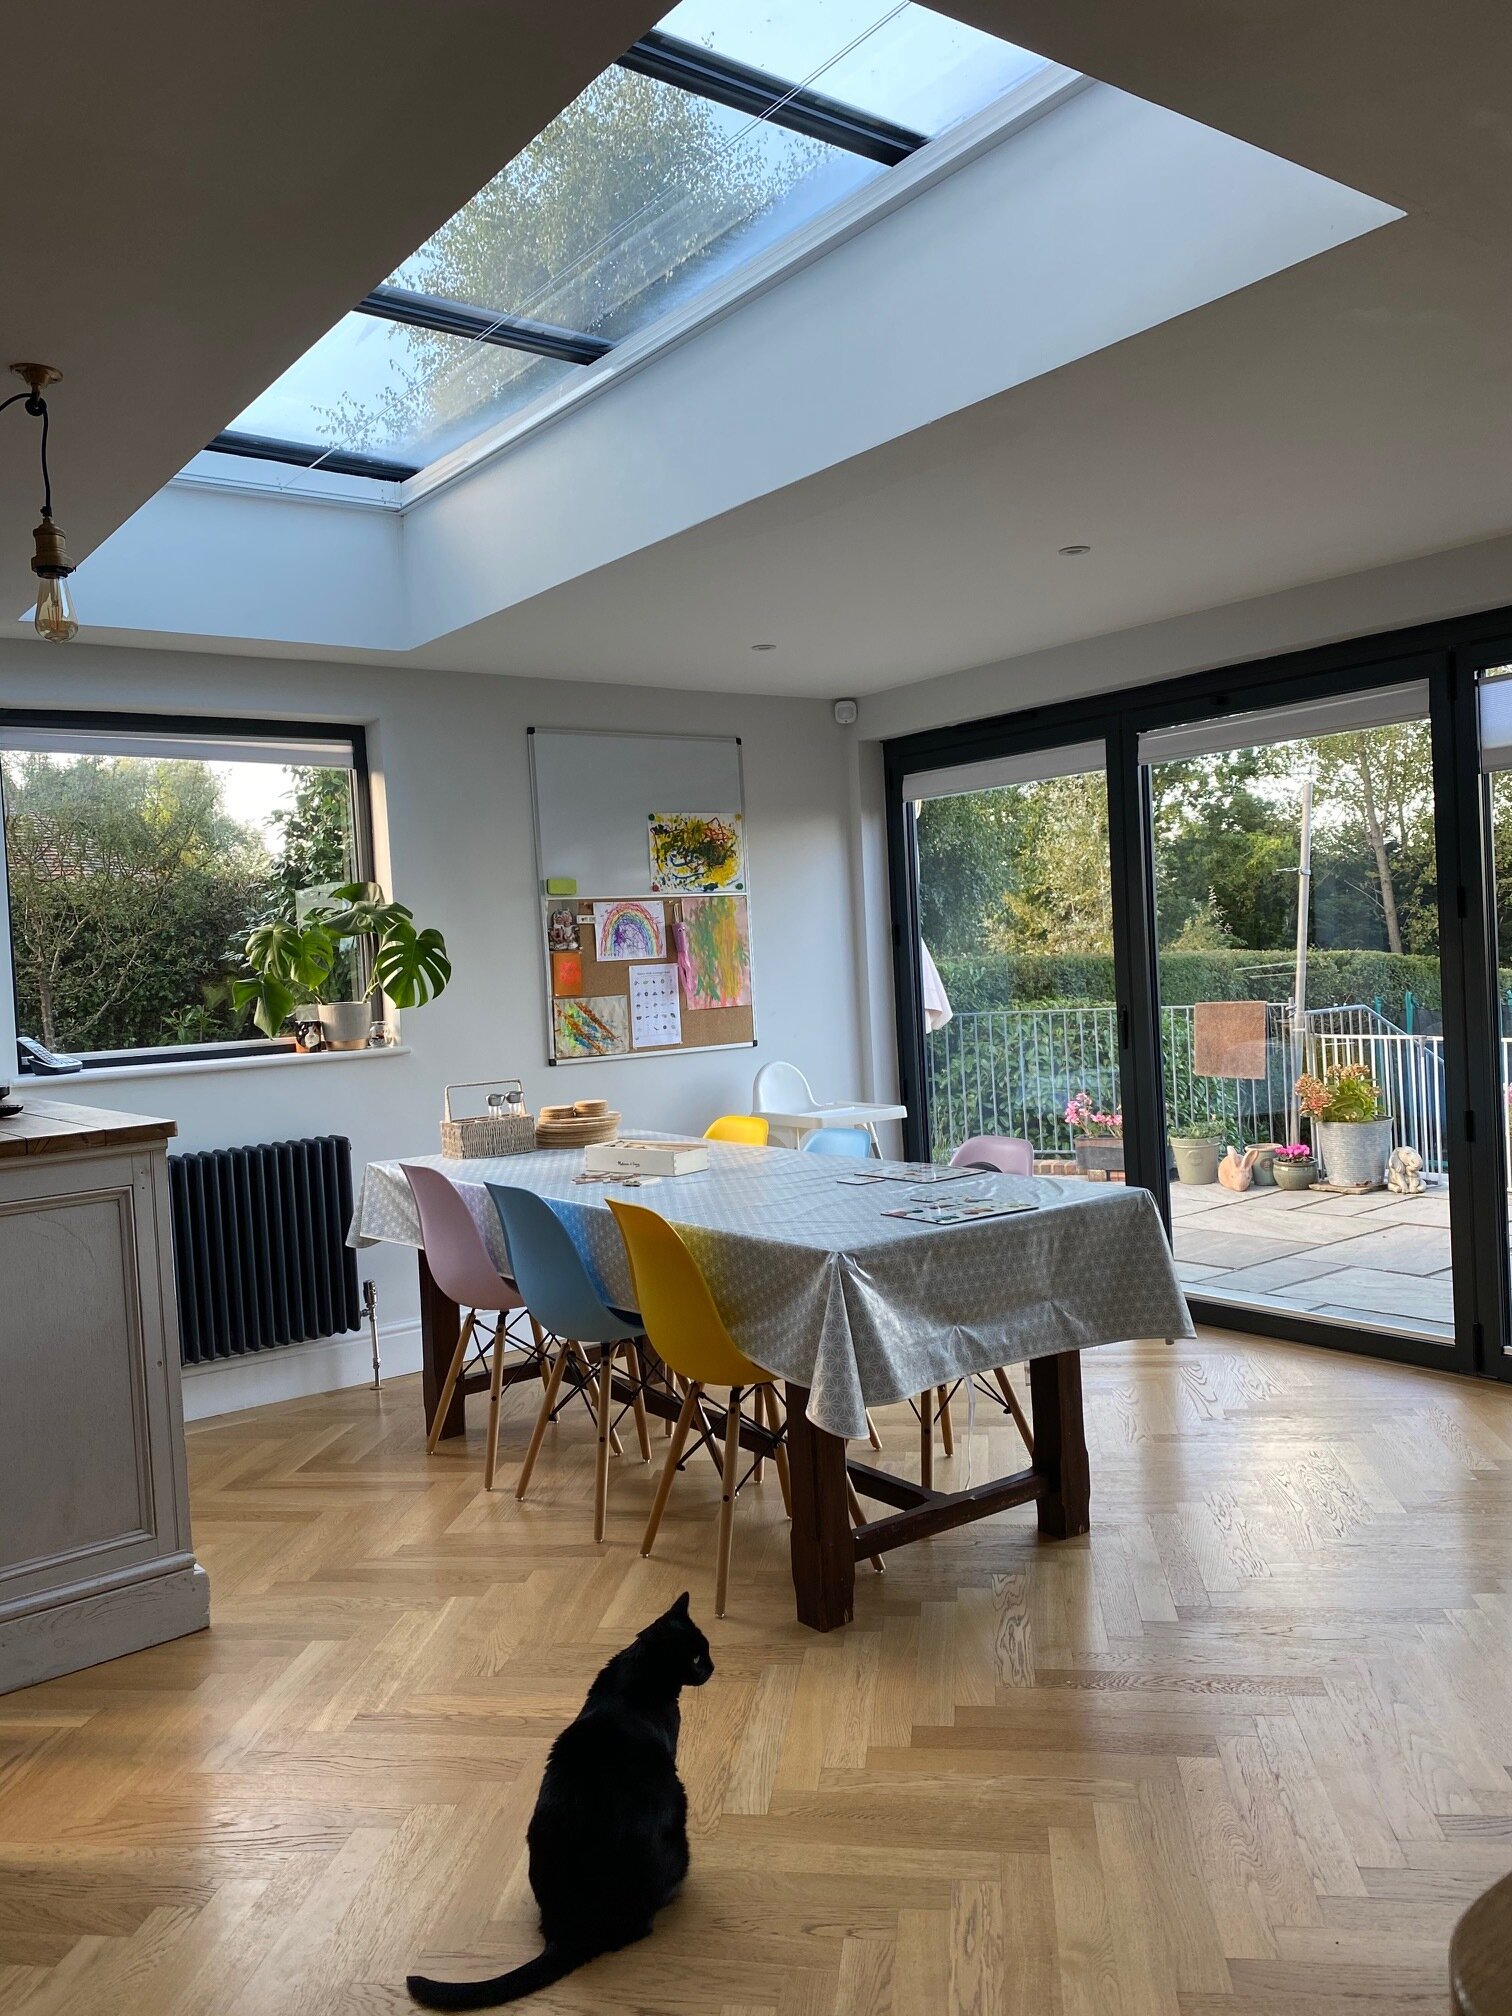
BEFORE

IMG_0049.JPG

AFTER

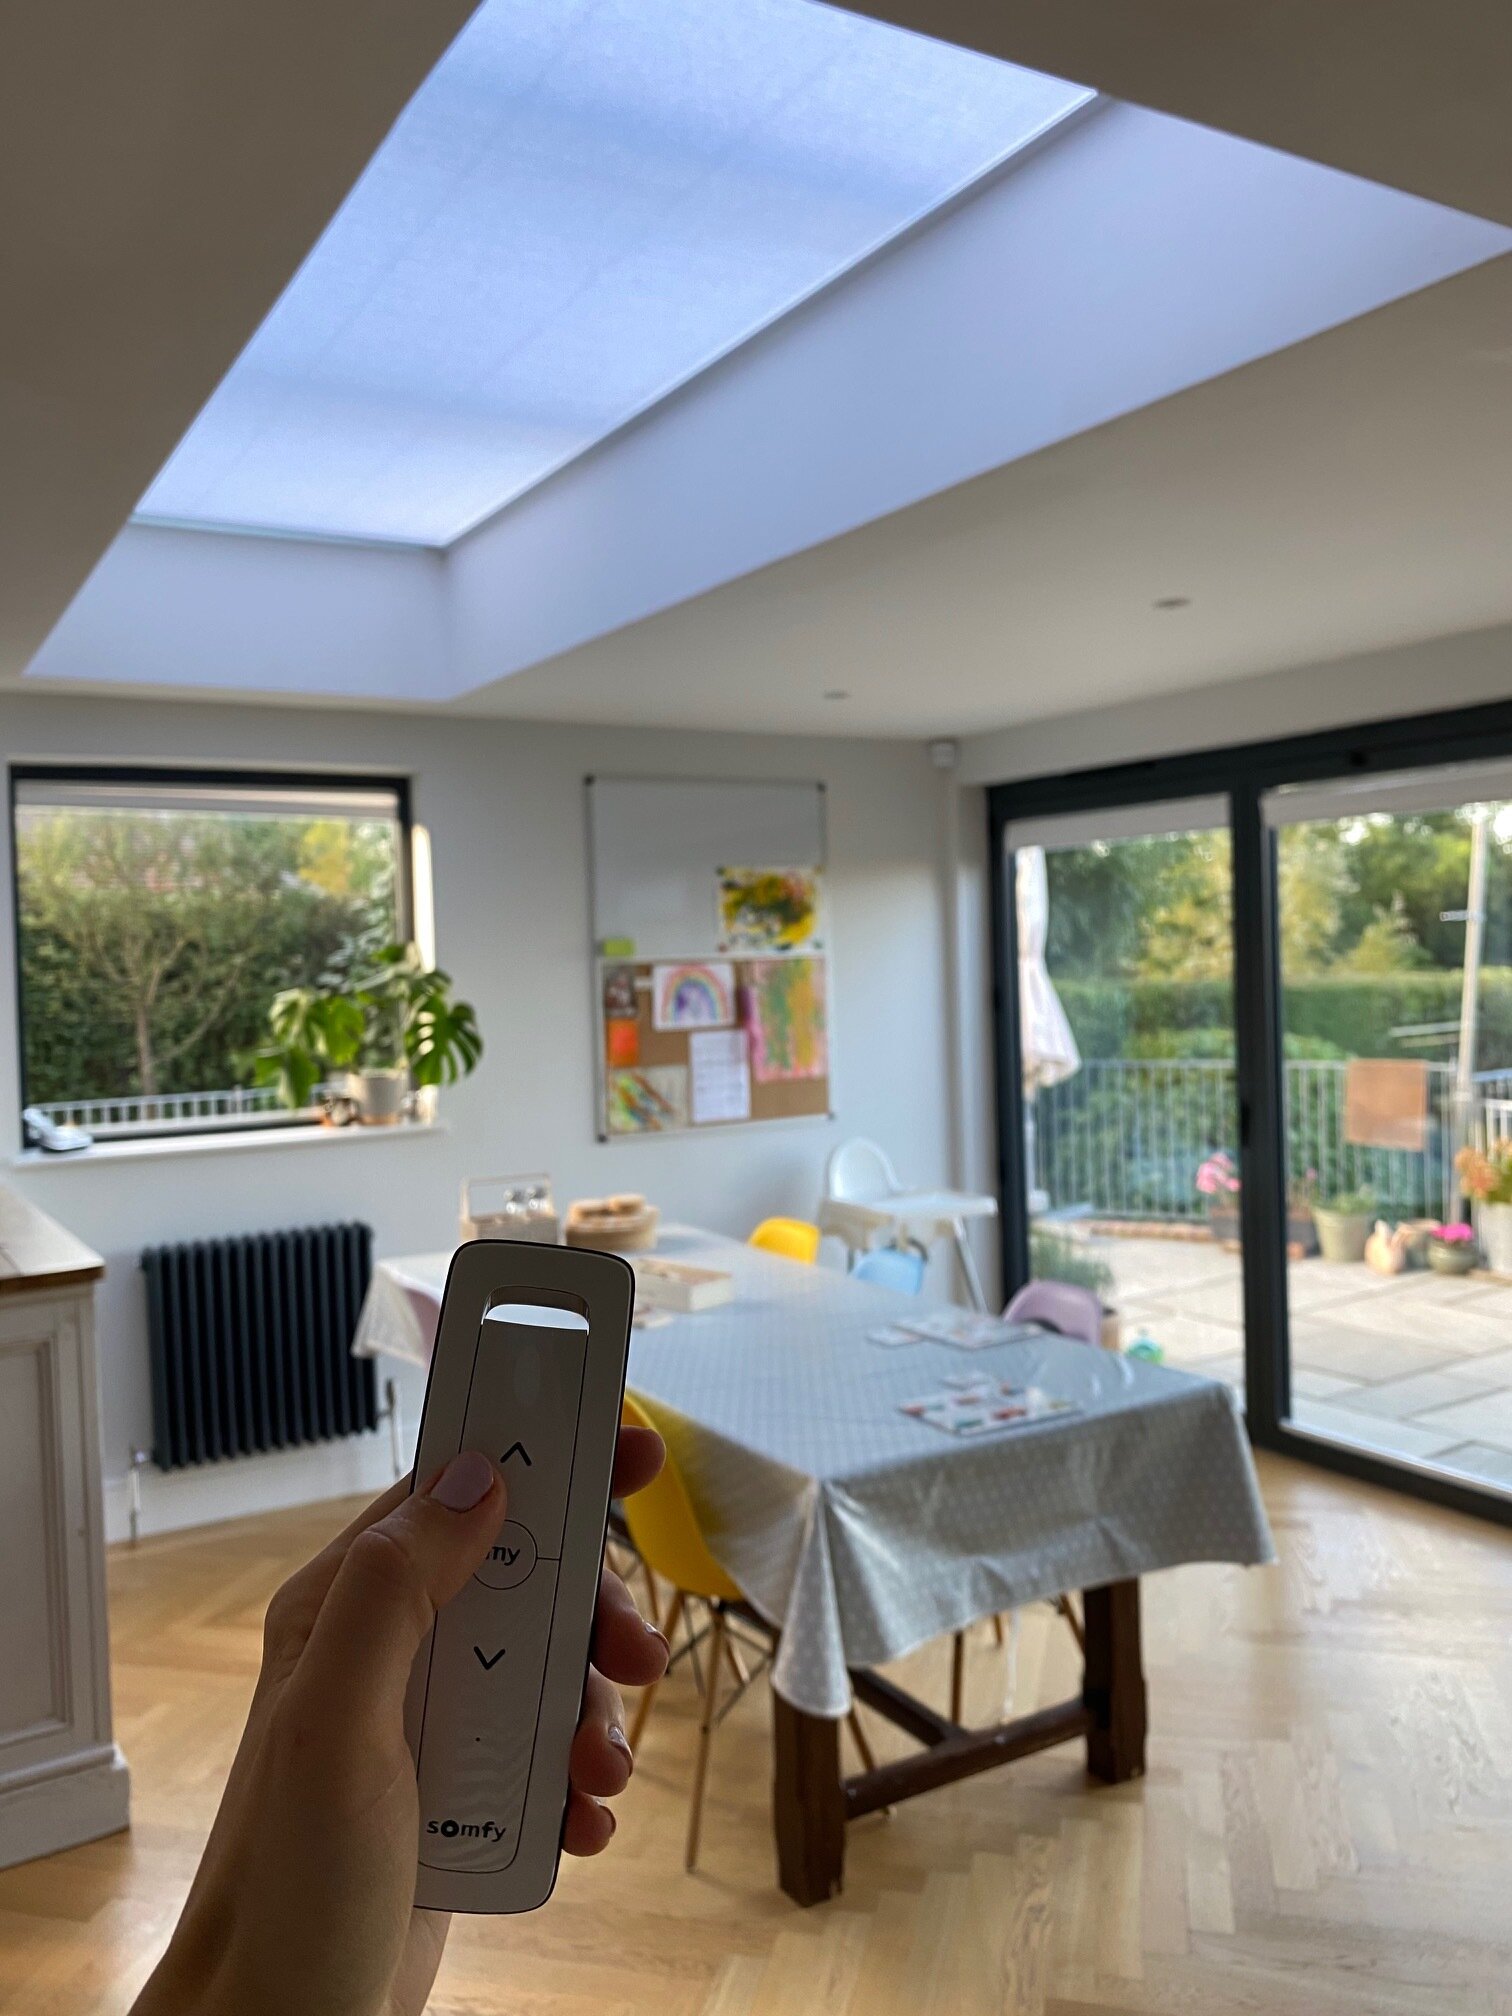
The video below shows it in action (please ignore Jake’s screeching in the background - an unavoidable feature of family life-!).

And the best bit about this particular investment?? The boys can’t reach it!

Please note: We purchased this blind as normal and loved the quality - this ad came about due to my happiness with the product’s quality, and that it solved a very big pain point with our kitchen/diner. I will only work with brands that I know are great quality and that I think my followers would be interested to hear about.

YOU MIGHT ALSO LIKE…

Dining Room: Before & After

2012 was one of the most exhausting yet satisfying years of my life. It was the year L and I took on our first refurb project, while commuting to our full time jobs. Walls came down, skips of woodchip were painstakingly steamed off every wall (big thank you to the 1970s for that wonderful contribution to interior design), stairs were rebuilt, a bedroom was turned into a bathroom, not to mention midnight painting sessions on a Monday (low point).

It was a challenge - but a brilliant one. I wouldn't take back a blister. I discovered that I don't give up easily (which is nice to discover having given up most instruments at school). I also learnt a lot about DIY, that my interior design skills are best when under pressure, as well as one of my biggest realisations: P!nk's Greatest Hits actually speeds up the painting process. (Seriously.)

Here are some before, during and after photos of our dining room:

Before: Mustard woodchip wallpaper, odd radiators and a questionable glass-panelled staircase.

Before: Mustard woodchip wallpaper, odd radiators and a questionable glass-panelled staircase.

During: Yep - that's a bath in the centre (a second-hand cast iron roll-top bath we upcycled), plus two refurb essentials - a professional wallpaper steamer and Mama B.

During: Yep - that's a bath in the centre (a second-hand cast iron roll-top bath we upcycled), plus two refurb essentials - a professional wallpaper steamer and Mama B.

dining-room-refurb
The glass came down and we transformed the open area under the stairs into a handy cupboard for coats, shoes, hoover, ironing board and brollies.

The glass came down and we transformed the open area under the stairs into a handy cupboard for coats, shoes, hoover, ironing board and brollies.

After: New plaster, paint, carpets, windows, blinds and built-in storage. (And wine. An essential sofa condiment after a busy day.)

After: New plaster, paint, carpets, windows, blinds and built-in storage. (And wine. An essential sofa condiment after a busy day.)

Dining room table: Covered in wipe-clean oil cloth (no need for placemats or coasters!). We added a mirror between our built-in storage to make the room appear larger and to reflect light around the room.

Dining room table: Covered in wipe-clean oil cloth (no need for placemats or coasters!). We added a mirror between our built-in storage to make the room appear larger and to reflect light around the room.

I hope these photos inspire you to give a project a go. Not necessarily a full-scale refurb, it can be anything! Redecorating a room, adding some pops of colour with accessories, creating a picture wall... the main thing is to muster up the confidence to give it a go. Nothing makes a home feel more like you than knowing you were involved in its creation. It's like making your mum a Mother's Day card vs a shop-bought one when you were a child. Which one would she have loved the most? Exactly!

What project are you contemplating currently?
Discover additional decor inspiration here.