Snow scene jars are everywhere on my Pinterest feed at the moment - and rightly so, as they look amazing! I think they look particularly pretty on mantelpieces and side tables, as well as an eye-catching centrepiece on your Christmas table.
The trick is to create a 'scene' inside them - similar to a snow globe but without the water...
DIFFICULTY RATING: EASY
ORIGINAL PIN:

MY ATTEMPT:

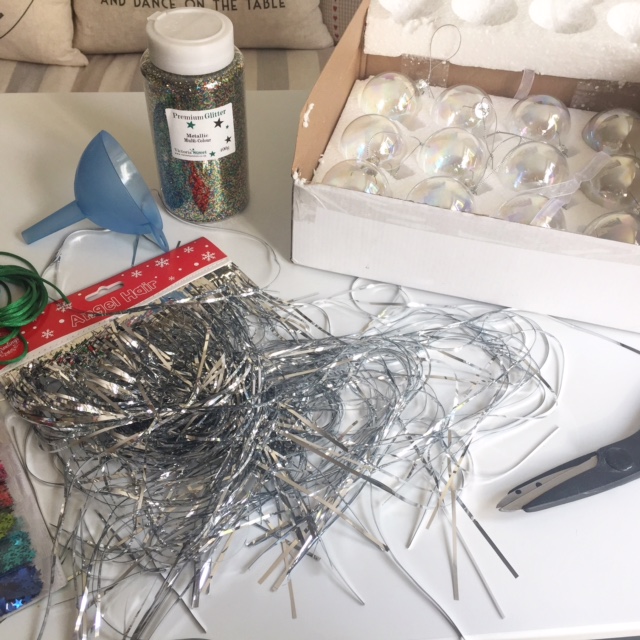
SHOPPING LIST
- Display jars (I found mine at a bargain price from Homesense)
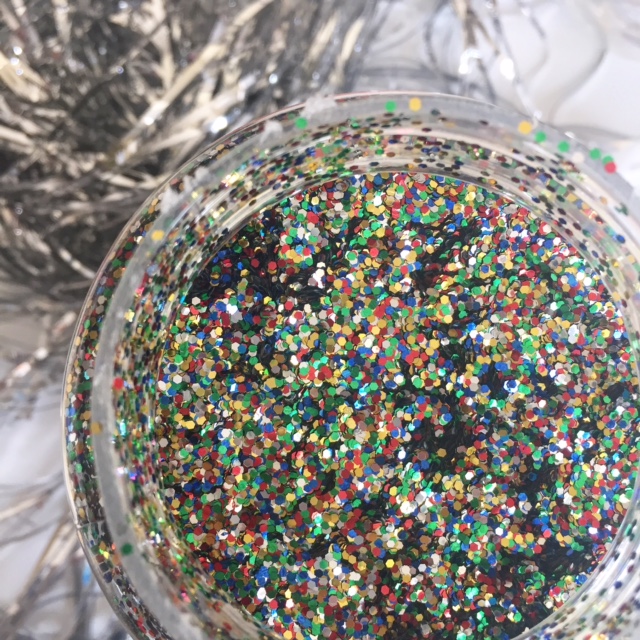
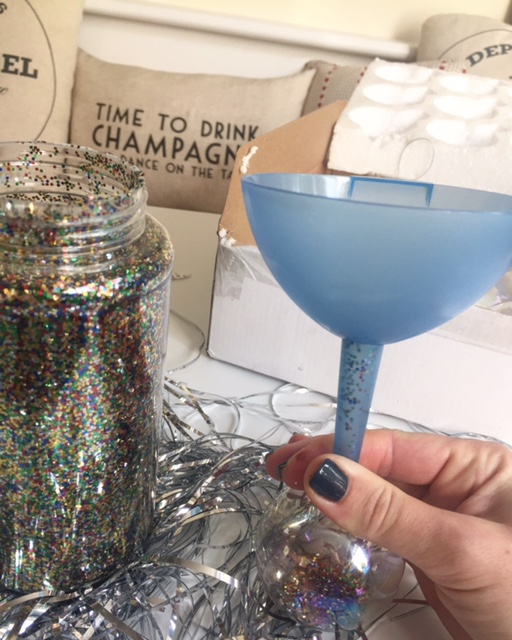
- Epsom salt
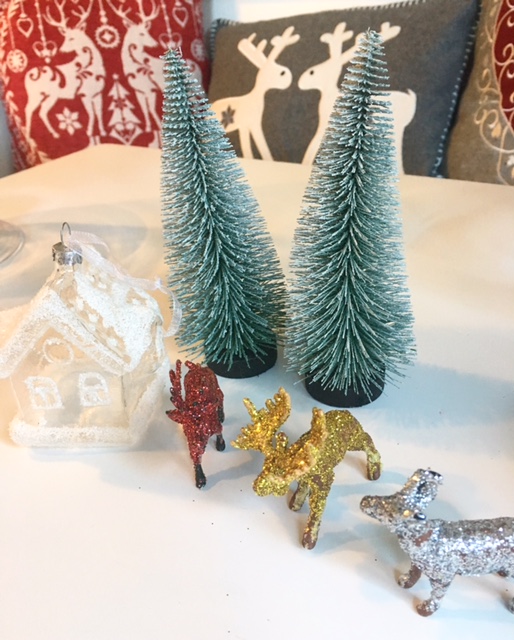
- Christmas decorations / models to make a village scene:
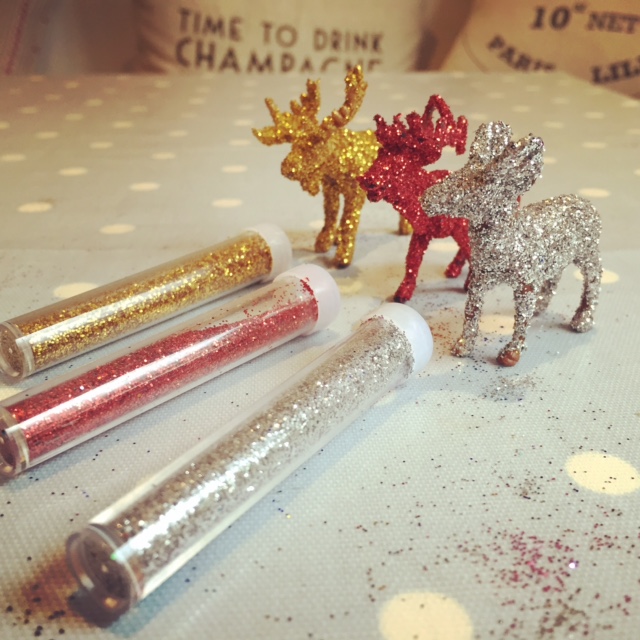
- My house bauble and mini trees are from Sass & Belle
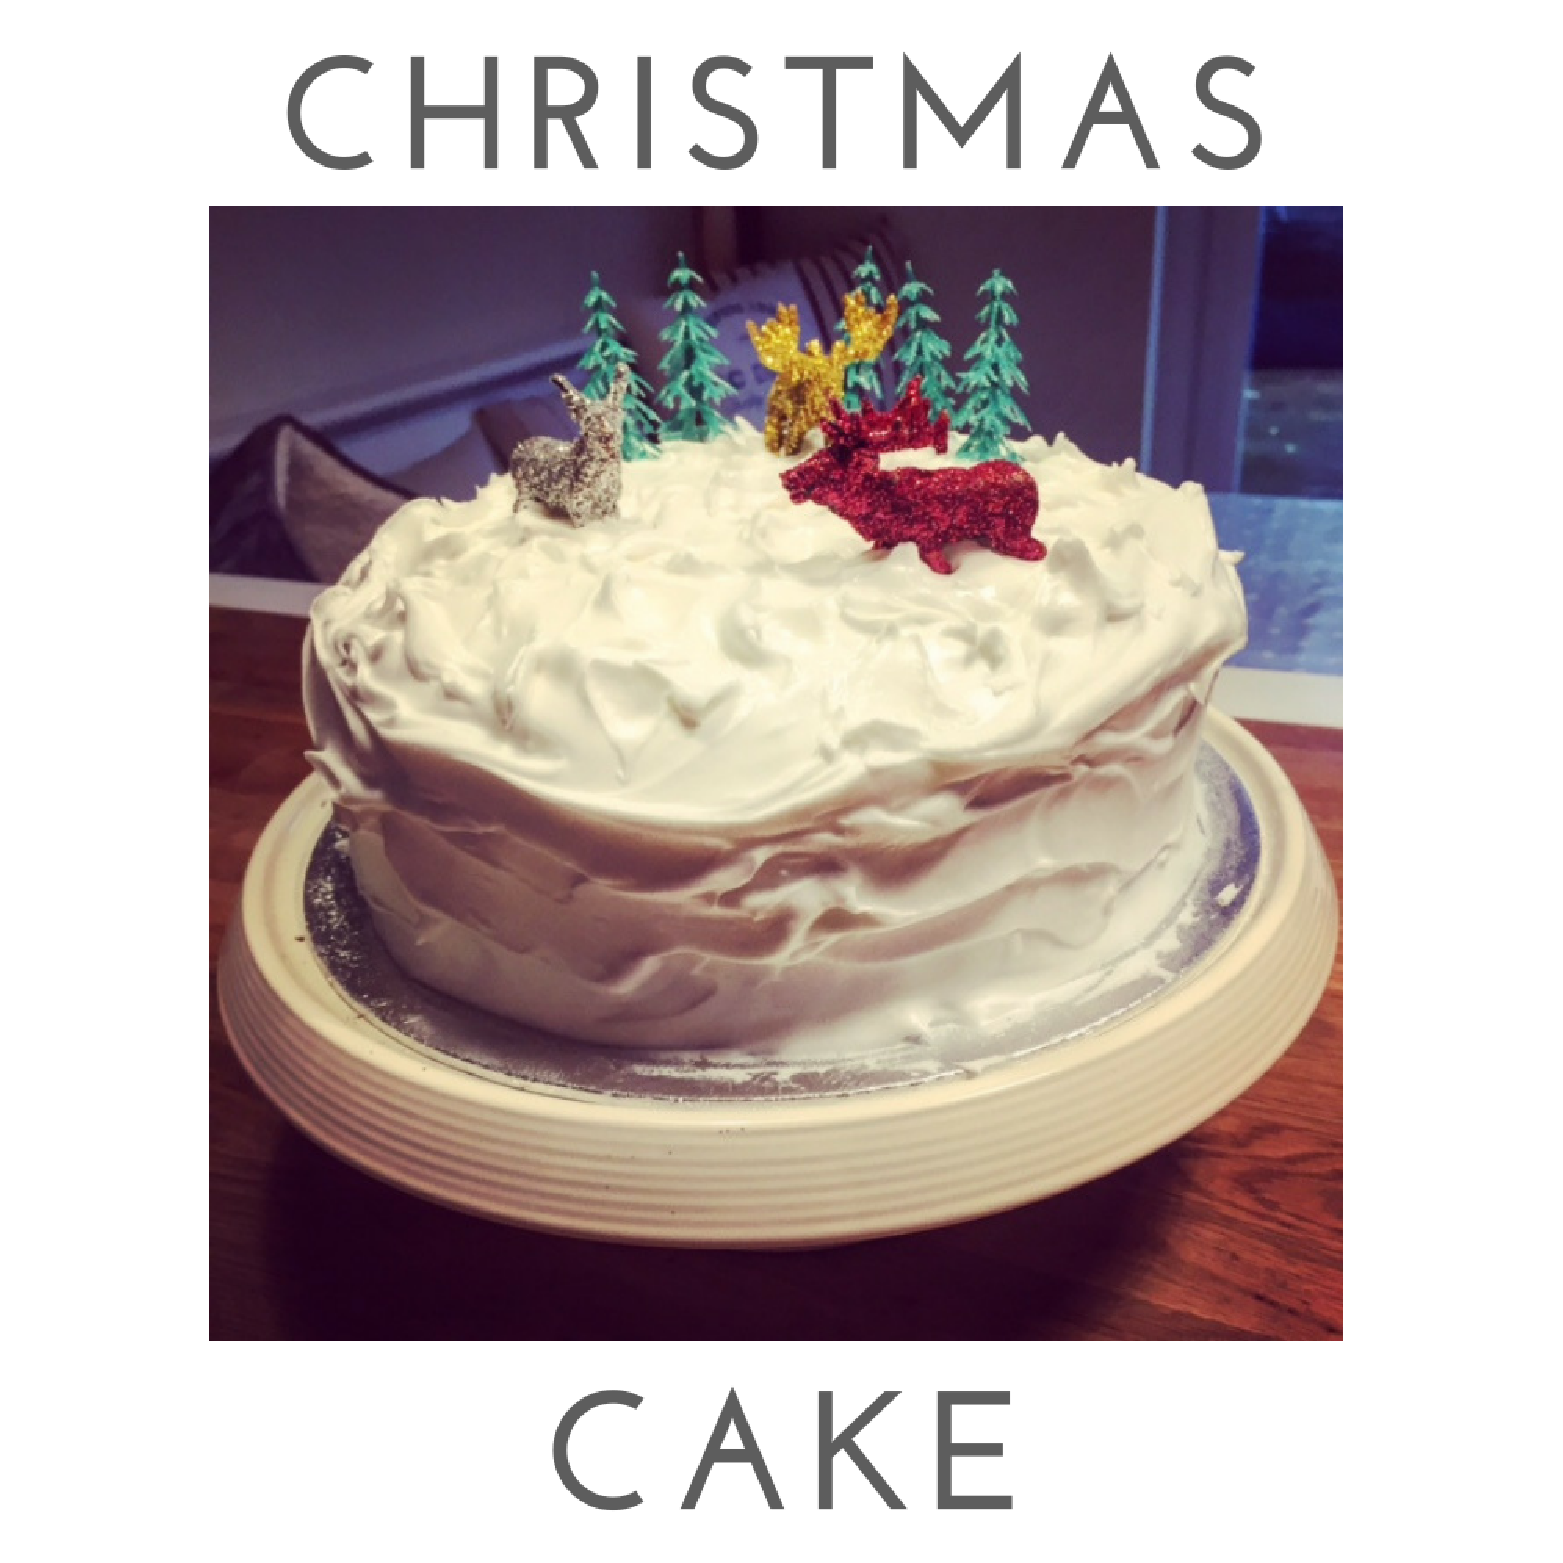
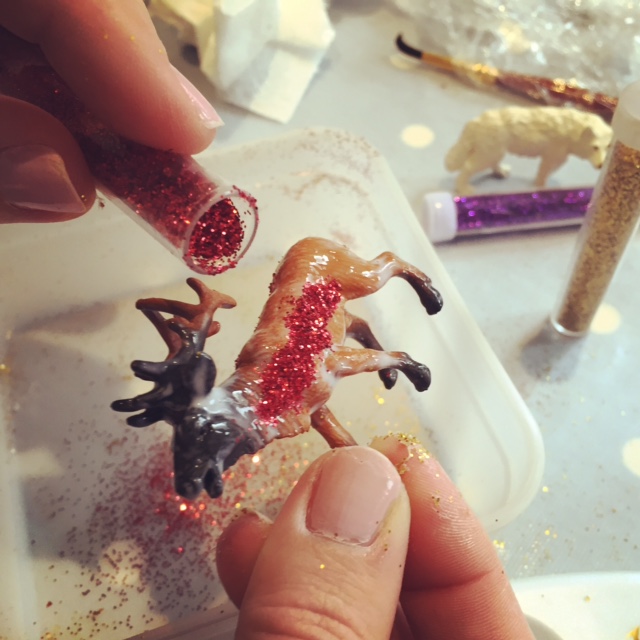
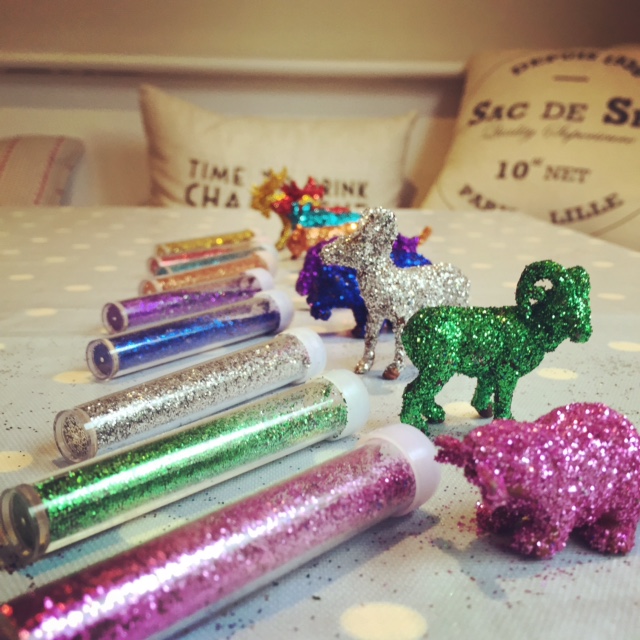
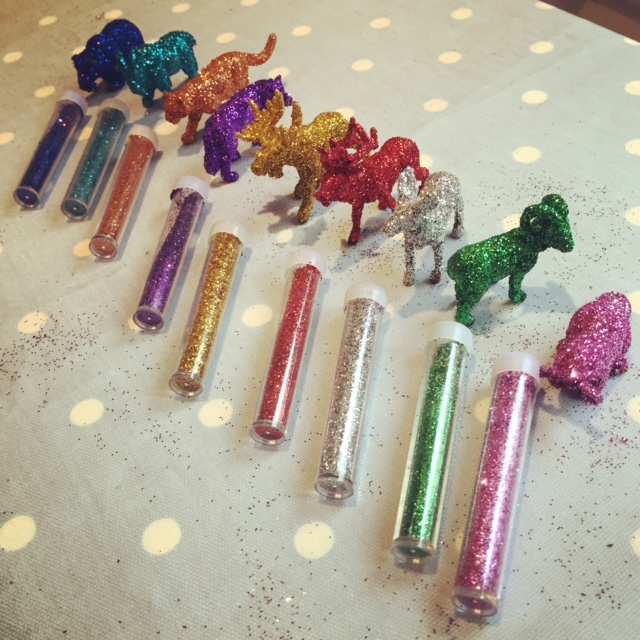
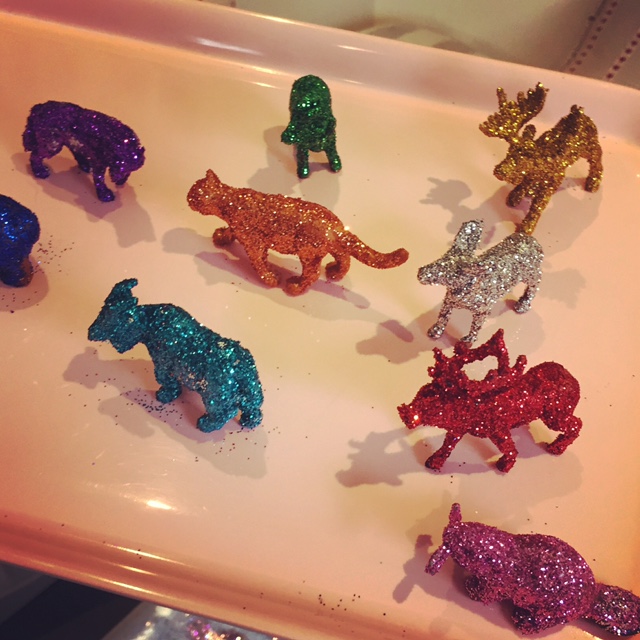
- My glitter animals are the ones I made to top my Christmas cake with last year (love a good recycle!)
HOW-TO
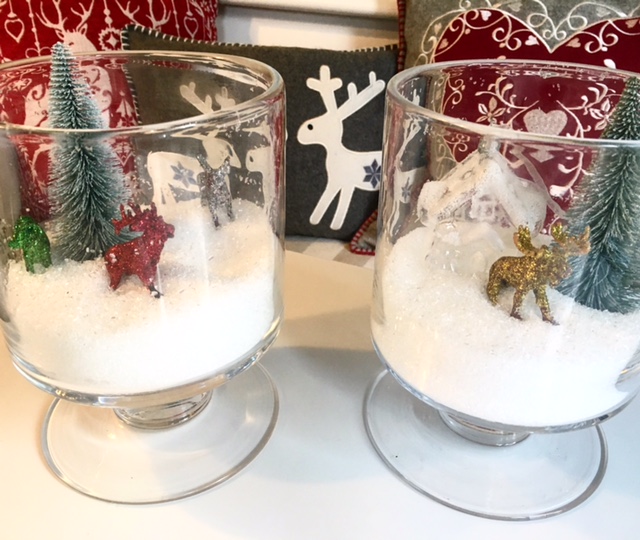
1. Your epsom salt is your snow! Add to the bottom of your jar/s first.


2. Add your mini village!

Crafternoon essentials: Tea & a chocolate flapjack!


Glistens in the daylight...

... And sparkles at night-time.
That's it!
TOP TIPS
- Keep out the way of children and pets - mantelpieces high up work well. Jars with lids are also a good call
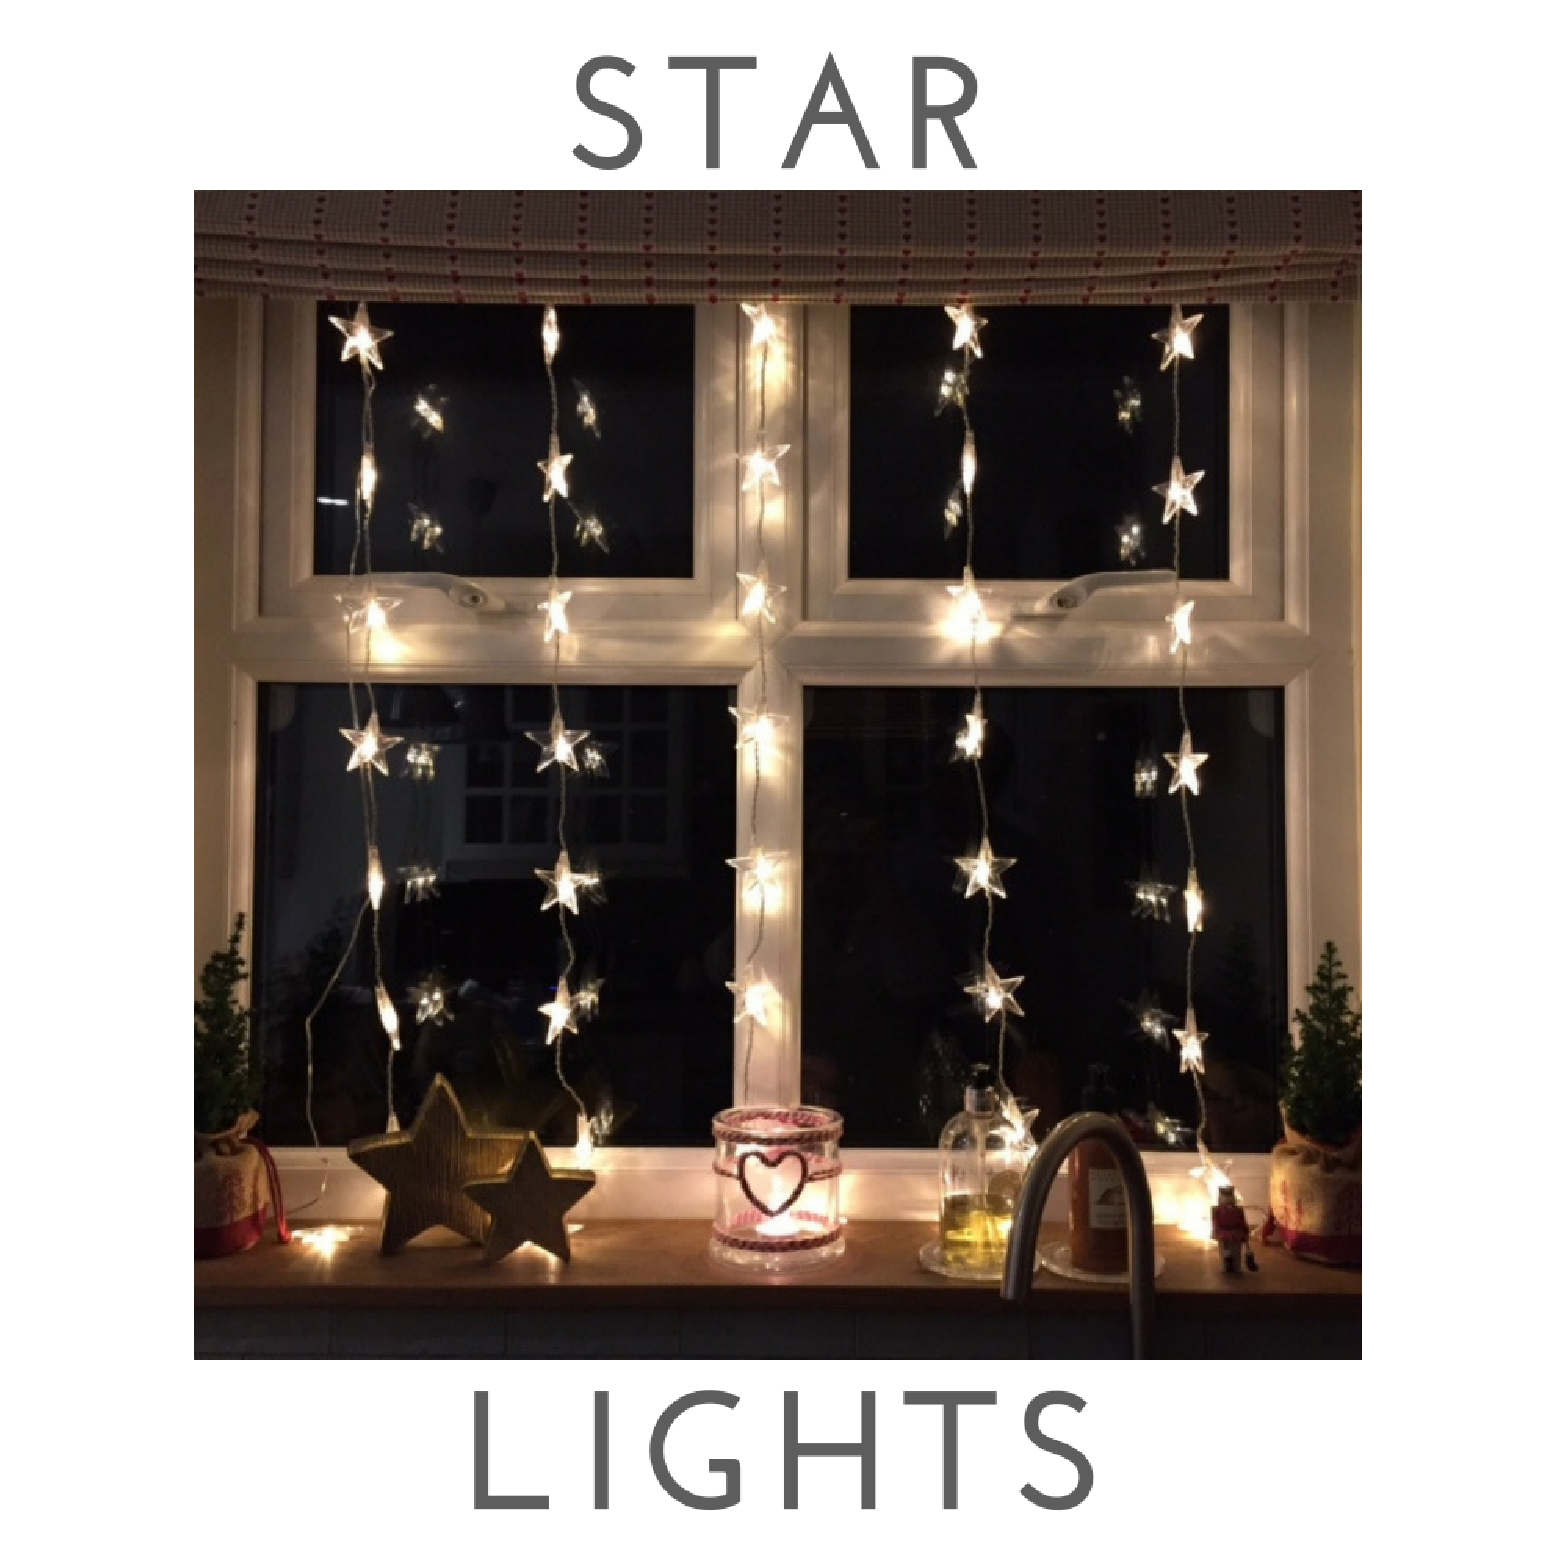
- Add fairy lights around them for extra sparkle (you could hide the battery pack or cables with green garlands)
- Mini woodland creatures and trees create a particularly effective snow 'scene'
- I would make two in case you want to add them to a mantelpiece or side table - keeping the look balanced.
VERDICT
Easy, pretty, affordable to make: highly recommended!
If you love easy Christmas craft ideas, this might also be up your street.
YOU MIGHT ALSO LIKE: